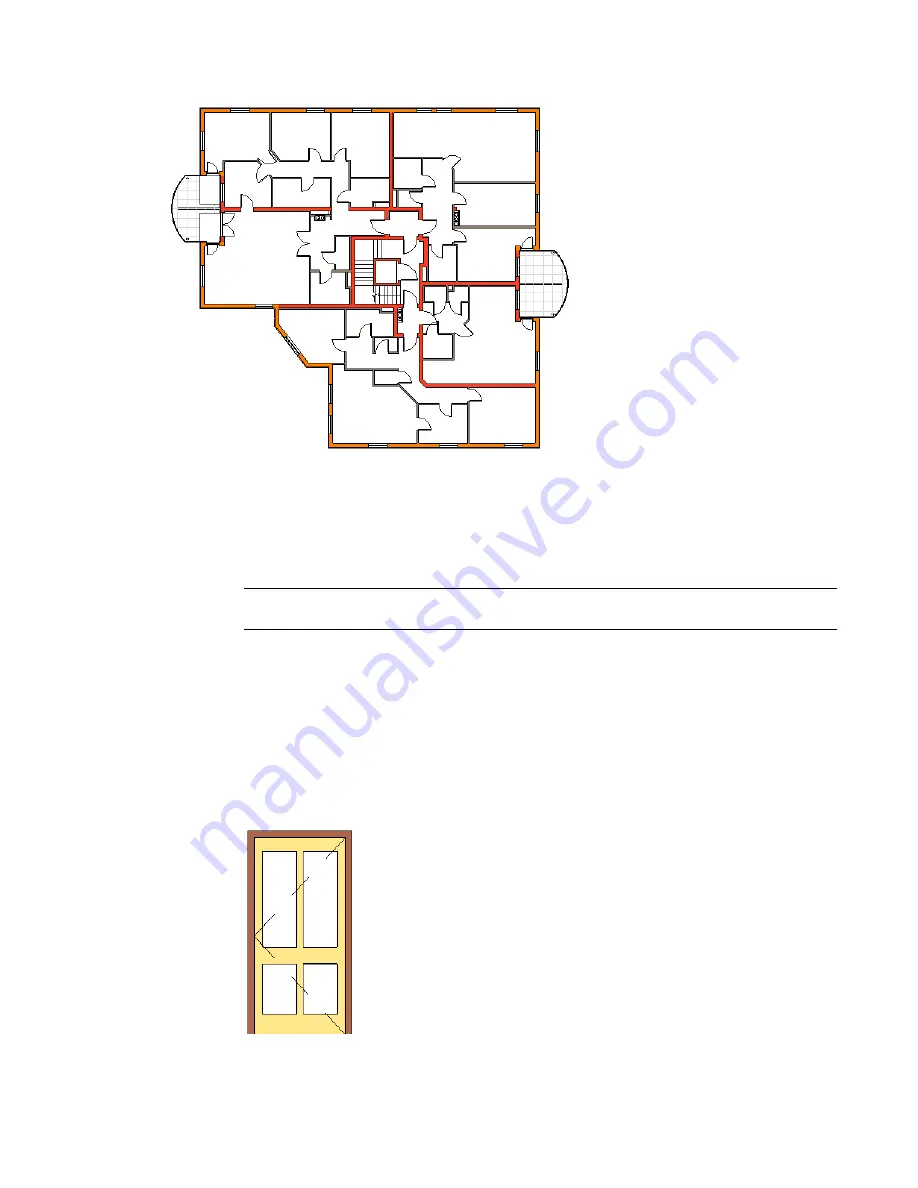
Door layout in plan
Adding Doors
1
Click Modelling menu
➤
Door, or on the Basics tab of the Design Bar, click Door.
2
In the Type Selector, select the door type.
NOTE
At this point you can load additional door types, if necessary. On the Options Bar, click Load,
and navigate to the family file.
3
On the Options Bar, select Tag on Placement to tag the door automatically. To include a tag
leader, select Leader and specify the length.
To load additional tags, click Tags. For more information, see
Loading Tag Styles
on page 492.
4
Move your cursor over a wall.
When placing the door in plan view, press the space bar to flip the door swing.
5
Click to place the door in the desired spot in the wall.
Finished door in
elevation
Doors | 733
Содержание 24000-000000-9860 - Revit Architecture - PC
Страница 1: ...Revit Architecture 2009 User s Guide April 2008 240A1 050000 PM02A ...
Страница 4: ......
Страница 56: ...18 ...
Страница 116: ...78 Chapter 3 Revit Essentials ...
Страница 172: ...134 Chapter 4 ProjectViews ...
Страница 178: ...Schedule with Grid Lines Schedule with Grid Lines and an Outline 140 Chapter 4 ProjectViews ...
Страница 352: ...Defining the first scale vector Defining the second scale vector 314 Chapter 7 Editing Elements ...
Страница 554: ...516 ...
Страница 739: ...Curtain wall Curtain Grid Curtain Walls Curtain Grids and Mullions 701 ...
Страница 898: ...Pile caps with multiple piles Rectangular and triangular pile caps 860 Chapter 12 Working with Structural Components ...
Страница 1004: ...966 ...
Страница 1136: ...1098 ...
Страница 1226: ...1188 ...
Страница 1250: ...1212 ...
Страница 1276: ...1238 Chapter 20 Design Options ...
Страница 1310: ...1272 ...
Страница 1366: ...1328 ...
Страница 1406: ...1368 ...


