1-(49)
Basic Operations
Section 1-6
Correcting or
Clearing Figures
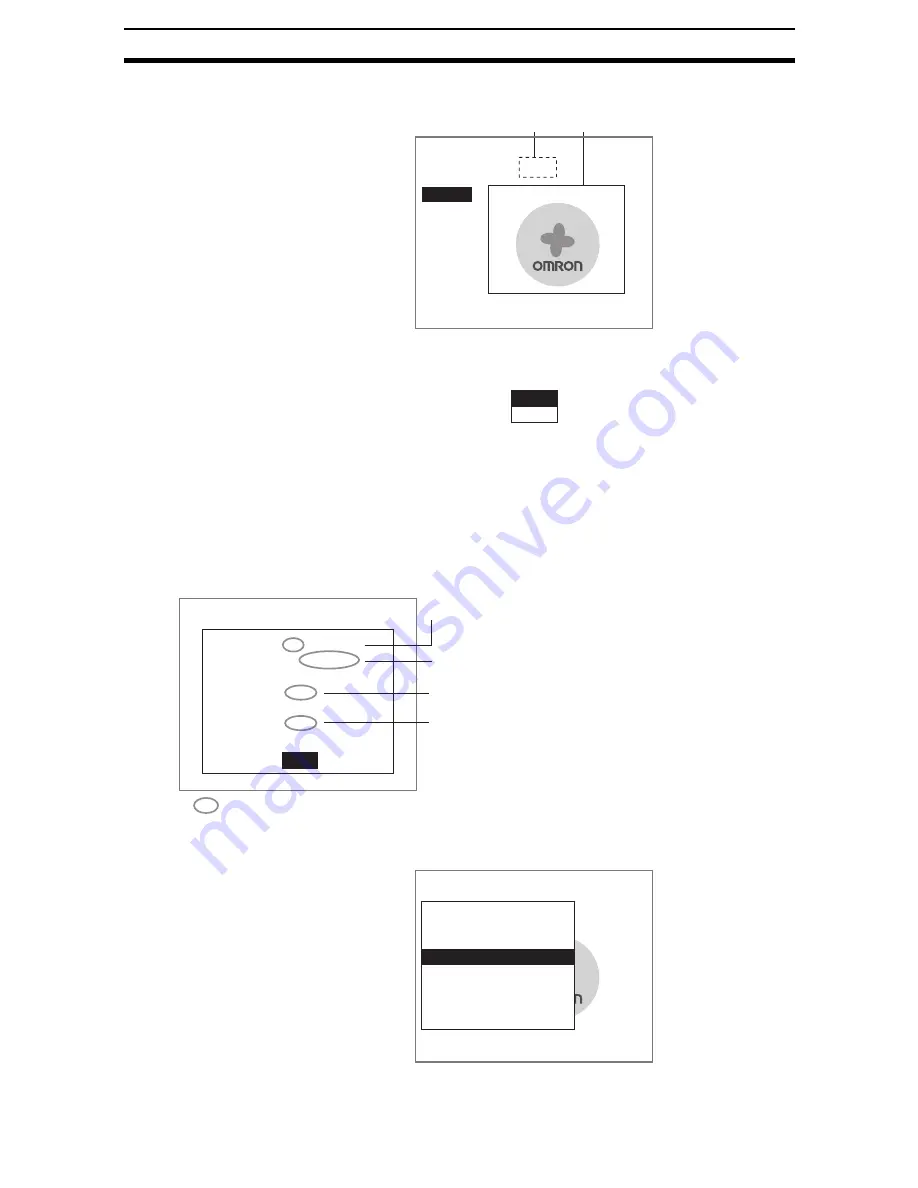
1.
In the screen for step 5 above, select the figure to be changed or cleared
using the Up and Down Keys and press the ENT Key.
The figure for the figure number selected using the cursor will be displayed
with solid lines. The selections Correct and Clear will be displayed.
2.
Select either Correct or Clear and press the ENT Key.
If Correct is selected, the cursor will be displayed. Correct the size and po-
sition of the figure as desired.
If Clear is selected, the selected figure will be cleared.
1-6-3-4
Setting the Judgement Conditions
Make the setting for number of labels, area, and center of gravity.
1.
Select Judgement conditions.
Model registration
Add
Figure0
Figure1
End
Figure 1
Figure 0
Correct
Clear
End
Judgement conditions
Quantity
Area
[ 0.000 : 247808.000]
Gravity X
[ 0.000 : 511.000]
Gravity Y
[ 0.000 : 483.000]
:
:
:
:
0 [ 0: 0]
123.152
100
100
:
Range for an OK judgement
Measurement results for the displayed image
Use these values as a reference for setting upper and lower limits.
Range for number of labels (0 to 1,000)
(The total white pixel area is counted as one label
when defect inspection is set to Binary.)
Area range (0 to 9,999,999.999)*
X axis movement range (-9,999.999 to 9,999.999)*
Y axis movement range (-9,999.999 to 9,999.999)*
* When the defect inspection is set to Labeling,
these settings are the judgement conditions for
the specified label number.
1.Fine matching
Measurement conditions
Labeling
Model registration
Judgement conditions
Differencial image
Detailed conditions
Coordinate mode
Model reference


