2-22-(7)
Rotation Positioning
Section 2-22
10. Repeat steps 6 to 8 as necessary to create the desired shape.
11. After drawing is completed, select End.
The measurement region will be registered and the screen in (3.) will re-
turn.
The search coordinates (display cursor) and model region will be dis-
played.
CHECK
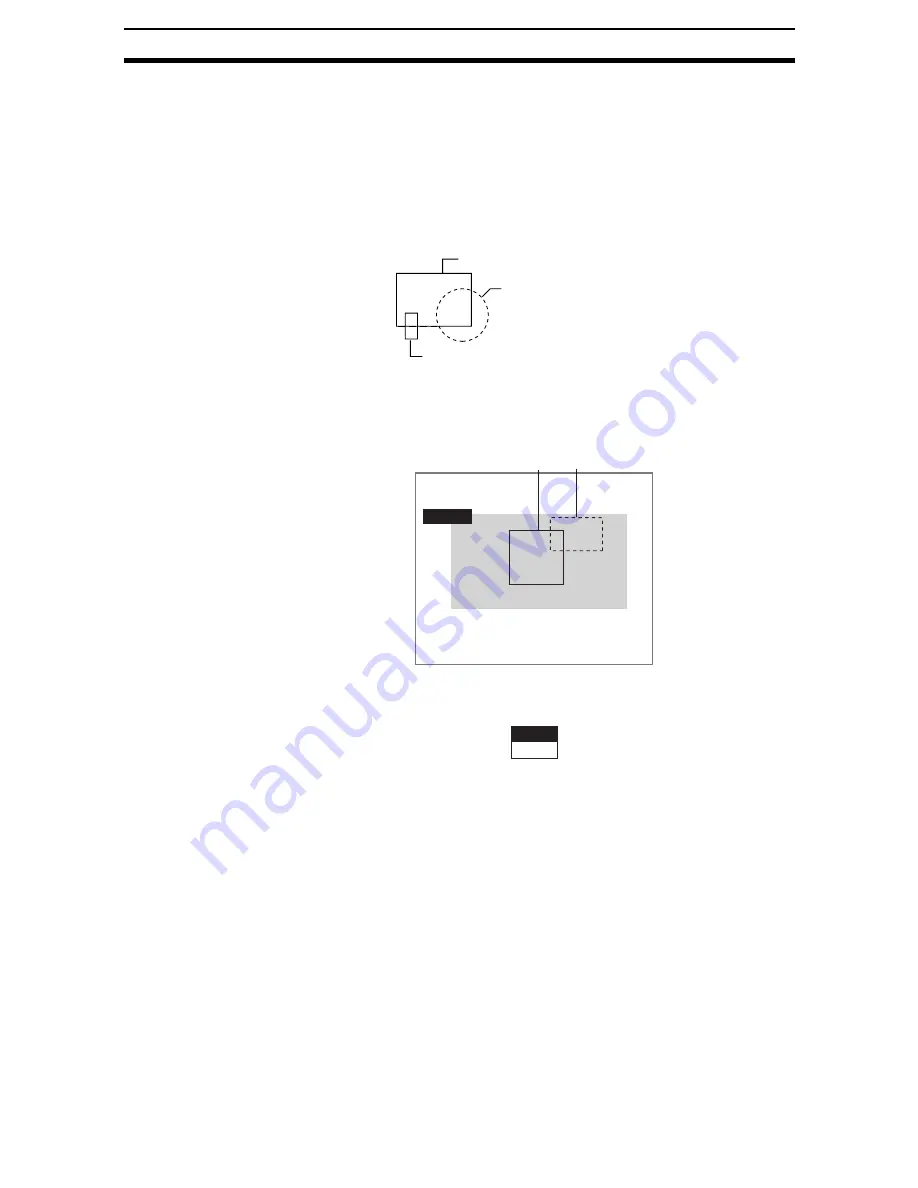
Figures drawn using OR mode are displayed with solid lines and figures
drawn using NOT mode are displayed with dotted lines.
Correcting or Clearing Figures
1.
In the screen for step 8 above, select the figure to be changed or cleared
using the Up and Down Keys and press the ENT Key.
The figure for the figure number selected using the cursor will be displayed
with solid lines. The selections Correct and Clear will be displayed.
2.
Select either Correct or Clear and press the ENT Key.
If Correct is selected, the cursor will be displayed. Correct the size and po-
sition of the figure as desired.
If Clear is selected, the selected figure will be cleared.
CHECK
To re-register models, repeat from step 4 under Step 1: Registering Mod-
els.
STEP 2: Changing the Search Coordinates
Use this function to change the search coordinates only.
When a model is registered, the center position of the model is registered as
the search coordinates. However, this function can be used to register a point
other than the center of the model as the search coordinates.
CHECK
The search coordinates are used for the point output as the measurement
value. The search coordinates can be changed to any point inside the model.
If multiple figures have been combined to create the model, the search coordi-
nates will be limited to within the circumscribing rectangle.
Figure 1 (drawn using OR)
Figure 2 (drawn using NOT)
Figure 3 (drawn using OR)
A
A
Model registration
Add
Figure0
Figure1
End
Figure 0 Figure 1
Correct
Clear


