7SA6 Manual
C53000-G1176-C156-2
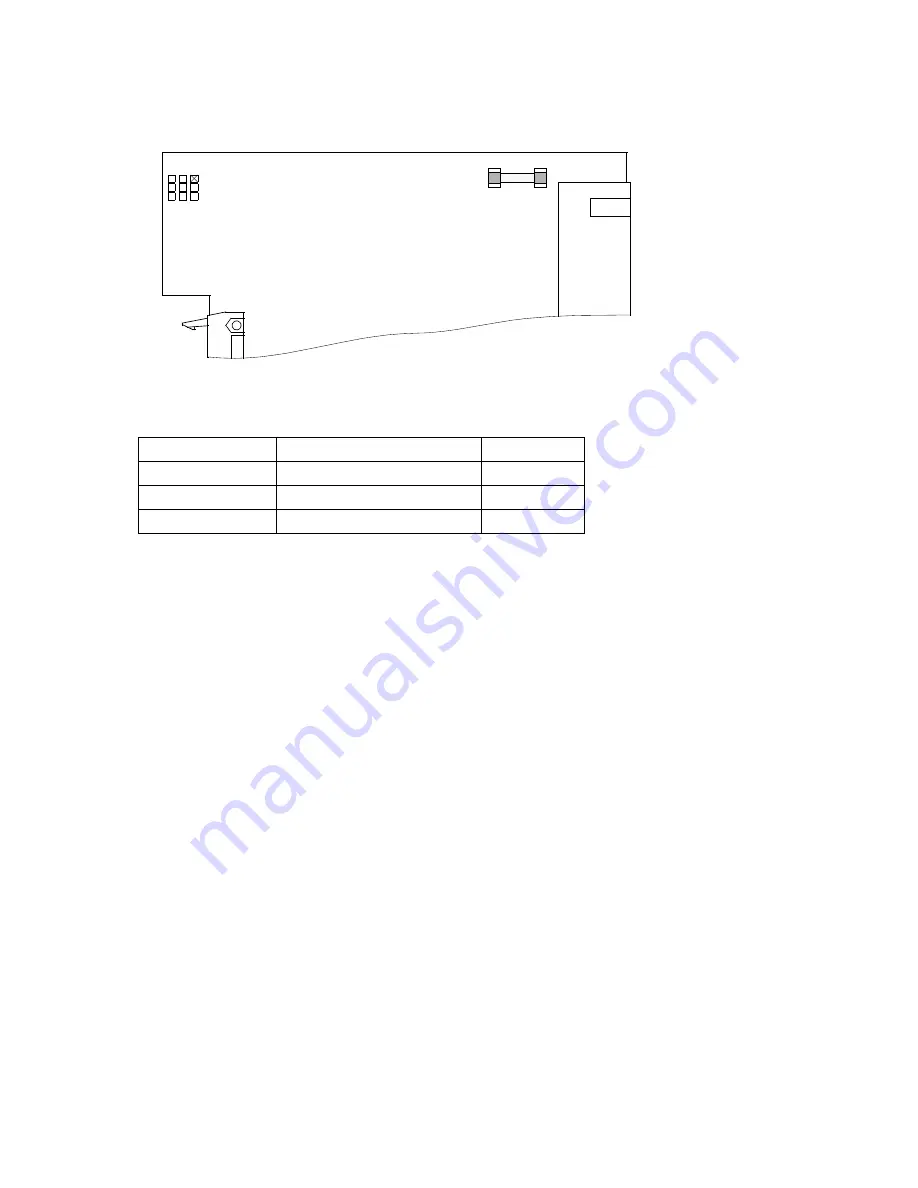
Figure 9-7
Power supply mini-fuse CPU board
o
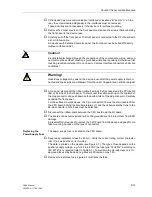
Install the new fuse into the holder.
o
Carefully install the I/O board I/O-1 in the case. The insertion locations
are indicated in Figures 8-10 and 8-11 in Sub-section 8.1.3.
Reassembling the
Device
To reassemble the device:
o
Connect the ribbon-cable between the I/O board and the CPU board. Be
especially careful not to bend any of the connector pins! Do not use force!
Make sure the connectors latch.
o
Plug the plug-connector of the ribbon-cable between the CPU board and
the front panel of the device onto the plug-connector of the cover. Be es-
pecially careful not to bend any of the connector pins! Do not use force!
Make sure the connectors latch.
For the device versions with detached operator panel this activity can be
skipped. Connect the ribbon-cable from the 68-pin connector at the back
of the device to the plug-connector of the CPU board. The 7pin connector
X16 must be plugged behind the D-subminiature port. The direction in
which it is plugged is not relevant since the connection is protected
against polarity reversal.
o
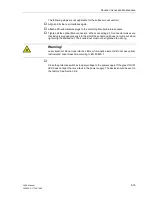
Carefully replace the front panel being mindful of the ribbon-cables. Fas-
ten the front panel to the case with the screws.
o
Replace the covers.
Table 9-1
Assigning of the mini-fuse rating to the device auxiliary voltage rating
7SA6
∗∗∗
Version
Rated Auxiliary Voltages
Fuse Type
–2
∗∗∗∗
–
∗∗∗∗
24 V to 48 V—
T4H250V
–4
∗∗∗∗
–
∗∗∗∗
60 V to 125 V—
T2H250V
–5
∗∗∗∗
–
∗∗∗∗
110 V to 250 V—, 115 V
∼
T2H250V
F1
23
0V
AC
1
T2
H2
50
V
B1
5-
60
-25
0V
D
C
/11
5V
AC
T2
H
25
0V
B1
2-
24
-4
8V
DC
T4
H2
50
V
B1
1-
2
3
Summary of Contents for siprotec 7SA6
Page 2: ...Siemens Aktiengesellschaft Book No C53000 G1176 C156 2 ...
Page 18: ...xviii 7SA6 Manual C53000 G1176 C156 2 ...
Page 32: ...Introduction 1 14 7SA6 Manual C53000 G1176 C156 2 ...
Page 82: ...Hardware and Connections 2 50 7SA6 Manual C53000 G1176 C156 2 ...
Page 119: ...SIPROTEC 4 Devices 4 25 7SA6 Manual C53000 G1176 C156 2 Figure 4 20 CFC Logic example ...
Page 190: ...Configuration 5 62 7SA6 Manual C53000 G1176 C156 2 ...
Page 652: ...Installation and Commissioning 8 78 7SA6 Manual C53000 G1176 C156 2 ...
Page 724: ...Technical Data 10 56 7SA6 Manual C53000 G1176 C156 ...
Page 800: ...Appendix A 76 7SA6 Manual C53000 G1176 C156 2 ...
Page 866: ...Appendix B 66 7SA6 Manual C53000 G1176 C156 2 ...


