Configuration
5-28
7SA6 Manual
C53000-G1176-C156-2
open the context menu, and select
Delete Group
. A confirmation window will ap-
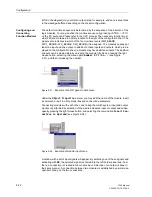
pear (Figure 5-25).
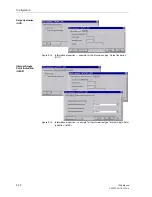
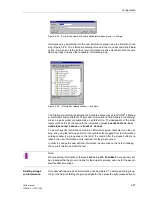
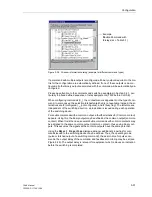
Figure 5-25
Confirmation window before deleting a user defined group
Click
Yes
if you actually want to delete the group.
To delete individual entries, click under
Information
in the line with the entry to be
deleted. Then press the right mouse button to open the context menu, and select
De-
lete Information
. The remaining steps are the same as those for deleting a
group.
5.2.4
Performing Configuration
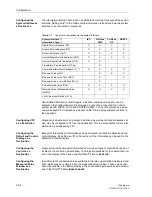
The actual assignment between the information (rows) and the sources and destina-
tions (columns) of the information is made in the cell of intersection. You click into the
cell and press the right mouse button. A pull down menu appears where you may de-
termine the properties of the assignment. In certain cases, the pull down menu will of-
fer
X
(allocated) or
_
(not allocated) as the configuration choices. In other cases, three
options will be offered (e.g.
L
= latched,
U
= unlatched, and
_
= not allocated). Entries
resulting in an implausible configuration are blocked and inaccessible to the user.
Configuring Binary
Inputs as Sources
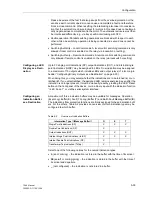
Single point indications, double point indications, transformer tap indications and
pulse metered values can all be configured as binary inputs. In addition, whether or
not binary inputs are activated by the presence of control voltage can be established.
That is,
•
“H” (High with voltage active): Control voltage at the binary input terminals activates
the indication;
•
“
L
” (Low with voltage active): Control voltage at the binary input terminals deacti-
vates the indication.
Note:
When deleting a group, all information definitions within this group will be deleted.
Note:
A single logical indication should not be configured to two binary inputs, since an OR-
combination of both signals is not ensured. The operating program allows only one
combination, and deletes the first combination when a second is established.
Summary of Contents for siprotec 7SA6
Page 2: ...Siemens Aktiengesellschaft Book No C53000 G1176 C156 2 ...
Page 18: ...xviii 7SA6 Manual C53000 G1176 C156 2 ...
Page 32: ...Introduction 1 14 7SA6 Manual C53000 G1176 C156 2 ...
Page 82: ...Hardware and Connections 2 50 7SA6 Manual C53000 G1176 C156 2 ...
Page 119: ...SIPROTEC 4 Devices 4 25 7SA6 Manual C53000 G1176 C156 2 Figure 4 20 CFC Logic example ...
Page 190: ...Configuration 5 62 7SA6 Manual C53000 G1176 C156 2 ...
Page 652: ...Installation and Commissioning 8 78 7SA6 Manual C53000 G1176 C156 2 ...
Page 724: ...Technical Data 10 56 7SA6 Manual C53000 G1176 C156 ...
Page 800: ...Appendix A 76 7SA6 Manual C53000 G1176 C156 2 ...
Page 866: ...Appendix B 66 7SA6 Manual C53000 G1176 C156 2 ...

