CHAPTER 12 INSTALLATION
12-44
COPYRIGHT © 1999 CANON INC. CANON imageRUNNER 400/330 REV.0 JAN. 1999 PRINTED IN JAPAN (IMPRIME AU JAPON)
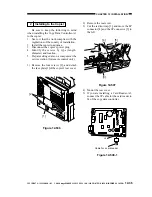
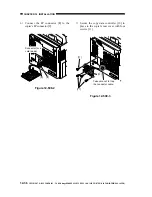
3) Remove the four screws [6], and detach
the face plate [5] of the copier's rear cover.
Figure 12-603
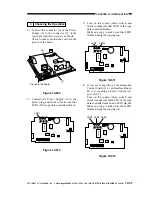
4) Remove the rear cover.
5) Cut the red tie-wrap [7], and move the 8P
connector [8] and the 9P connector [9] to
the left.
Figure 12-604
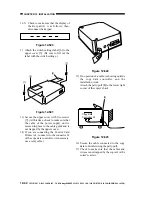
6) Mount the rear cover.
7) Connect the 8P connector [10] of the
controller and the copier's 8P connector
[11].
Figure 12-605
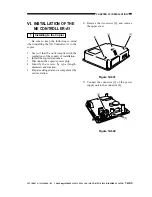
8) Secure the controller [12] to the copier's
rear cover with for screws [13] (that
comes with the controller).
Figure 12-606
[5]
[6]
[6]
[7]
[8]
[9]
The 9P connector
will not be used.
[10]
[11]
[12]
[13]
[13]
Pay attention not to trap
the connector cable.

