CHAPTER 8 PAPER DECK
8-40
COPYRIGHT © 1999 CANON INC. CANON imageRUNNER 400/330 REV.0 JAN. 1999 PRINTED IN JAPAN (IMPRIME AU JAPON)
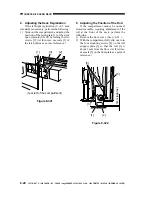
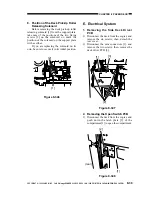
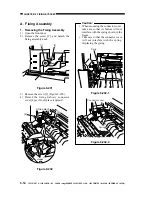
2) Remove the three screws [3], and
disconnect the connector [4]; then, detach
the upper front cover [5].
Figure 8-349
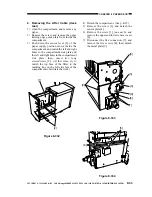
3) Remove the two screws [6], and detach
the open switch PCB [7].
[3]
[4]
[5]
Figure 8-350
Caution:
When mounting the upper front cover,
be sure that it is not trapped by the open
switch PCB and all connectors are
connected correctly.
[7]
[6]


