CHAPTER 12 INSTALLATION
12-4
COPYRIGHT © 1999 CANON INC. CANON imageRUNNER 400/330 REV.0 JAN. 1999 PRINTED IN JAPAN (IMPRIME AU JAPON)
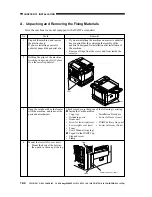
A. Unpacking and Removing the Fixing Materials
Here, the machine is a model equipped with a DADF as standard.
No.
1
2
3
4
Remarks
If you are installing the machine on a cassette pedestal,
keep in mind that the vertical path assembly of the
pedestal is designed for installation after installation of
the machine.
Remove all tape from the covers and from inside the
cassette.
Check to make sure that none of the following is missing:
n
Inside the Cardboard Box
Copy tray
Installation Procedure
Grounding cord
Lower left cover (rear)
Drum unit
Screw for lower right cover DADF delivery tray unit
Lower right cover (rear)
Lower left cover (front)
Toner
User's Manual (copying)
n
Taped On the DADF Top
Stepped screw
Stamp
Work
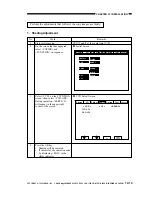
Unpack the machine, and remove
the plastic sheets.
If you are installing a cassette
pedestal, unpack the pedestal also.
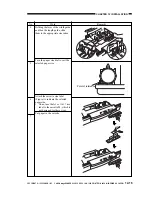
Holding the grips of the machine
(working in a group of two), place
it on the cassette pedestal.
Open the cardboard box that comes
with the machine, and take out the
parts and attachments.
Mount the lower left cover (rear).
Mount the hook at the bottom;
then, push in the snap at the top.
Grips
Grips
Claw
Hook
Lower left cover (rear)

