CHAPTER 6 IMAGE FORMATION SYSTEM
6-24
COPYRIGHT © 1999 CANON INC. CANON imageRUNNER 400/330 REV.0 JAN. 1999 PRINTED IN JAPAN (IMPRIME AU JAPON)
A. Drum Unit
1. Removing the Drum Unit
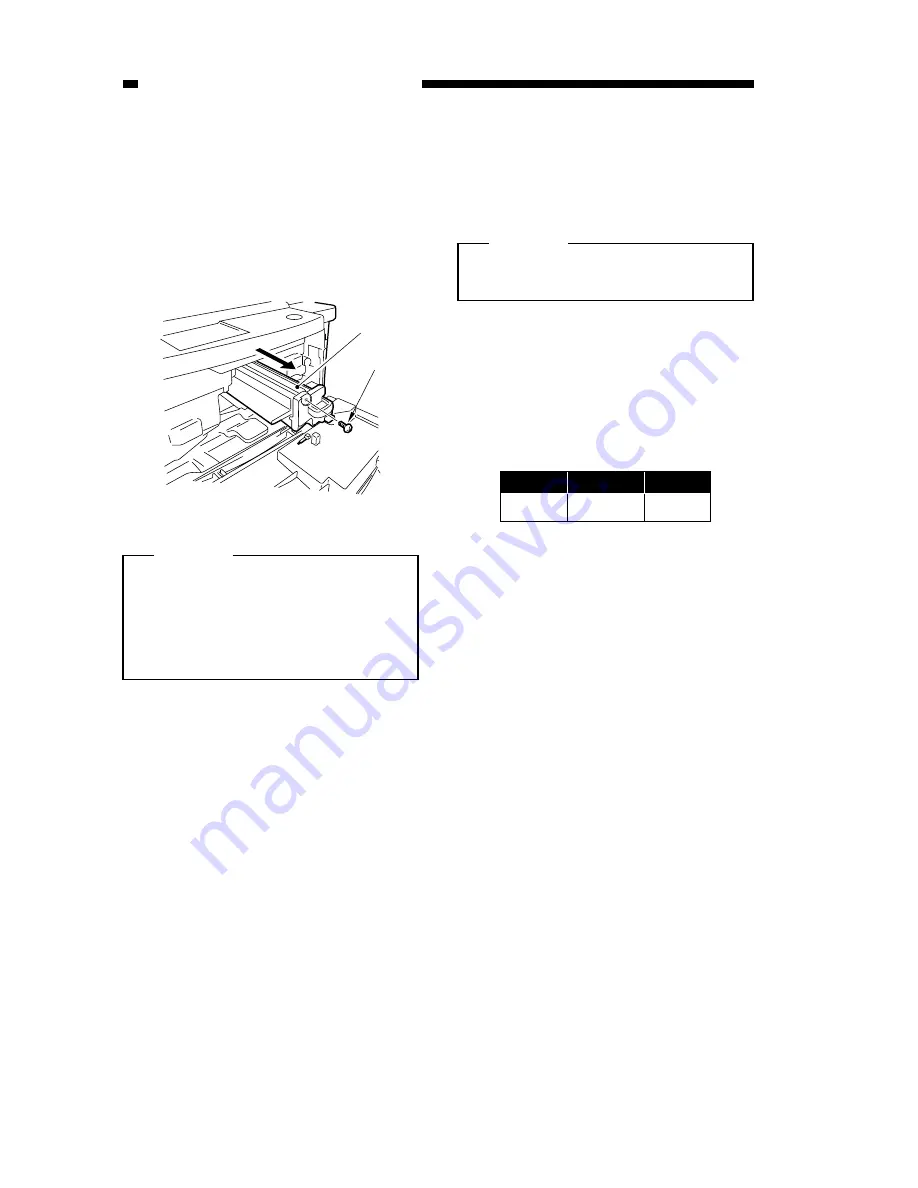
1) Open the front door.
2) Release the feeding assembly.
3) Release the developing assembly.
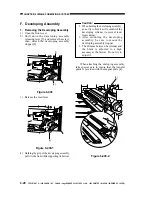
4) Remove the screw [1].
5) Pull the drum unit [2] slowly to the front.
Figure 6-400
Caution:
1. Take care not to damage he photosensitive
drum.
2. The photosensitive drum is extremely
sensitive to light. Exposure to room
light can lead to white spots or black
bands.
2. Cleaning
If the surface of the photosensitive drum
is soiled, wipe it with a flannel cloth coated
with toner. (Do not use paper, lint-free or
otherwise.)
Caution:
Do not dry wipe, or do not use solvent.
Do not use cleaning powder.
3. When Replacing the Drum Unit
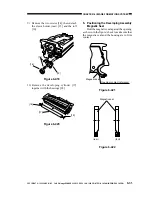
When replacing the drum unit, fill out the
label (figure 6-401) with the date and the
counter reading; attach the label to the front
cover of the new drum unit, and perform the
Image Adjustment Basic Procedure.
Figure 6-401
After replacing the drum unit, be sure to
clean the fixing separation claws (upper,
lower).
[2]
[1]
œ t fl
date
J E
^ [
compteur.
date
Datum
counter
Zahler
notes
Notiz
ı l
note


