COPYRIGHT © 1999 CANON INC. CANON imageRUNNER 400/330 REV.0 JAN. 1999 PRINTED IN JAPAN (IMPRIME AU JAPON)
11-11
CHAPTER 11 SYSTEM INTEGRATION
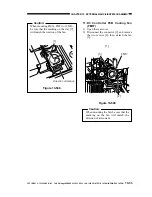
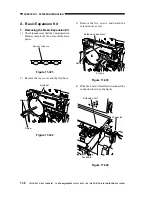
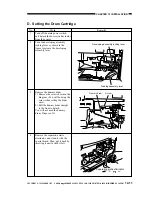
4) Remove the rear cover.
5) Remove the five screws, and detach the
extension case cover.
6) Pull the lever, and slide out the board from
the extension unit.
Figure 11-312
SCSI interface board
Lever
Lever
C. Battery Board
Caution:
When removing or mounting the battery
board, take care not to touch the BD unit.
1. Removing the Battery Board
1) Check to make sure that the Communication
Memory lamp is off; then, turn off the main
power.
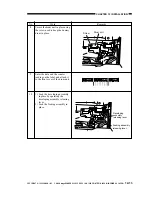
2) Remove the copyboard glass retainer
(right), and detach the copyboard glass.
Figure 11-313
3) Remove the small cover from the IP
cover.
Screws
Copyboard glass
Copyboard glass retainer mount
Figure 11-314
Small cover
Screw


