CHAPTER 14 TROUBLESHOOTING
14-24
COPYRIGHT © 1999 CANON INC. CANON imageRUNNER 400/330 REV.0 JAN. 1999 PRINTED IN JAPAN (IMPRIME AU JAPON)
3
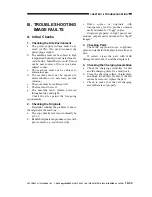
Copy Density Auto Correction
n
Execute copy density auto correction for the following:
The copy image is not proper (image fault).
The laser unit has been replaced.
The image processor has been replaced.
The composite power supply PCB has been replaced.
n
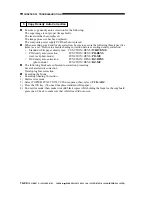
When executing copy density auto correction, be sure to execute the following three types (five
items) as a set. Be sure to execute shading correction before executing density correction.
Standard white paper density read FUNCTION>DENS>
WHITE-ME
PD density auto correction
FUNCTION>DENS>
PD-DENS
(text, text/photo mode)
FUNCTION>DENS>
PD-ME
DZ density auto correction
FUNCTION>DENS>
DZ-DENS
(photo mode)
FUNCTION>DENS>
DZ-ME
n
The following blocks are subjected to correction processing:
Laser characteristic correction
Developing bias correction
n
Executing the Mode
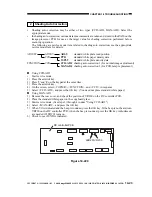
a. Executing Shading Correction
1) Start service mode.
2) Select COPIER>FUNCTION>CCD in sequence; then, select <
CCD-ADJ
>.
3) Press the OK key. (You need not place standard white paper.)
4) End service mode; then, make two solid black copies while holding the feeder or the copyboard
glass open. Check to make sure that white lines did not occur.

