COPYRIGHT © 1999 CANON INC. CANON imageRUNNER 400/330 REV.0 JAN. 1999 PRINTED IN JAPAN (IMPRIME AU JAPON)
14-45
CHAPTER 14 TROUBLESHOOTING
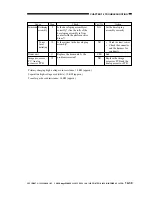
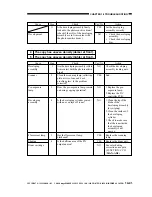
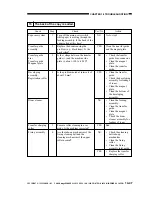
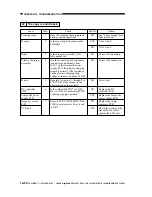
Cause
Exposure system
Transfer charging
roller, Separation
static eliminator
Developing
assembly
Fixing assembly
Fixing assembly
inlet
Photosensitive
drum
Dust-proofing
glass
Exposure system
Standard white
plate
Action
Go to step 7.
Clean the transfer
charging roller or the
separation static
eliminator. If the
problem still is not
corrected, replace the
transfer charging
assembly or the static
eliminator.
Check the edge of the
blade of the developing
assembly. If there is no
not toner in the
developing assembly,
see "The Add Toner
message fails to turn
on."
Replace the upper
fixing roller.
Clean the separation
claw.
Check to see if the
separation claw is
mounted correctly.
Clean it.
Replace the drum unit.
Be sure to find out
the cause of the
scratches.
End.
End.
Change the setting of
ADJUST>ADJ-XY>
ADJ-S in service mode
to change the position of
shading measurement.
Step
1
2
3
4
5
6
7
8
Yes/No
NO
YES
NO
YES
YES
YES
YES
YES
NO
Check
Generate a halftone test print in
service mode. Enter '4' to
COPIER>PG>TYPE.
Are there black lines on the output?
Is the transfer charging roller or the
separation static eliminator soiled
or coated with foreign matter?
Is the surface of the developing
cylinder coated with an even layer
of toner?
Are there scratches in the
peripheral direction of the surface
of the upper fixing roller?
Is there dirt or foreign matter on
the fixing assembly inlet?
Are there scratches in the
peripheral direction of the
photosensitive drum?
Clean the dust-proofing glass. Is
the problem corrected?
Clean the standard white plate and
the mirrors. Is the problem
corrected?
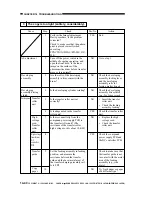
10 The copy has white spots (vertical).
11 The copy has white lines (vertical).


