CHAPTER 9 FIXING SYSTEM
9-26
COPYRIGHT © 1999 CANON INC. CANON imageRUNNER 400/330 REV.0 JAN. 1999 PRINTED IN JAPAN (IMPRIME AU JAPON)
B. Fixing Cleaner Assembly
1. Outline
The fixing cleaner assembly is located
above the fixing assembly. It is designed to
keep a cleaning belt impregnated with silicone
oil against the surface of the upper roller to
remove dirt.
The cleaning belt is 15 m in length, and a
red band appears when it starts to run out (2.5
form the end).
Caution:
If you have replaced the fixing cleaning
belt, reset the reading of WEB in service
mode (COPIER>COUNTER>MISC-
FIX-WEB).
2. Detaching the Fixing Cleaning Belt
1) Remove the fixing assembly from the
copier.
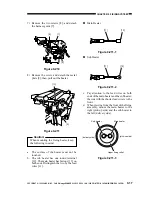
2) Remove the two screws [1], and remove
the fixing cleaner assembly [2].
Figure 9-232
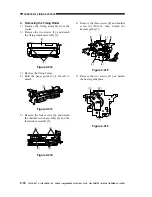
3) Turn over the fixing cleaner assembly.
4) Lift the take-up shaft [3] while moving it
in the direction of the arrow.
Figure 9-233
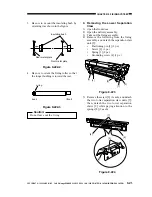
5) Remove the four screws [4], and take out
the retaining roller assembly.
Figure 9-234
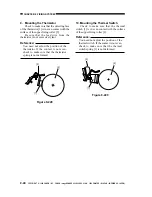
6) Disengage the hook of the cleaning belt
set shaft [6], and turn it counterclockwise
to remove.
Figure 9-235
7) Remove the cleaning belt.
[1]
[2]
[3]
[4]
[4]
[5]
[3]
[6]

