CHAPTER 9 FIXING SYSTEM
9-18
COPYRIGHT © 1999 CANON INC. CANON imageRUNNER 400/330 REV.0 JAN. 1999 PRINTED IN JAPAN (IMPRIME AU JAPON)
3. Removing the Fixing Roller
1) Remove the fixing assembly from the
copier.
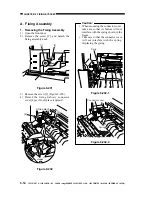
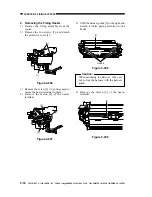
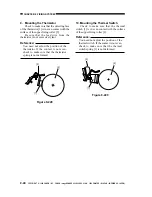
2) Remove the two screws [1], and detach
the fixing cleaner assembly [2].
Figure 9-212
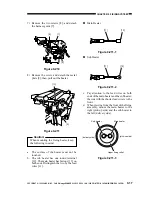
3) Remove the fixing heater.
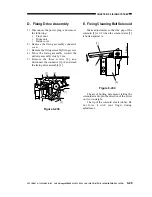
4) Shift the paper guide [3] to the left to
detach.
Figure 9-213
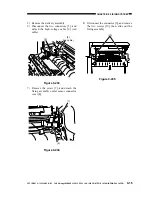
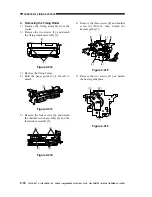
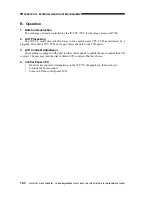
5) Remove the four screws [6], and detach
the thermal switch assembly [4] and the
thermistor assembly [5].
Figure 9-214
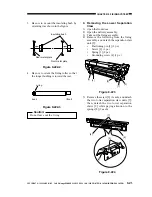
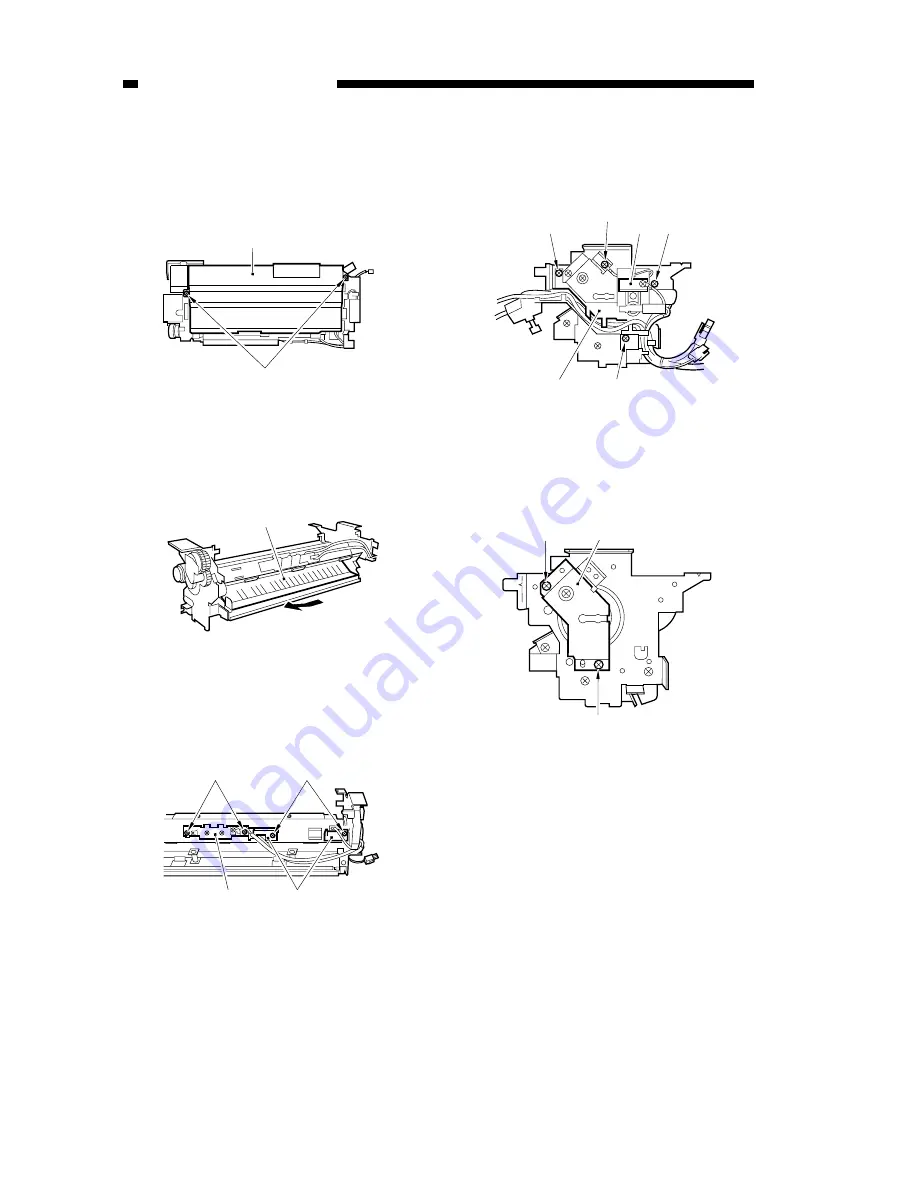
6) Remove the three screws [8] and another
screw [9] (M3x6); then, detach the
harness guide [7].
Figure 9-215
7) Remove the two screws [11], an detach
the heater guide plate.
Figure 9-216
[2]
[1]
[3]
[6]
[6]
[4]
[5]
[8]
[9]
[7]
[8]
[7]
[8]
[11]
[11]
[10]

