D-8
Chapter D - Software
Automated Chemistry Analyzer
AU2700 User's Guide
May, 2002
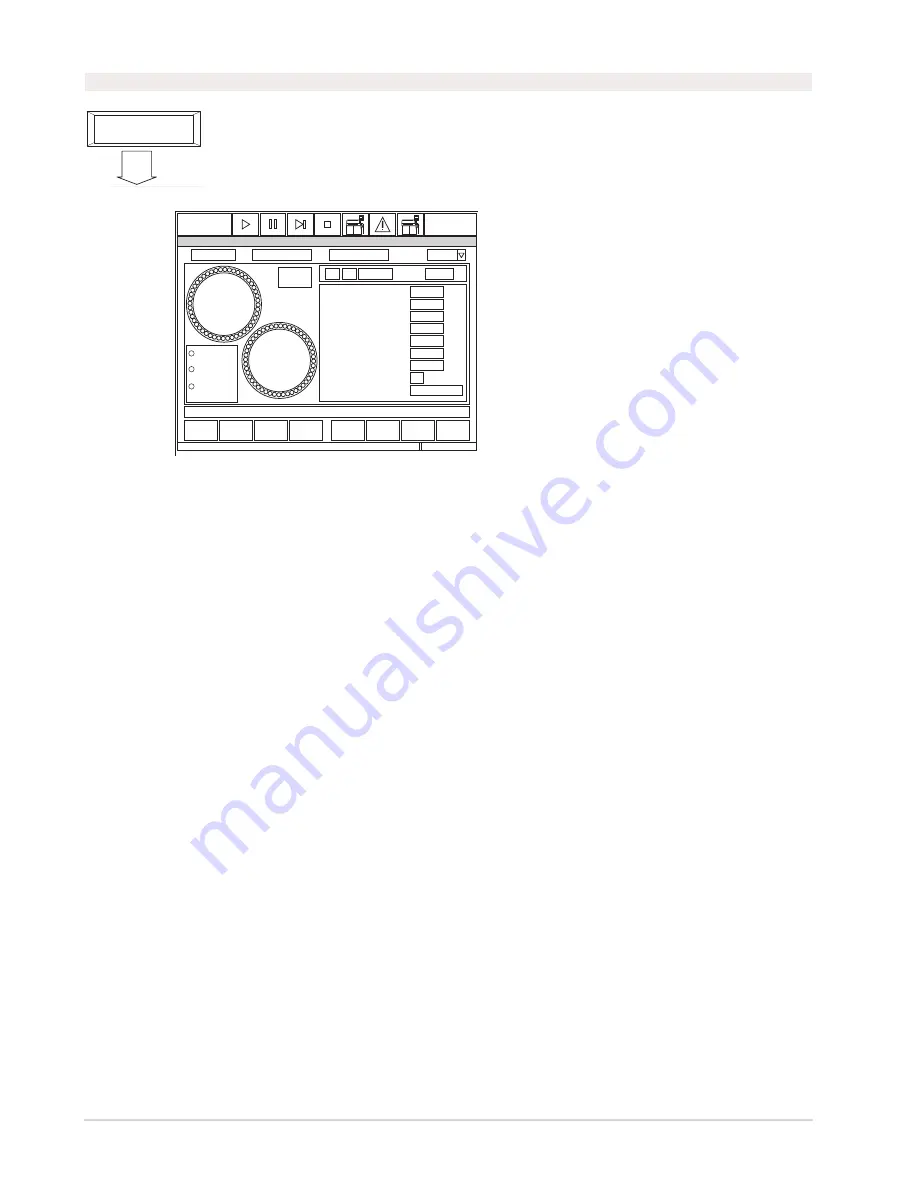
1.3 Reagent Status
Referring to the data
for samples under
analysis
F5
Referring to main
information on
system status
[System Status]
(4) Data
Display
Referring to the data
for all samples
Referring to the data
for ISE (option)
Referring to the data
for samples analyzed
with the STAT table
Select [All Data] tab
"Data Display" screen
Select [STAT Data] tab
Select [ISE Data] tab
F6
F5
Referring to data
related to analyzed
smples
F5
OLU3013E
One of the tabs
can be selected
Button function
Described in
another section.
Press this key.
Main operation flow
Operation flow
OLU1012E
ALARMCLEAR
?
STANDBY
Help
Exit
Position
Display
Test
Display
Edit
Check
Start
Reagent
Setting
Reagent Status
1997/09/03 10:10
Position(P):
Test:
Vol(mL):
Shot:
Onboard Stability:
Calibration Stability:
Sequence:
Lot No.:
Bottle No.:
Bottle Size:
Dilution
Sample Probe
Det-1
Sample Probe
Det-2
Comment:
Unchecked
R1
Reagent of Group
R2
Reagent of Group
Type:
R2
5
1
45
40
35
30
25
20
15
10
R1
5
1
45
40
35
30
25
20
15
10
Reagent
History
Description:
Use this menu to perform a reagent volume check, assign (fix) positions for reagents which are
not barcoded, and verify the remaining number of tests in the bottles. The following can be
viewed or entered: tests per bottle, bottle volume, reagent on-board stability, calibration stability,
reagent lot number and bottle sequence.
See Also
For information on correcting many of the following abnormal messages, refer to the “Fatal and Nonfatal
Errors” section located in the Flags Chapter.
R1/R2
R1 represents reagent compartment 1. R2 represents reagent compartment 2.
Position No. Display
This field displays the number of the specified reagent position.
Reagent History
The reagent history field displays a history of reagents used on the system. This screen
shows the lot number, bottle number, onboard stability, expiration date, bottle size, and bottle
position.
Position Button
To select a reagent position, click the circle indicating its position on the screen illustration.
Note:
If a 120 mL bottle is in the reagent compartment, two reagent positions will be
occupied by one bottle and three position will be occupied if a 180mL bottle is in place.
Another method for selecting reagent bottle information is:
1. Click on the “Position” button with the mouse. The “Select Reagent Position” dialog box
will display.
2. Select either “R1” or “R2” from the pull-down menu.
3. Enter the position number for the reagent on which you want more information.
4. Select “OK.”
Содержание AU2700
Страница 17: ...A 4b Automated Chemistry Analyzer AU2700 User s Guide November 1 2009 This page intentionally left blank ...
Страница 178: ...D 4 Chapter D Software Automated Chemistry Analyzer AU2700 User s Guide March 31 2005 ...
Страница 260: ...D 86 Chapter D Software Automated Chemistry Analyzer AU2700 User s Guide May 2002 ...


