


Getting started
R&S
®
RTO6
47
User Manual 1801.6687.02 ─ 05
1
= Toolbar
2
= Tab in a dialog box
3
= Dialog box
4
= Result table (docked)
5
= Signal bar
6
= Menu
Not shown = Input box
Toolbar (1)
The icons on the toolbar provide quick and easy access to the most important function-
ality. For a detailed description, refer to
If you adjust the settings of an analyzing function, e.g., cursor measurement, the over-
lay menu is shown instead of the icons. The overlay menu provides the most important
settings of the current action. If you need more settings, "Advanced Setup" opens the
corresponding dialog box.
Dialog box (2, 3)
The tabs of the dialog boxes contain all task-oriented settings and operations, and
black buttons for calling related tabs. The usage of dialog boxes is described in
Result table (4)
If you perform cursor or automatic measurements, mask testing, or a search, the result
table shows the results of the action. The position of the result table is adjustable. It
can be docked (default for measurements), floating, minimized to a result icon on the
signal bar, or displayed in a separate diagram on the screen.
See also:
Chapter 3.3.7, "Displaying results"
Signal bar (5)
The signal bar summarizes all waveforms as described in
Menu (6)
The menu provides access to the complete functionality of the R&S
RTO6.
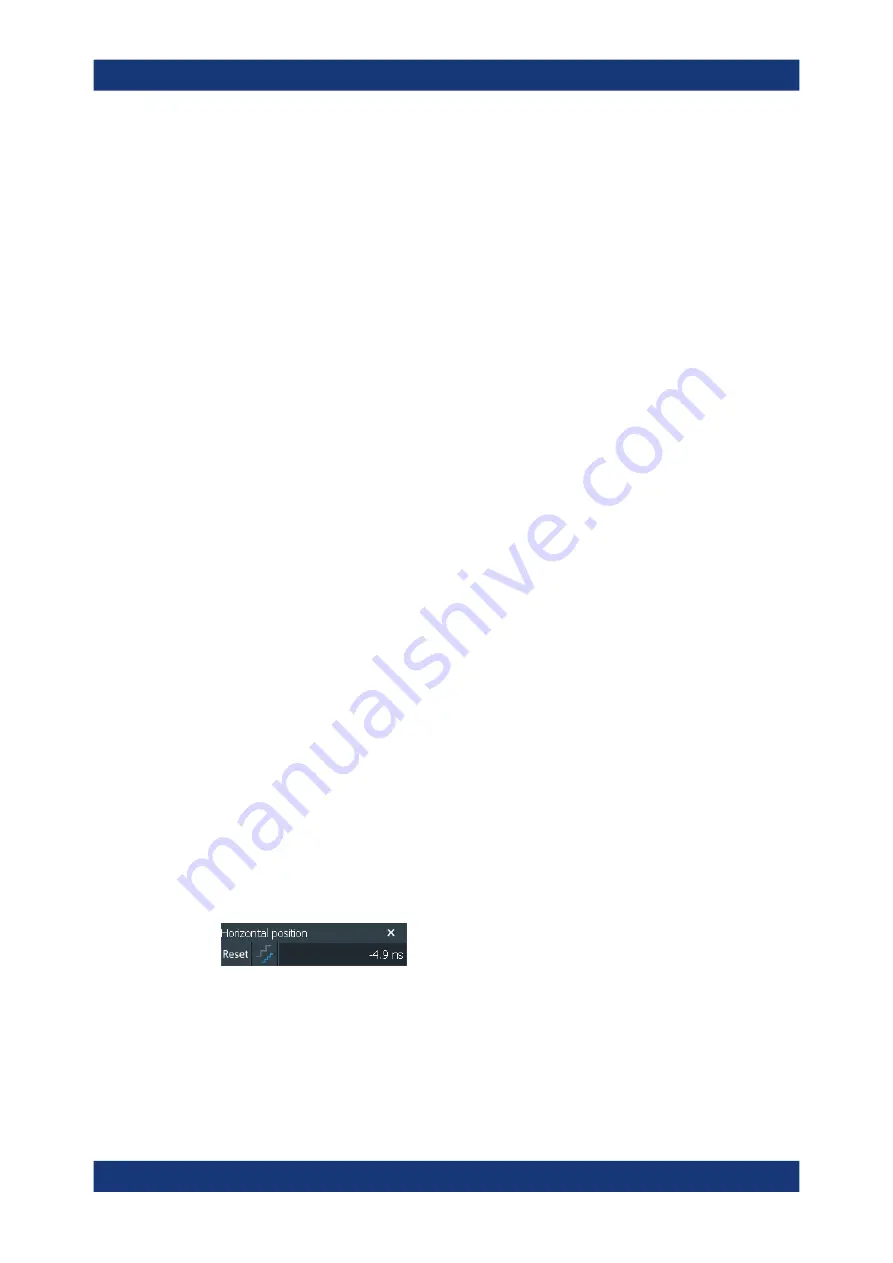
Input box
The input box appears if you adjust a value using one of the rotary knobs, or if you
drag an element on the screen, for example, a cursor line. The input box shows the
current value of the modified parameter. You can enter the exact numerical value,
change the step size, and - if available - autoset the value directly in the input box. The
box title shows the name of the currently adjusted parameter.
See also:
Chapter 3.3.9, "Entering data"
3.3.3
Applications
All available applications for special tasks are provided in the "Apps" dialog.
Operating the instrument


