Appendix H: RADIUS Configuration Illustration
632
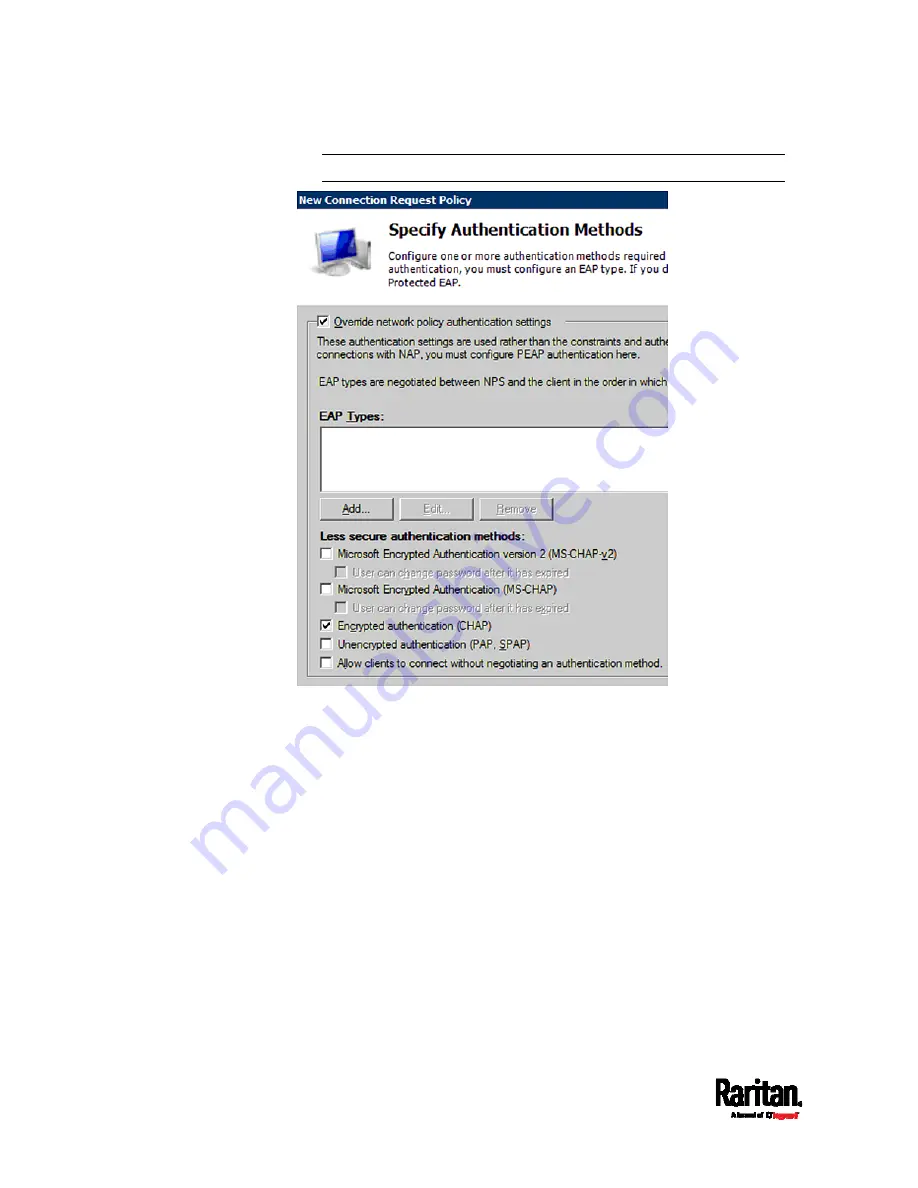
Note: If your SRC uses PAP, then select "PAP."
10.
Select Vendor Specific to the left of the dialog, and click Add. The
Add Vendor Specific Attribute dialog appears.
11.
Select Custom in the Vendor field, and click Add. The Attribute
Information dialog appears.
12.
Click Add, and the Vendor-Specific Attribute Information dialog
appears.
13.
Click "Enter Vendor Code" and type
13742.
14.
Select "Yes, it conforms" to indicate that the custom attribute
conforms to the RADIUS Request For Comment (RFC).
15.
Click Configure Attribute, and then:
a.
Type
26 in the "Vendor-assigned attribute number" field.
b.
Select String in the "Attribute format" field.
c.
Type
Raritan:G{Admin User SystemTester} in the "Attribute
value" field. In this example, three roles 'Admin,' 'User' and
'SystemTester' are specified inside the curved brackets {}.
Summary of Contents for Raritan SRC-0100
Page 114: ...Chapter 6 Using the Web Interface 102...
Page 291: ...Chapter 6 Using the Web Interface 279...
Page 301: ...Chapter 6 Using the Web Interface 289 6 Click Create to finish the creation...
Page 311: ...Chapter 6 Using the Web Interface 299...
Page 312: ...Chapter 6 Using the Web Interface 300 Continued...
Page 625: ...Appendix H RADIUS Configuration Illustration 613 Note If your SRC uses PAP then select PAP...
Page 630: ...Appendix H RADIUS Configuration Illustration 618 14 The new attribute is added Click OK...
Page 631: ...Appendix H RADIUS Configuration Illustration 619 15 Click Next to continue...


