


Chapter 7: Using the Web Interface
281
Asset Strip
After connecting and detecting Raritan asset management strips (asset strips),
the PX3TS shows 'Asset Strip' in place of 'Feature Port' in the menu.
Note: For connection instructions, see
Connecting Asset Management Strips
(on page 62).
To open the Asset Strip page, click it in the
Menu
(on page 176). On this page,
you can configure the rack units of asset strips and asset tags. A rack unit refers
to a tag port on the asset strips. The "Change Asset Strip Configuration"
permission is required.
For the functionality of this icon
on the top-right corner, see
Feature Port
(on page 279).
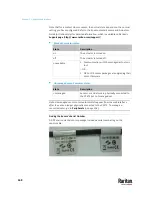
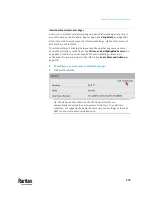
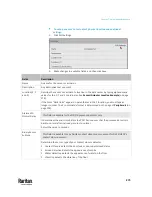
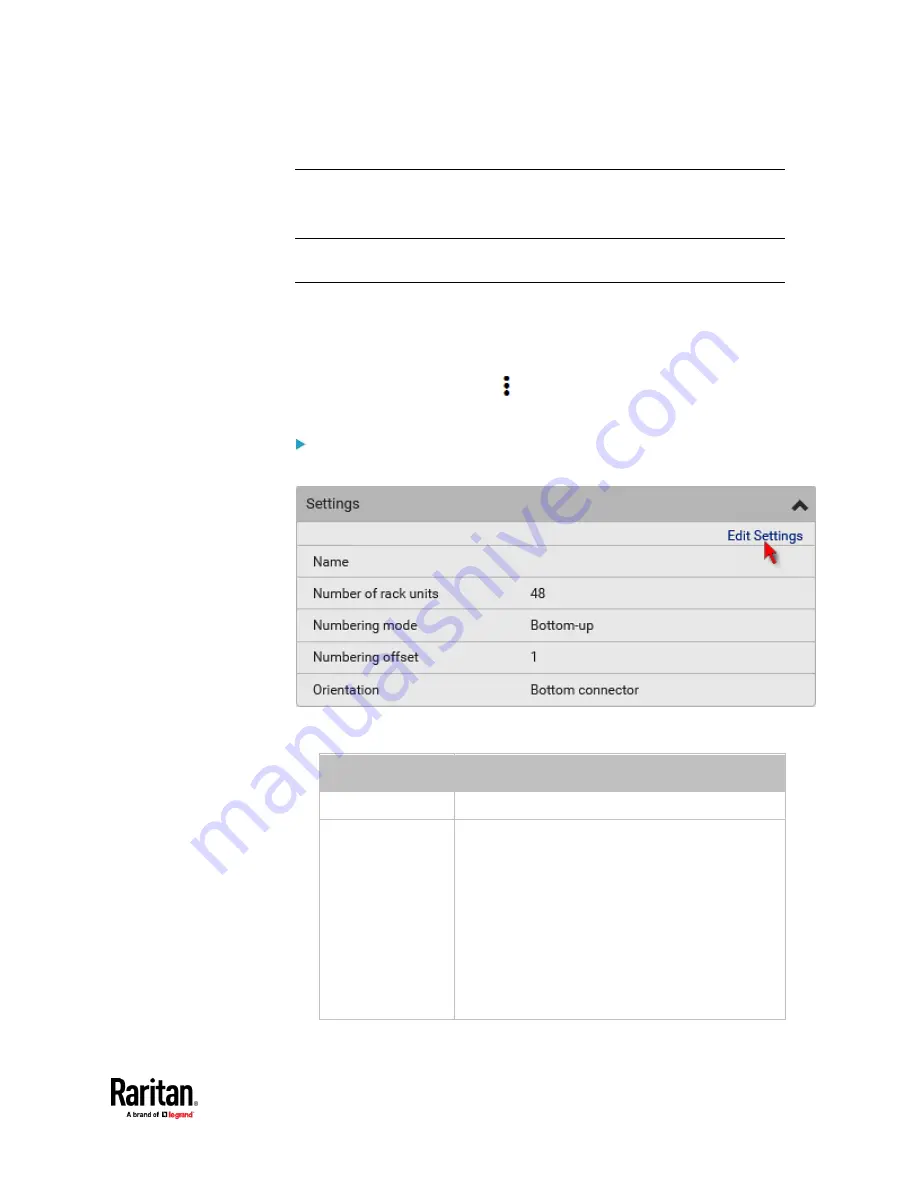
To configure asset strip and rack unit settings:
1.
Click Edit Settings.
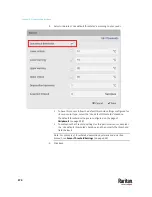
2.
Make changes to the settings by directly typing a new value, or clicking
that field to select a different option.
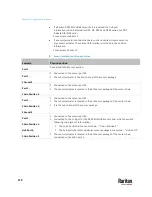
Field
Description
Name
Name for this asset strip assembly.
Number of rack
units
Total of available tag ports on this asset strip
assembly, ranging between 8 and 64.
▪
For the current generation of asset strips, which
show the suffix "G3" on its hardware label, the
PX3TS automatically detects the number of its
tag ports (rack units), and you
cannot
change
this value.
▪
For old "non-G3" asset strips, there is no
automatic detection for them so you must
manually adjust this value.
Содержание Raritan PX3TS
Страница 4: ......
Страница 6: ......
Страница 20: ......
Страница 52: ...Chapter 3 Initial Installation and Configuration 32 Number Device role Master device Slave 1 Slave 2 Slave 3...
Страница 80: ...Chapter 4 Connecting External Equipment Optional 60...
Страница 109: ...Chapter 5 PDU Linking 89...
Страница 117: ...Chapter 5 PDU Linking 97...
Страница 440: ...Chapter 7 Using the Web Interface 420 If wanted you can customize the subject and content of this email in this action...
Страница 441: ...Chapter 7 Using the Web Interface 421...
Страница 464: ...Chapter 7 Using the Web Interface 444...
Страница 465: ...Chapter 7 Using the Web Interface 445 Continued...
Страница 746: ...Appendix A Specifications 726...
Страница 823: ...Appendix I RADIUS Configuration Illustration 803 Note If your PX3TS uses PAP then select PAP...
Страница 824: ...Appendix I RADIUS Configuration Illustration 804 10 Select Standard to the left of the dialog and then click Add...
Страница 825: ...Appendix I RADIUS Configuration Illustration 805 11 Select Filter Id from the list of attributes and click Add...
Страница 828: ...Appendix I RADIUS Configuration Illustration 808 14 The new attribute is added Click OK...
Страница 829: ...Appendix I RADIUS Configuration Illustration 809 15 Click Next to continue...
Страница 860: ...Appendix J Additional PX3TS Information 840...
Страница 890: ...Appendix K Integration 870 3 Click OK...
Страница 900: ......


