


Chapter 7: Using the Web Interface
375
Event Rules and Actions
A benefit of the product's intelligence is its ability to notify you of or react to a
change in conditions. This event notification or reaction is an "event rule."
An event rule consists of two parts:
•
Event: This is the situation where the PX3TS or a device connected to it
meets a certain condition. For example, the inlet's voltage reaches the
warning level.
•
Action: This is the response to the event. For example, the PX3TS notifies
the system administrator of the event via email.
If you want the PX3TS to perform one action at a regular interval instead of
waiting until an event occurs, you can schedule that action. For example, you
can make the PX3TS email the temperature report every hour.
Note that you need the Administrator Privileges to configure event rules.
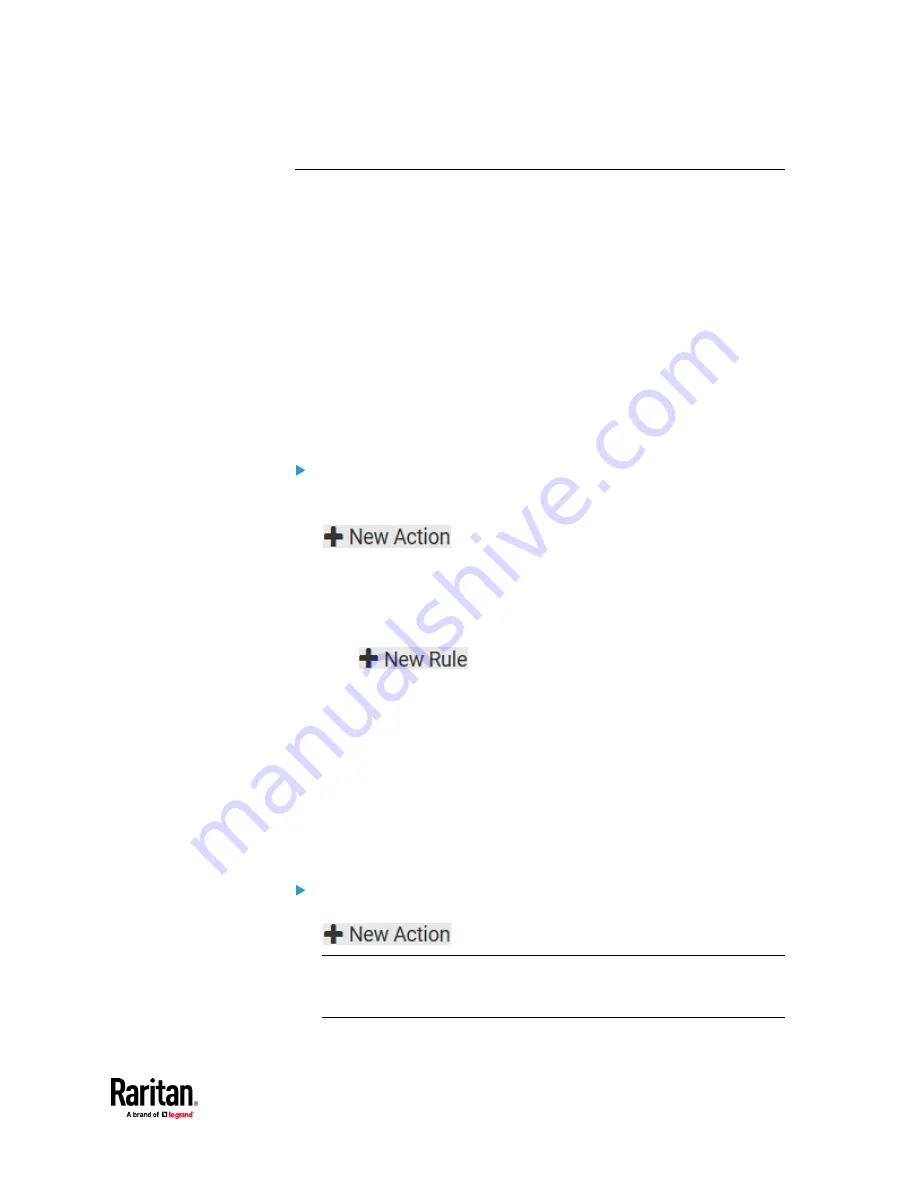
To create an event rule:
1.
Choose Device Settings > Event Rules.
2.
If the needed action is not available yet, create it by clicking
.
a.
Assign a name to this action.
b.
Select the desired action and configure it as needed.
c.
Click Create.
For details, see
Available Actions
(on page 394).
3.
Click
to create a new rule.
a.
Assign a name to this rule.
b.
Make sure the Enabled checkbox is selected, or the new event rule
does not work.
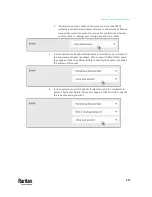
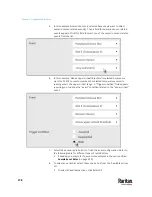
c.
In the Event field, select the event to which you want the PX3TS to
react.
d.
In the 'Available actions' field, select the desired action(s) to respond
to the selected event.
e.
Click Create.
For details, see
Built-in Rules and Rule Configuration
(on page 376).
To create a scheduled action:
1.
If the needed action is not available yet, create it by clicking
. See above.
Note: When creating scheduled actions, available actions are less than
usual because it is meaningless to schedule certain actions like "Alarm,"
"Log event message," "Send email," "Syslog message" and the like.
Содержание Raritan PX3TS
Страница 4: ......
Страница 6: ......
Страница 20: ......
Страница 52: ...Chapter 3 Initial Installation and Configuration 32 Number Device role Master device Slave 1 Slave 2 Slave 3...
Страница 80: ...Chapter 4 Connecting External Equipment Optional 60...
Страница 109: ...Chapter 5 PDU Linking 89...
Страница 117: ...Chapter 5 PDU Linking 97...
Страница 440: ...Chapter 7 Using the Web Interface 420 If wanted you can customize the subject and content of this email in this action...
Страница 441: ...Chapter 7 Using the Web Interface 421...
Страница 464: ...Chapter 7 Using the Web Interface 444...
Страница 465: ...Chapter 7 Using the Web Interface 445 Continued...
Страница 746: ...Appendix A Specifications 726...
Страница 823: ...Appendix I RADIUS Configuration Illustration 803 Note If your PX3TS uses PAP then select PAP...
Страница 824: ...Appendix I RADIUS Configuration Illustration 804 10 Select Standard to the left of the dialog and then click Add...
Страница 825: ...Appendix I RADIUS Configuration Illustration 805 11 Select Filter Id from the list of attributes and click Add...
Страница 828: ...Appendix I RADIUS Configuration Illustration 808 14 The new attribute is added Click OK...
Страница 829: ...Appendix I RADIUS Configuration Illustration 809 15 Click Next to continue...
Страница 860: ...Appendix J Additional PX3TS Information 840...
Страница 890: ...Appendix K Integration 870 3 Click OK...
Страница 900: ......


