


Chapter 7: Using the Web Interface
452
4.
Observe the Power Control status of the monitored device to make sure
the power-on operation succeeds.
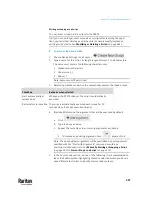
Editing or Deleting Ping Monitoring Settings
You can edit the ping monitoring settings of any IT device or simply delete it if
no longer needed.
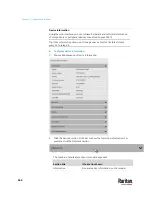
To modify or delete any monitored IT device:
1.
Choose Device Settings > Server Reachability.
2.
Click the desired one in the list.
3.
Perform the desired action.
▪
To modify settings, make necessary changes and then click Save. For
information on each field, see
Monitoring Server Accessibility
(on
page 447).
▪
To delete it, click
on the top-right corner.
Example: Ping Monitoring and SNMP Notifications
In this illustration, it is assumed that a significant PDU (IP address:
192.168.84.95) shall be monitored by your PX3TS to make sure that PDU is
properly operating all the time, and the PX3TS must send out SNMP
notifications (trap or inform) if that PDU is declared unreachable due to power
or network failure. The prerequisite for this example is that the power sources
are different between your PX3TS and the monitored PDU.
This requires the following two steps.
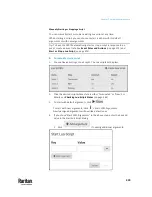
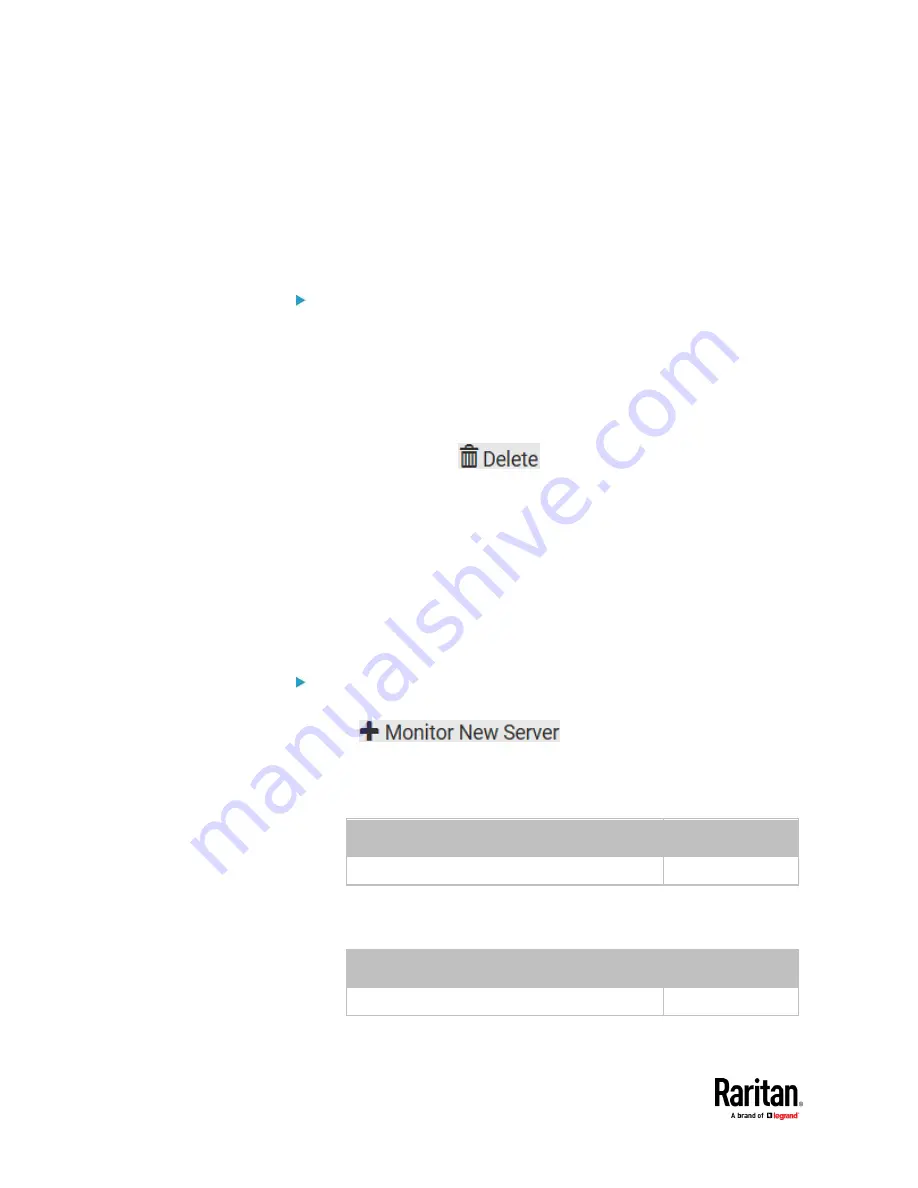
Step 1: Set up the ping monitoring for the target PDU
1.
Choose Device Settings > Server Reachability.
2.
Click
.
3.
Ensure the "Enable ping monitoring for this server" checkbox is selected.
4.
Enter the data shown below.
▪
Enter the server's data.
Field
Data entered
IP address/hostname
192.168.84.95
▪
To make the PX3TS declare the accessibility of the monitored PDU
every 15 seconds (3 pings * 5 seconds) when that PDU is accessible,
enter the following data.
Field
Data entered
Number of successful pings to enable feature
3
Содержание Raritan PX3TS
Страница 4: ......
Страница 6: ......
Страница 20: ......
Страница 52: ...Chapter 3 Initial Installation and Configuration 32 Number Device role Master device Slave 1 Slave 2 Slave 3...
Страница 80: ...Chapter 4 Connecting External Equipment Optional 60...
Страница 109: ...Chapter 5 PDU Linking 89...
Страница 117: ...Chapter 5 PDU Linking 97...
Страница 440: ...Chapter 7 Using the Web Interface 420 If wanted you can customize the subject and content of this email in this action...
Страница 441: ...Chapter 7 Using the Web Interface 421...
Страница 464: ...Chapter 7 Using the Web Interface 444...
Страница 465: ...Chapter 7 Using the Web Interface 445 Continued...
Страница 746: ...Appendix A Specifications 726...
Страница 823: ...Appendix I RADIUS Configuration Illustration 803 Note If your PX3TS uses PAP then select PAP...
Страница 824: ...Appendix I RADIUS Configuration Illustration 804 10 Select Standard to the left of the dialog and then click Add...
Страница 825: ...Appendix I RADIUS Configuration Illustration 805 11 Select Filter Id from the list of attributes and click Add...
Страница 828: ...Appendix I RADIUS Configuration Illustration 808 14 The new attribute is added Click OK...
Страница 829: ...Appendix I RADIUS Configuration Illustration 809 15 Click Next to continue...
Страница 860: ...Appendix J Additional PX3TS Information 840...
Страница 890: ...Appendix K Integration 870 3 Click OK...
Страница 900: ......


