


Chapter 7: Using the Web Interface
418
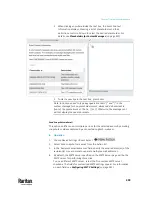
Execution time Frequency settings
Minutes
Click the Frequency field to select an option.
The frequency ranges from every minute, every 5 minutes, every
10 minutes and so on until every 30 minutes.
Hourly
Type a value in the Minute field, which is set to either of the
following:
▪
The Minute field is set to 0 (zero). Then the action is performed
at 1:00 am, 2:00 am, 3:00 am and so on.
▪
The Minute field is set to a non-zero value. For example, if it is
set to 30, then the action is performed at 1:30 am, 2:30 am,
3:30 am and so on.
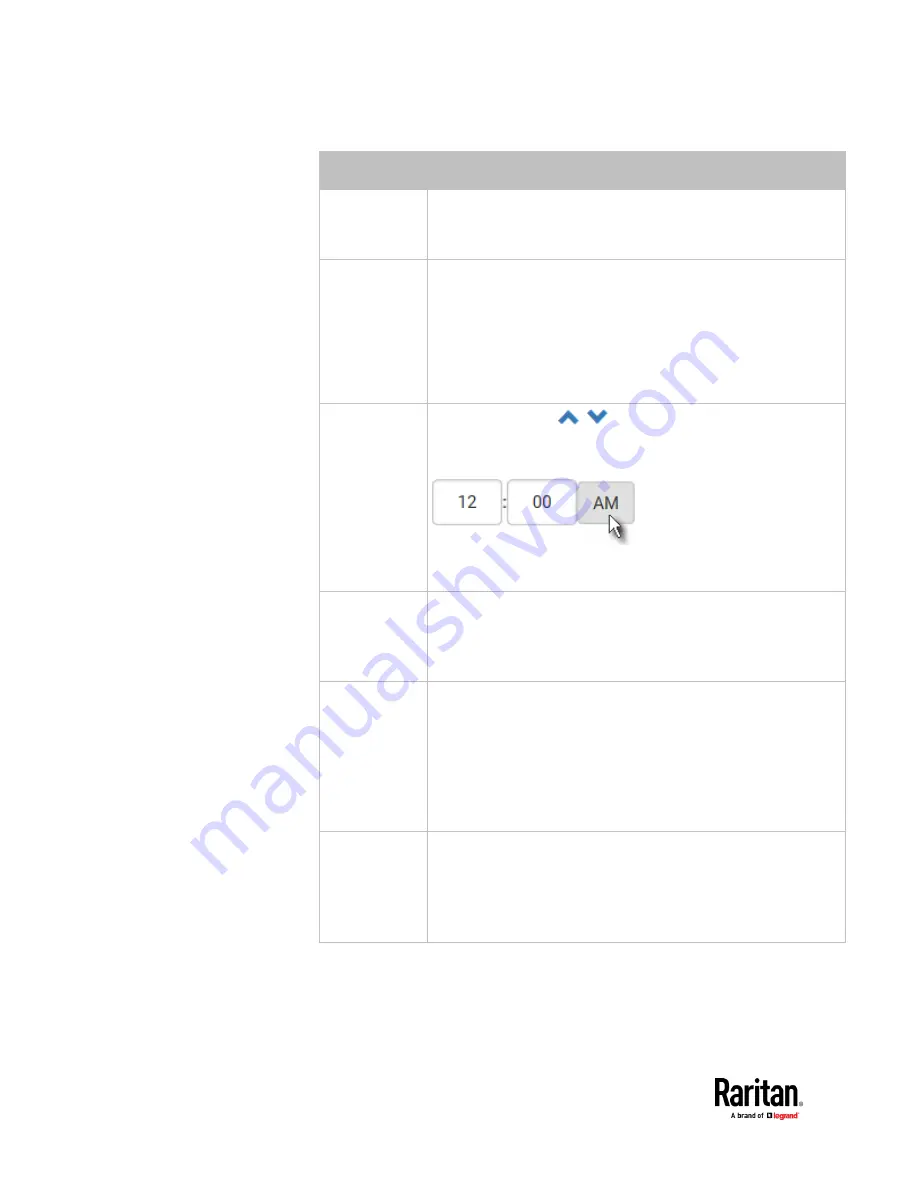
Daily
Type values or click
.
The time is measured in 12-hour format so you must correctly
specify AM or PM by clicking the AM/PM button.
For example, if you specify 01:30PM, the action is performed at
13:30 pm every day.
Weekly
Both the day and time must be specified for the weekly option.
▪
Days range from Sunday to Saturday.
▪
The time is measured in 12-hour format so you must correctly
specify AM or PM by clicking the AM/PM button.
Monthly
Both the date and time must be specified for the monthly option.
▪
The dates range from 1 to 31.
▪
The time is measured in 12-hour format so you must correctly
specify AM or PM by clicking the AM/PM button.
Note that NOT every month has the date 31, and February in
particular does not have the date 30 and probably even 29. Check
the calendar when selecting 29, 30 or 31.
Yearly
This option requires three settings:
▪
Month - January through December.
▪
Day of month - 1 to 31.
▪
Time - the value is measured in 12-hour format so you must
correctly specify AM or PM by clicking the AM/PM button.
An example of the scheduled action is available in the section titled
Send
Sensor Report Example
(on page 419).
Содержание Raritan PX3TS
Страница 4: ......
Страница 6: ......
Страница 20: ......
Страница 52: ...Chapter 3 Initial Installation and Configuration 32 Number Device role Master device Slave 1 Slave 2 Slave 3...
Страница 80: ...Chapter 4 Connecting External Equipment Optional 60...
Страница 109: ...Chapter 5 PDU Linking 89...
Страница 117: ...Chapter 5 PDU Linking 97...
Страница 440: ...Chapter 7 Using the Web Interface 420 If wanted you can customize the subject and content of this email in this action...
Страница 441: ...Chapter 7 Using the Web Interface 421...
Страница 464: ...Chapter 7 Using the Web Interface 444...
Страница 465: ...Chapter 7 Using the Web Interface 445 Continued...
Страница 746: ...Appendix A Specifications 726...
Страница 823: ...Appendix I RADIUS Configuration Illustration 803 Note If your PX3TS uses PAP then select PAP...
Страница 824: ...Appendix I RADIUS Configuration Illustration 804 10 Select Standard to the left of the dialog and then click Add...
Страница 825: ...Appendix I RADIUS Configuration Illustration 805 11 Select Filter Id from the list of attributes and click Add...
Страница 828: ...Appendix I RADIUS Configuration Illustration 808 14 The new attribute is added Click OK...
Страница 829: ...Appendix I RADIUS Configuration Illustration 809 15 Click Next to continue...
Страница 860: ...Appendix J Additional PX3TS Information 840...
Страница 890: ...Appendix K Integration 870 3 Click OK...
Страница 900: ......


