Chapter 6: Using the PX3TS
153
3.
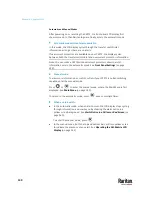
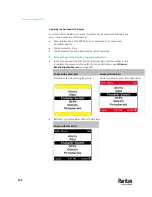
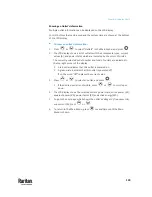
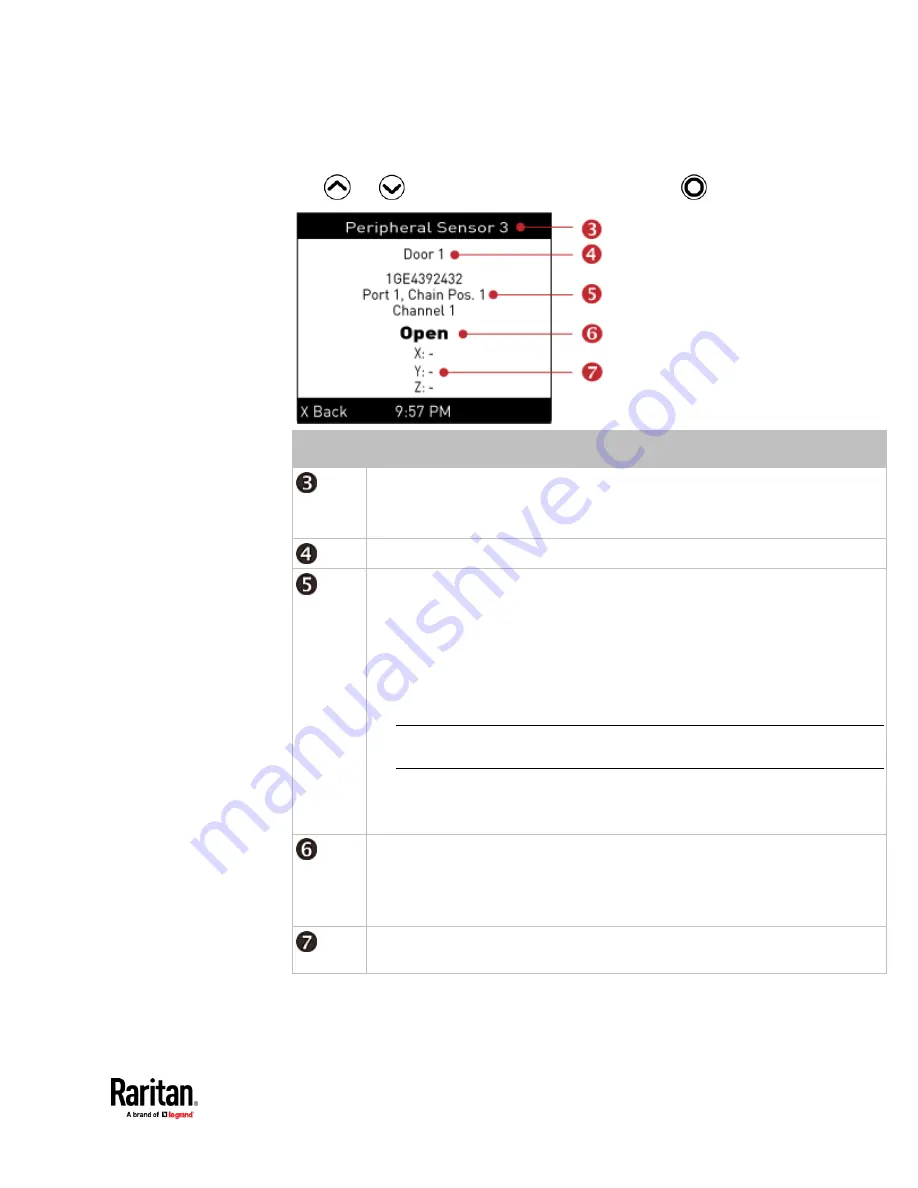
To view an environmental sensor or actuator's detailed information, press
or
to select that sensor or actuator, and press
.
Number
Description
The ID number assigned to this sensor or actuator.
▪
A sensor shows "Peripheral Sensor x" (x is the ID number)
▪
An actuator shows "Peripheral Actuator x"
Sensor or actuator name.
The following information is listed.
▪
Serial number
▪
Chain position, which involves the following information:
▪
Port <N>
: <N> is the number of the sensor port where this sensor or
actuator is connected. This number is always 1 for PX3TS.
▪
Chain Pos. <n>
: <n> is the sensor or actuator's position in a sensor daisy
chain.
Note: Only Raritan's DX, DX2, DPX2 and DPX3 series provide the chain position
information.
▪
If this sensor or actuator is on a sensor package with multiple channels, such as
DX2-DH2C2, its channel number is indicated as "Channel x", where x is a
number.
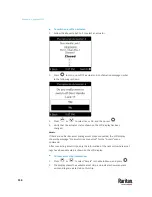
Depending on the sensor type, any of the following information is displayed:
▪
State of a state sensor:
Normal
,
Alarmed
,
Open
or
Closed
.
▪
State of an actuator:
On
or
Off
.
▪
Reading of a numeric sensor.
X, Y, and Z coordinates which you specify for this sensor or actuator. See
Individual
Sensor/Actuator Pages
(on page 273).
Содержание Raritan PX3TS
Страница 4: ......
Страница 6: ......
Страница 20: ......
Страница 52: ...Chapter 3 Initial Installation and Configuration 32 Number Device role Master device Slave 1 Slave 2 Slave 3...
Страница 80: ...Chapter 4 Connecting External Equipment Optional 60...
Страница 109: ...Chapter 5 PDU Linking 89...
Страница 117: ...Chapter 5 PDU Linking 97...
Страница 440: ...Chapter 7 Using the Web Interface 420 If wanted you can customize the subject and content of this email in this action...
Страница 441: ...Chapter 7 Using the Web Interface 421...
Страница 464: ...Chapter 7 Using the Web Interface 444...
Страница 465: ...Chapter 7 Using the Web Interface 445 Continued...
Страница 746: ...Appendix A Specifications 726...
Страница 823: ...Appendix I RADIUS Configuration Illustration 803 Note If your PX3TS uses PAP then select PAP...
Страница 824: ...Appendix I RADIUS Configuration Illustration 804 10 Select Standard to the left of the dialog and then click Add...
Страница 825: ...Appendix I RADIUS Configuration Illustration 805 11 Select Filter Id from the list of attributes and click Add...
Страница 828: ...Appendix I RADIUS Configuration Illustration 808 14 The new attribute is added Click OK...
Страница 829: ...Appendix I RADIUS Configuration Illustration 809 15 Click Next to continue...
Страница 860: ...Appendix J Additional PX3TS Information 840...
Страница 890: ...Appendix K Integration 870 3 Click OK...
Страница 900: ......


