Chapter 7: Using the Web Interface
261
▪
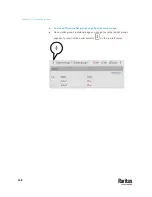
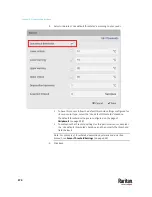
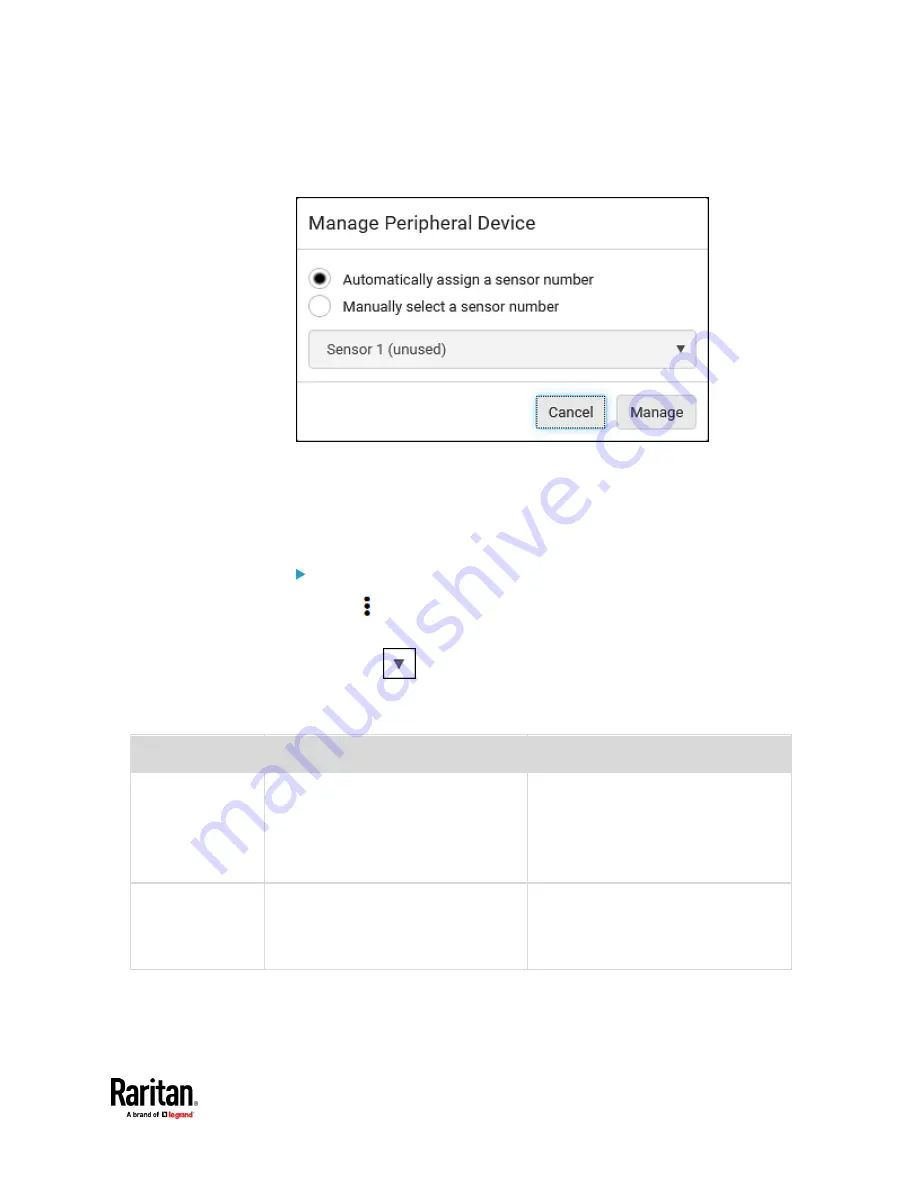
The management action triggers a "Manage Peripheral Device" dialog.
Simply click Manage if you are managing
multiple
sensors/actuators.
▪
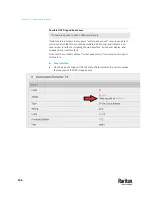
If you are managing only
one
sensor/actuator, you can choose to
assign an ID number by selecting "Manually select a sensor number."
See
Managing One Sensor or Actuator
(on page 271).
4.
Now released sensors/actuators become "unmanaged."
Managed ones show one of the managed states.
To configure sensor/actuator-related settings:
1.
Click
> Peripheral Device Setup.
2.
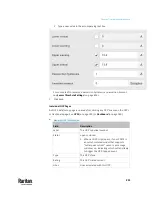
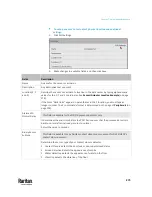
Now you can configure the fields.
▪
Click
to select an option.
▪
Adjust the numeric values.
▪
Select or deselect the checkbox.
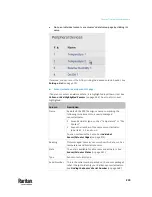
Field
Function
Note
Peripheral device Z
coordinate format
Determines how to describe the vertical
locations (Z coordinates) of Raritan
environmental sensor packages.
▪
Options: Rack units and Free-form
See
Z Coordinate Format
(on page 213).
To specify the location of any
sensor/actuators in the data center, see
Individual Sensor/Actuator Pages
(on
page 273).
Peripheral device
auto management
Enables or disables the automatic
management feature for Raritan
environmental sensor packages.
▪
The default is to enable it.
See
How the Automatic Management
Function Works
(on page 214).
Содержание Raritan PX3TS
Страница 4: ......
Страница 6: ......
Страница 20: ......
Страница 52: ...Chapter 3 Initial Installation and Configuration 32 Number Device role Master device Slave 1 Slave 2 Slave 3...
Страница 80: ...Chapter 4 Connecting External Equipment Optional 60...
Страница 109: ...Chapter 5 PDU Linking 89...
Страница 117: ...Chapter 5 PDU Linking 97...
Страница 440: ...Chapter 7 Using the Web Interface 420 If wanted you can customize the subject and content of this email in this action...
Страница 441: ...Chapter 7 Using the Web Interface 421...
Страница 464: ...Chapter 7 Using the Web Interface 444...
Страница 465: ...Chapter 7 Using the Web Interface 445 Continued...
Страница 746: ...Appendix A Specifications 726...
Страница 823: ...Appendix I RADIUS Configuration Illustration 803 Note If your PX3TS uses PAP then select PAP...
Страница 824: ...Appendix I RADIUS Configuration Illustration 804 10 Select Standard to the left of the dialog and then click Add...
Страница 825: ...Appendix I RADIUS Configuration Illustration 805 11 Select Filter Id from the list of attributes and click Add...
Страница 828: ...Appendix I RADIUS Configuration Illustration 808 14 The new attribute is added Click OK...
Страница 829: ...Appendix I RADIUS Configuration Illustration 809 15 Click Next to continue...
Страница 860: ...Appendix J Additional PX3TS Information 840...
Страница 890: ...Appendix K Integration 870 3 Click OK...
Страница 900: ......


