


Chapter 7: Using the Web Interface
243
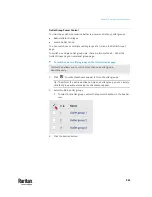
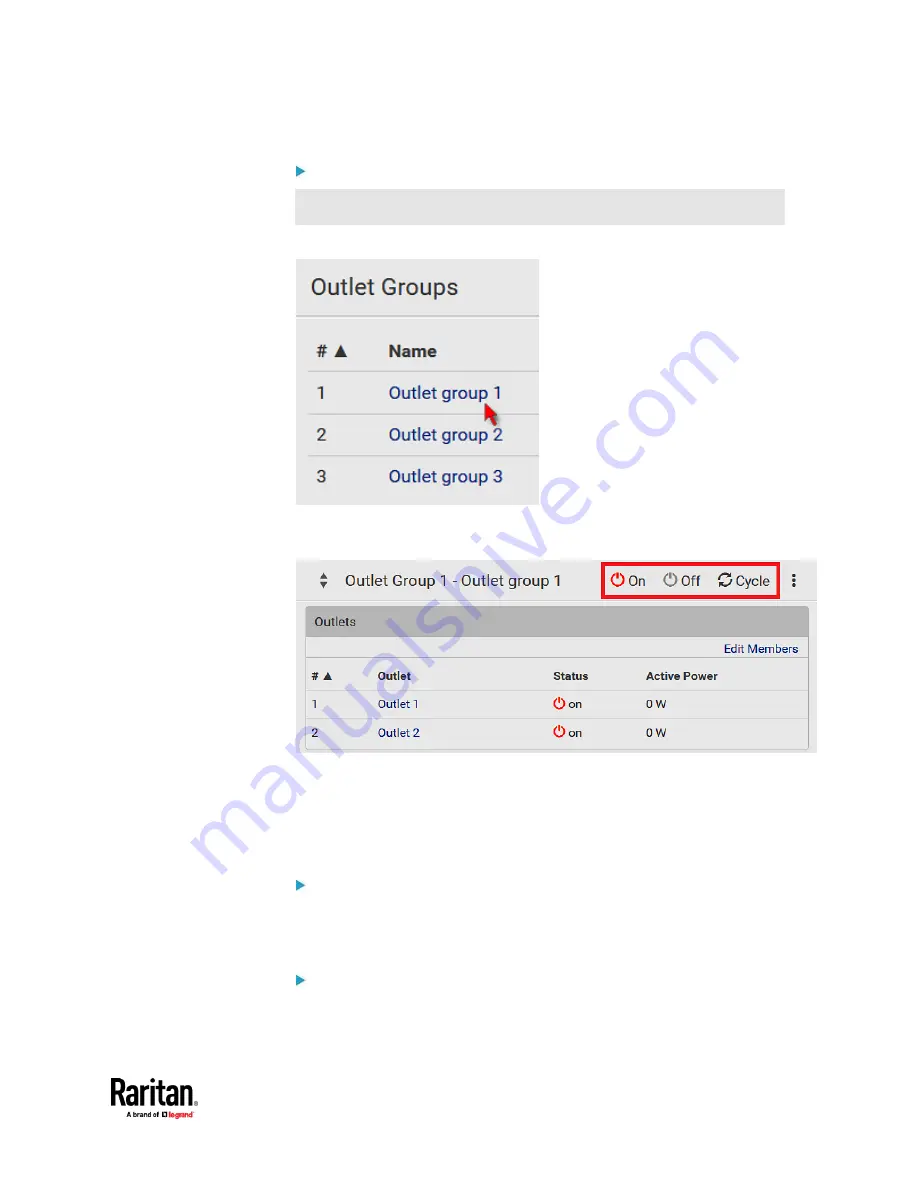
To switch one group on a specific outlet group's page:
This method allows you to switch ONLY one outlet group at a time.
1.
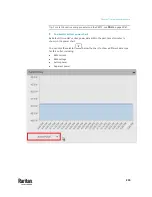
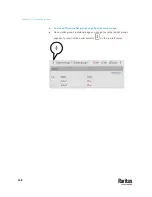
Open a specific outlet group's page by clicking on its name.
2.
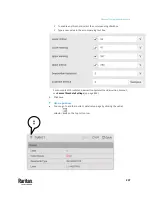
Click the desired power control button on the top-right corner.
▪
Confirm the operation when prompted.
If Switchable Outlet Groups are Limited
For the Switch Outlet Group permission, if you assign a role to any user, which
permits the user to switch only "specific" outlet groups instead of all outlet
groups, the following switching issue may appear.
Issue:
•
When an outlet group that the user originally can switch is deleted, and
then re-created with the same group name, the user will not be able to
switch the "new" outlet group with the same group name.
Solution:
1.
Edit the role assigned to the user. See
Editing or Deleting Roles
(on page
304).
Содержание Raritan PX3TS
Страница 4: ......
Страница 6: ......
Страница 20: ......
Страница 52: ...Chapter 3 Initial Installation and Configuration 32 Number Device role Master device Slave 1 Slave 2 Slave 3...
Страница 80: ...Chapter 4 Connecting External Equipment Optional 60...
Страница 109: ...Chapter 5 PDU Linking 89...
Страница 117: ...Chapter 5 PDU Linking 97...
Страница 440: ...Chapter 7 Using the Web Interface 420 If wanted you can customize the subject and content of this email in this action...
Страница 441: ...Chapter 7 Using the Web Interface 421...
Страница 464: ...Chapter 7 Using the Web Interface 444...
Страница 465: ...Chapter 7 Using the Web Interface 445 Continued...
Страница 746: ...Appendix A Specifications 726...
Страница 823: ...Appendix I RADIUS Configuration Illustration 803 Note If your PX3TS uses PAP then select PAP...
Страница 824: ...Appendix I RADIUS Configuration Illustration 804 10 Select Standard to the left of the dialog and then click Add...
Страница 825: ...Appendix I RADIUS Configuration Illustration 805 11 Select Filter Id from the list of attributes and click Add...
Страница 828: ...Appendix I RADIUS Configuration Illustration 808 14 The new attribute is added Click OK...
Страница 829: ...Appendix I RADIUS Configuration Illustration 809 15 Click Next to continue...
Страница 860: ...Appendix J Additional PX3TS Information 840...
Страница 890: ...Appendix K Integration 870 3 Click OK...
Страница 900: ......


