Chapter 7: Using the Web Interface
246
Deleting an Outlet Group
To delete an outlet group, you must have either permission below.
•
Administrator Privileges
•
Change Pdu, Inlet, Outlet & Overcurrent Protector Configuration
You can delete one or multiple outlet groups at a time.
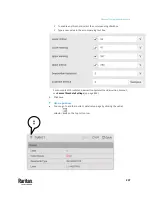
To delete a single outlet group only, there are two methods -- either Outlet
Groups page or individual group page.
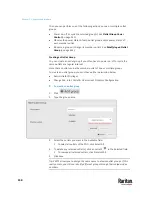
To delete one or multiple groups on the Outlet Groups page:
This method allows you to delete more than one outlet group.
1.
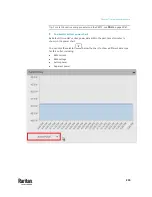
Click
to make checkboxes appear in front of outlet groups.
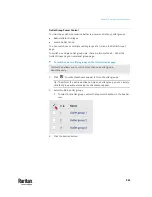
Tip: To perform the desired action on only one outlet group, you can simply
click that group without making the checkboxes appear.
2.
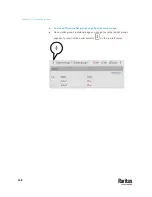
Select multiple outlet groups.
3.
To select ALL outlet groups, select the topmost checkbox in the header
row.
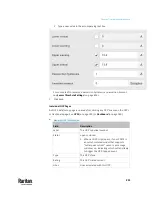
4.
Click
>
.
▪
Confirm the operation when prompted.
Содержание Raritan PX3TS
Страница 4: ......
Страница 6: ......
Страница 20: ......
Страница 52: ...Chapter 3 Initial Installation and Configuration 32 Number Device role Master device Slave 1 Slave 2 Slave 3...
Страница 80: ...Chapter 4 Connecting External Equipment Optional 60...
Страница 109: ...Chapter 5 PDU Linking 89...
Страница 117: ...Chapter 5 PDU Linking 97...
Страница 440: ...Chapter 7 Using the Web Interface 420 If wanted you can customize the subject and content of this email in this action...
Страница 441: ...Chapter 7 Using the Web Interface 421...
Страница 464: ...Chapter 7 Using the Web Interface 444...
Страница 465: ...Chapter 7 Using the Web Interface 445 Continued...
Страница 746: ...Appendix A Specifications 726...
Страница 823: ...Appendix I RADIUS Configuration Illustration 803 Note If your PX3TS uses PAP then select PAP...
Страница 824: ...Appendix I RADIUS Configuration Illustration 804 10 Select Standard to the left of the dialog and then click Add...
Страница 825: ...Appendix I RADIUS Configuration Illustration 805 11 Select Filter Id from the list of attributes and click Add...
Страница 828: ...Appendix I RADIUS Configuration Illustration 808 14 The new attribute is added Click OK...
Страница 829: ...Appendix I RADIUS Configuration Illustration 809 15 Click Next to continue...
Страница 860: ...Appendix J Additional PX3TS Information 840...
Страница 890: ...Appendix K Integration 870 3 Click OK...
Страница 900: ......


