Chapter 9: Using the Command Line Interface
572
Option
Description
lastKnownState
Restores all outlets to the previous status before
powering down the PX3TS when the PDU powers up
again.
Note: This feature does NOT take effect and cannot be configured on a PX3TS
device after the outlet relay is set to the "Latching" mode. See
PX3TS Latching
Relay Behavior
(on page 212).
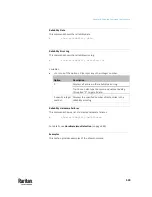
Setting the PDU-Defined Cycling Power-Off Period
This section applies to outlet-switching capable models only.
This command sets the power-off period of the power cycling operation for all
outlets.
config:#
pdu cyclingPowerOffPeriod <timing>
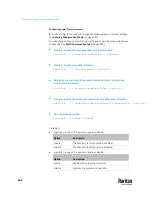
Variables:
•
<timing> is the time of the cycling power-off period in seconds, which is an
integer between 0 and 3600, or
pduDefined
for following the PDU-defined
timing.
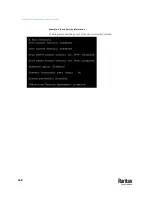
Setting the Inrush Guard Delay Time
This section applies to outlet-switching capable models only.
This command sets the inrush guard delay.
config:#
pdu inrushGuardDelay <timing>
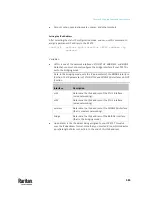
Variables:
•
<timing> is a delay time between 100 and 100000 milliseconds.
Содержание Raritan PX3TS
Страница 4: ......
Страница 6: ......
Страница 20: ......
Страница 52: ...Chapter 3 Initial Installation and Configuration 32 Number Device role Master device Slave 1 Slave 2 Slave 3...
Страница 80: ...Chapter 4 Connecting External Equipment Optional 60...
Страница 109: ...Chapter 5 PDU Linking 89...
Страница 117: ...Chapter 5 PDU Linking 97...
Страница 440: ...Chapter 7 Using the Web Interface 420 If wanted you can customize the subject and content of this email in this action...
Страница 441: ...Chapter 7 Using the Web Interface 421...
Страница 464: ...Chapter 7 Using the Web Interface 444...
Страница 465: ...Chapter 7 Using the Web Interface 445 Continued...
Страница 746: ...Appendix A Specifications 726...
Страница 823: ...Appendix I RADIUS Configuration Illustration 803 Note If your PX3TS uses PAP then select PAP...
Страница 824: ...Appendix I RADIUS Configuration Illustration 804 10 Select Standard to the left of the dialog and then click Add...
Страница 825: ...Appendix I RADIUS Configuration Illustration 805 11 Select Filter Id from the list of attributes and click Add...
Страница 828: ...Appendix I RADIUS Configuration Illustration 808 14 The new attribute is added Click OK...
Страница 829: ...Appendix I RADIUS Configuration Illustration 809 15 Click Next to continue...
Страница 860: ...Appendix J Additional PX3TS Information 840...
Страница 890: ...Appendix K Integration 870 3 Click OK...
Страница 900: ......


