


Chapter 7: Using the Web Interface
226
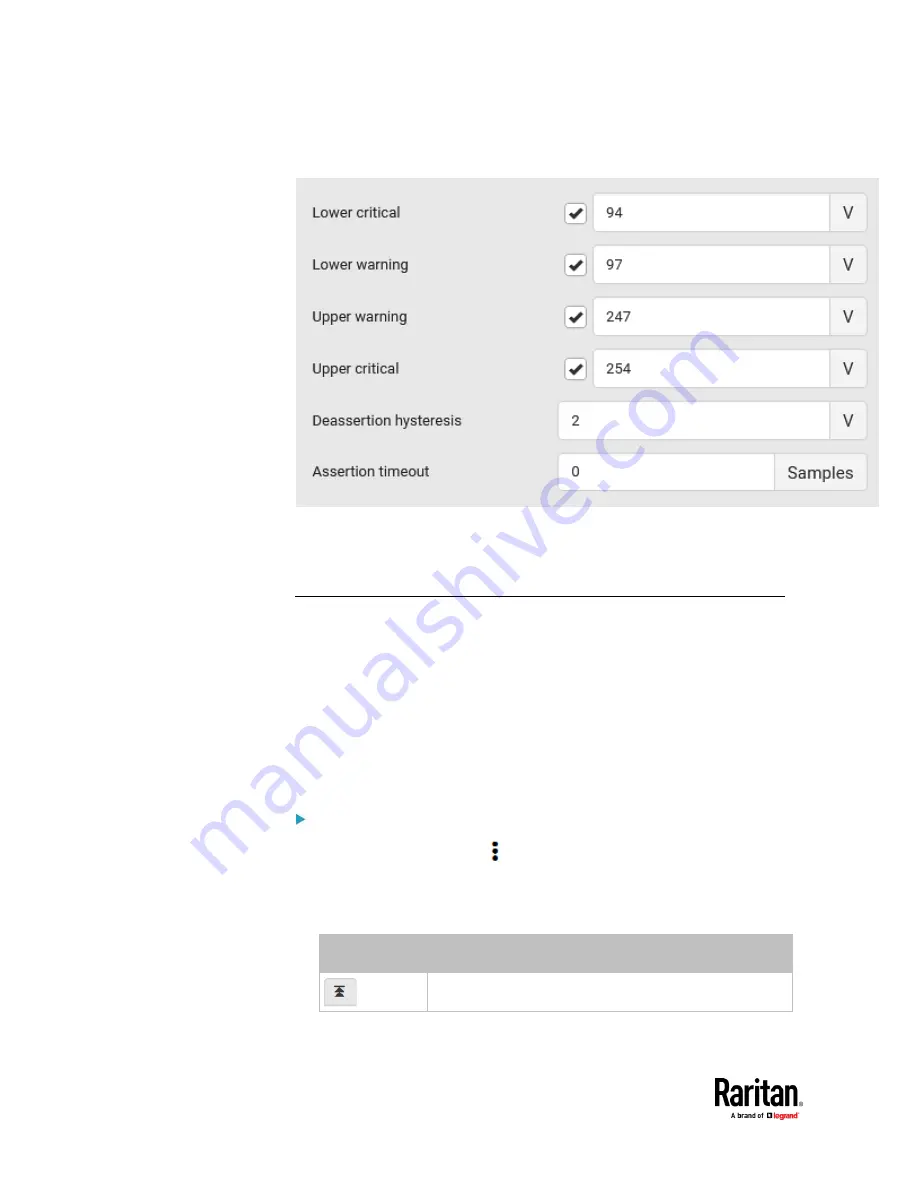
▪
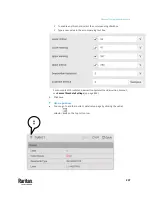
Type a new value in the accompanying text box.
For concepts of thresholds, deassertion hysteresis and assertion timeout,
see
Sensor Threshold Settings
(on page 834).
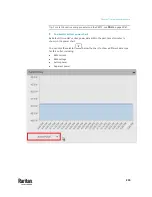
6.
Click Save.
Setting Outlet Power-On Sequence and Delay
By default, outlets are sequentially powered on in the ascending order from
outlet 1 to the final when turning ON or power cycling all outlets on the PX3TS.
You can change the order in which the outlets power ON. This is useful when
there is a specific order in which some IT equipment should be powered up
first.
In addition, you can make a delay occur between two outlets that are turned
on consecutively. For example, if the power-on sequence is Outlet 1 through
Outlet 8, and you want the PX3TS to wait for 5 seconds before turning on
Outlet 4, after Outlet 3 is turned on, assign a delay of 5 seconds to Outlet 3.
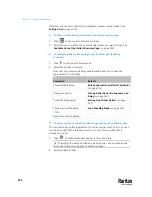
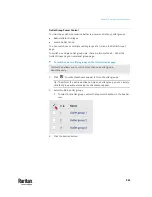
To set the outlet power-on sequence:
1.
On the Outlets page, click
> Sequence Setup.
2.
Select one or multiple outlets by clicking them one by one in the 'Outlet'
column.
3.
Click the arrow buttons to change the outlet positions.
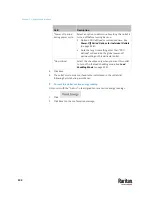
Button
Function
Top
Содержание Raritan PX3TS
Страница 4: ......
Страница 6: ......
Страница 20: ......
Страница 52: ...Chapter 3 Initial Installation and Configuration 32 Number Device role Master device Slave 1 Slave 2 Slave 3...
Страница 80: ...Chapter 4 Connecting External Equipment Optional 60...
Страница 109: ...Chapter 5 PDU Linking 89...
Страница 117: ...Chapter 5 PDU Linking 97...
Страница 440: ...Chapter 7 Using the Web Interface 420 If wanted you can customize the subject and content of this email in this action...
Страница 441: ...Chapter 7 Using the Web Interface 421...
Страница 464: ...Chapter 7 Using the Web Interface 444...
Страница 465: ...Chapter 7 Using the Web Interface 445 Continued...
Страница 746: ...Appendix A Specifications 726...
Страница 823: ...Appendix I RADIUS Configuration Illustration 803 Note If your PX3TS uses PAP then select PAP...
Страница 824: ...Appendix I RADIUS Configuration Illustration 804 10 Select Standard to the left of the dialog and then click Add...
Страница 825: ...Appendix I RADIUS Configuration Illustration 805 11 Select Filter Id from the list of attributes and click Add...
Страница 828: ...Appendix I RADIUS Configuration Illustration 808 14 The new attribute is added Click OK...
Страница 829: ...Appendix I RADIUS Configuration Illustration 809 15 Click Next to continue...
Страница 860: ...Appendix J Additional PX3TS Information 840...
Страница 890: ...Appendix K Integration 870 3 Click OK...
Страница 900: ......


