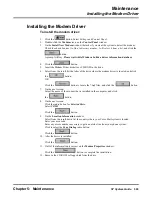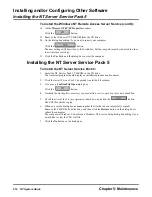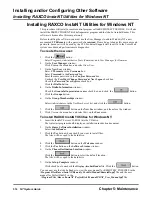
Installing and/or Configuring Other Software
Installing Windows NT RAS Service
Chapter 5: Maintenance
NT System Guide
511
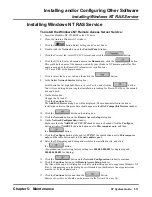
Installing Windows NT RAS Service
To install the Windows NT Remote Access Server Service:
1.
Insert the Windows NT CD-ROM in the CD drive.
2.
Close the Autorun Windows NT window.
3.
Click the
button. Select Settings and Control Panel.
4.
Double-click the Network icon on the Control Panel window.
5.
Click the Protocol tab, select TCP/IP Protocol, and click the
button.
6.
Click the DNS tab, enter a domain name in the Domain box; click the
button.
This could be the name of the domain created by your Windows NT domain controller. This
name is needed by the RemoteNT telenet server installed later.
(CTL uses CTL as the domain name.)
7.
Click to select the Services tab, and then click the
button.
8.
In the Select Network Service dialog box:
Scroll down the list, highlight Remote Access Service, and click the
button.
You will see a dialog box saying that installation is looking for files in D:\i386 or the entered
drive and path.
9.
On the dialog box:
Change the D: to an E:
Click the Continue button.
The Add RAS Device dialog box will be displayed. The modem installed in the driver
installation earlier in this procedure should appear in the RAS Compatible Devices window.
10. Click the
button on the dialog box.
11. Click the Network button on the Remote Access Setup dialog box.
12. On the Network Configuration window:
Make sure that the NetBEUI and TCP/IP check boxes are checked. Click the Configure
button at right of NetBEUI, the radio button next to This computer only, and then
the
button.
13. Click the Configure button at the right of TCP/IP, the radio button next to This computer
only, and the radio button next to Use static address pool.
14. Enter the IP Beginning and Ending addresses for the installation site, and click
the
button.
(For production-level testing, factory settings are 200.000.000.002 for Beginning and
200.000.000.003 for Ending.)
15. Click the
button on the Network Configuration window to continue.
16. Click the Continue button on the Remote Access Setup window.
The files will be copied. A dialog box will tell you that Setup needs to copy some Windows NT
files. A setup message on the dialog box will remind you that Remote Access permissions
must be set by the administrator.
17. Click the Continue button and then the
button.
Remote Access Service should now be present in the Network Services list.
Summary of Contents for NVM-NT
Page 28: ...Table of Contents Chapter 5 Maintenance xxvi NT System Guide ...
Page 130: ...Installing SMDI 102 NT System Guide Chapter 3 Programming ...
Page 146: ...Customizing Caller I D Tables General Tab 118 NT System Guide Chapter 3 Programming ...
Page 156: ...Customizing Callout Options Optional Tab 128 NT System Guide Chapter 3 Programming ...
Page 182: ...Customizing Distribution Lists General Tab 154 NT System Guide Chapter 3 Programming ...
Page 338: ...Customizing Port Options General Tab 310 NT System Guide Chapter 3 Programming ...
Page 358: ...Customizing System Options Timers Tab 330 NT System Guide Chapter 3 Programming ...
Page 362: ...Customizing System Options Timers Tab 334 NT System Guide Chapter 3 Programming ...
Page 367: ...Customizing Tenant Options General Tab Chapter 3 Programming NT System Guide 339 ...
Page 396: ...Viewing and Printing Reports System Options Report 368 NT System Guide Chapter 3 Programming ...
Page 400: ...Performing a Local Backup Backup Dialog Box 372 NT System Guide Chapter 3 Programming ...
Page 440: ...Using Port Activities 412 NT System Guide Chapter 3 Programming ...
Page 454: ...Using Message Status Message Status Dialog Box 426 NT System Guide Chapter 3 Programming ...


