


Customizing Dial Action Tables
General Tab
134
NT System Guide
Chapter 3: Programming
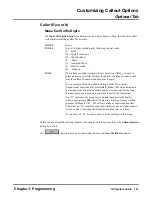
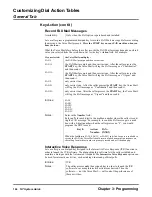
Key Action (cont’d)
Monitored Transfer
A monitored transfer is a type of Automated Attendant transfer to an extension or mailbox.
This type of transfer is typically referred to as Release to Ringback. Monitored transfers are
typically used to transfer calls to Hunt Groups or extensions that use Call Forwarding on Ring
No Answer.
When the Voice Mail detects ring tone at a Guest, Subscriber, or Message Center extension, the
Automated Attendant will release the call to the extension. But if the Voice Mail detects a busy
or reorder tone instead of a ring tone, the Voice Mail will play a status message, such as Exten-
sion XXX is busy, and then let the caller leave a message or select another dialing option.
Calls can be transferred to all mailbox types listed in the Go to a Mailbox on page 142. To let a
caller transfer to a Subscriber, Guest, or Message Center Mailbox and immediately leave a
message, make sure that you do not assign an extension number to any of those mailboxes.
To set the following options related to monitored transfers, select System Options on the Cus-
tomize menu and then:
Q
Busy, Hold retrieval string to retrieve busy screened transfers
Q
Transfer string dialed before the Voice Mail will dial the extension.
To record a name for a Subscriber, Guest, or Message Mailbox so that the name will play in
extension status messages instead of the extension number, use the System Administrator
Menu in the phone system.
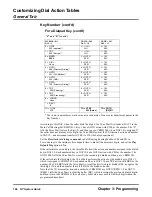
Entries:
MTRF
Notes:
To block monitored transfers to a Subscriber Mailbox and/or to assign a
Next Call Routing Mailbox to a Subscriber Mailbox and/or Message
Center Mailbox, select Mailbox Options on the Customize menu. The
Next Call Routing Mailbox gives callers dialing options while they are
in their own Subscriber Mailboxes. (For information about Alternate
Next Call Routing, see Subscriber Mailbox in the Customizing Mail-
box Options section later in this guide.)
To allow a monitored transfer to a specific extension, enter the exten-
sion number in the Number field.
For example, to allow monitored transfers to every two-digit extension
that begins with the digit 1, enter MTRF in the Action field for Key 1
and enter XX in the Number field, so that your DAT for Key 1 will
read:
Key 1: Action: MTRF
Number: XX
A Guest, Subscriber, or Message Center extension can receive both
monitored transfers and messages only if the extension number has
been assigned to the Extension field of a Guest, Subscriber, or Message
Center Mailbox. To do this, select Mailbox Options on the Customize
menu.
Summary of Contents for NVM-NT
Page 28: ...Table of Contents Chapter 5 Maintenance xxvi NT System Guide ...
Page 130: ...Installing SMDI 102 NT System Guide Chapter 3 Programming ...
Page 146: ...Customizing Caller I D Tables General Tab 118 NT System Guide Chapter 3 Programming ...
Page 156: ...Customizing Callout Options Optional Tab 128 NT System Guide Chapter 3 Programming ...
Page 182: ...Customizing Distribution Lists General Tab 154 NT System Guide Chapter 3 Programming ...
Page 338: ...Customizing Port Options General Tab 310 NT System Guide Chapter 3 Programming ...
Page 358: ...Customizing System Options Timers Tab 330 NT System Guide Chapter 3 Programming ...
Page 362: ...Customizing System Options Timers Tab 334 NT System Guide Chapter 3 Programming ...
Page 367: ...Customizing Tenant Options General Tab Chapter 3 Programming NT System Guide 339 ...
Page 396: ...Viewing and Printing Reports System Options Report 368 NT System Guide Chapter 3 Programming ...
Page 400: ...Performing a Local Backup Backup Dialog Box 372 NT System Guide Chapter 3 Programming ...
Page 440: ...Using Port Activities 412 NT System Guide Chapter 3 Programming ...
Page 454: ...Using Message Status Message Status Dialog Box 426 NT System Guide Chapter 3 Programming ...


