Chapter 3: Using the Web Interface
320
Note: On startup, the BCM2 performs all of its functions, including event
rules and logs, based on the new configuration you have copied instead
of the previous configuration prior to the device reset. For example, the
"Bulk configuration copied" event is logged only when the new
configuration file contains the "Bulk configuration copied" event rule.
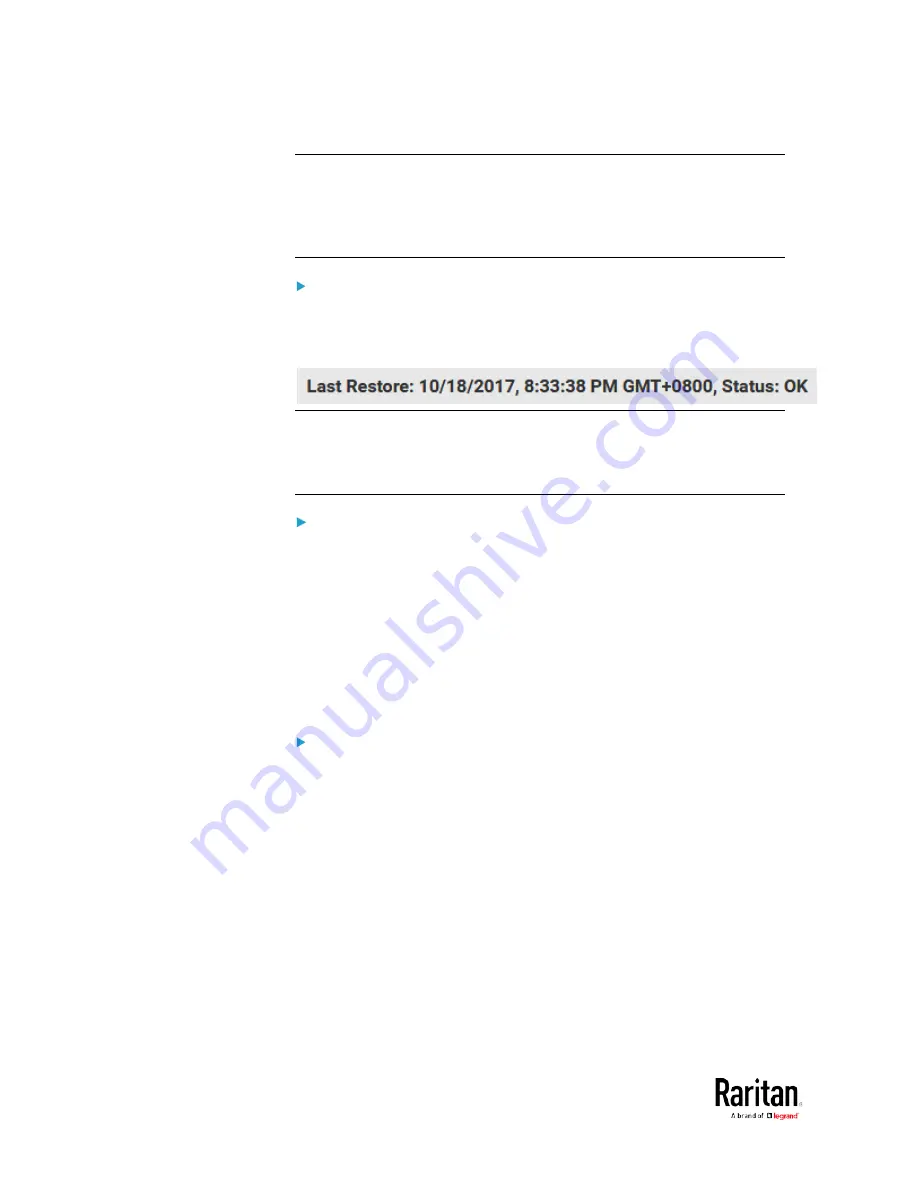
The last configuration-copying record:
If you once copied any bulk configuration or device backup file to the
BCM2, the last record similar to the following is displayed at the bottom
of both the Bulk Configuration and Backup/Restore pages.
Tip: The date and time shown on the BCM2 web interface are
automatically converted to your computer's time zone. To avoid any time
confusion, you can apply the same time zone settings as those of BCM2
to your computer.
Alternatives:
To use a different method to perform bulk configuration, refer to:
•
Bulk Configuration via SCP
(on page 515)
•
Bulk Configuration or Firmware Upgrade via DHCP/TFTP
•
Configuration or Firmware Upgrade with a USB Drive
Bulk Configuration Restrictions
Before performing bulk configuration, make sure your source and target
devices are compatible devices for sharing general settings.
Restrictions for bulk configuration:
•
The target device must be running the same firmware version as the
source device.
•
The target device must be of the same model type as the source
device.
•
Bulk configuration is permitted if the differences between the target
and source devices are only "mechanical" designs which are
indicated in the model name's suffix.
For example, you can perform bulk configuration between
PX2-4724-E2N1K2 and PX2-4724-E2N1K9 since the only difference
between the two models is their chassis colors represented by K2
(blue) and K9 (gray).
Содержание PMC-1000
Страница 3: ...BCM2 Series Power Meter Xerus Firmware v3 4 0 User Guide...
Страница 23: ...Chapter 1 Installation and Initial Configuration 11 Panel Wiring Example...
Страница 54: ...Chapter 1 Installation and Initial Configuration 42 Branch Circuit Details...
Страница 76: ...Chapter 2 Connecting External Equipment Optional 64...
Страница 123: ...Chapter 3 Using the Web Interface 111...
Страница 558: ...Appendix D RADIUS Configuration Illustration 546 Note If your BCM2 uses PAP then select PAP...
Страница 559: ...Appendix D RADIUS Configuration Illustration 547 10 Select Standard to the left of the dialog and then click Add...
Страница 560: ...Appendix D RADIUS Configuration Illustration 548 11 Select Filter Id from the list of attributes and click Add...
Страница 563: ...Appendix D RADIUS Configuration Illustration 551 14 The new attribute is added Click OK...
Страница 564: ...Appendix D RADIUS Configuration Illustration 552 15 Click Next to continue...
Страница 594: ...Appendix E Additional BCM2 Information 582...
Страница 612: ......


