Chapter 3: Using the Web Interface
131
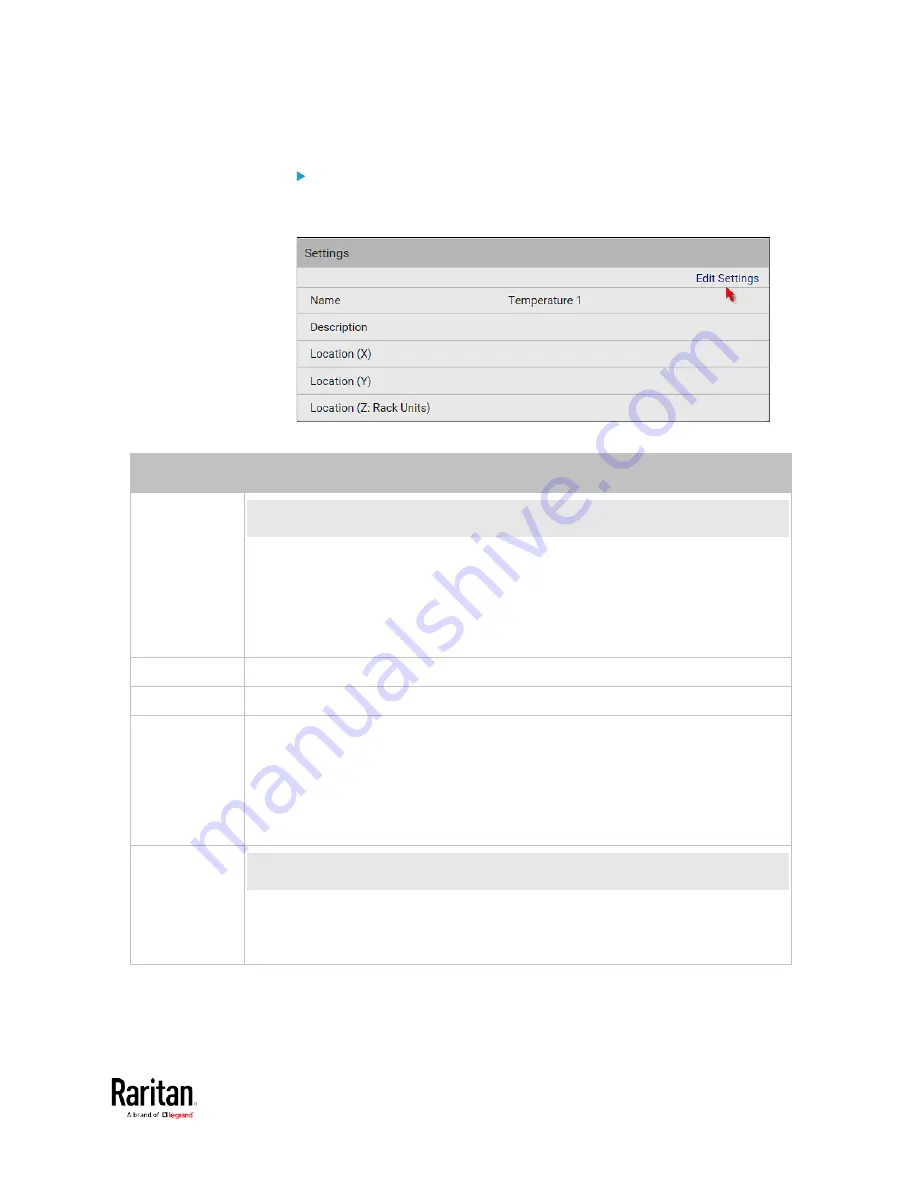
To set up a sensor's or actuator's physical location and additional
settings:
1.
Click Edit Settings.
2.
Make changes to available fields, and then click Save.
Fields
Description
Binary Sensor
Subtype
This field is available for a contact closure sensor only.
Determine the sensor type of your contact closure detector.
Contact Closure detects the door lock or door open/closed status.
Smoke Detection detects the appearance of smoke.
Water Detection detects the appearance of water on the floor.
Vibration detects the vibration of the floor.
Name
A name for the sensor or actuator.
Description
Any descriptive text you want.
Location (X, Y
and Z)
Describe the sensor's or actuator's location in the data center by typing
alphanumeric values for the X, Y and Z coordinates. See
Sensor/Actuator
Location Example
(on page 134).
If the term "Rack Units" appears in parentheses in the Z location, you must type
an integer number. Note that the Z coordinate's format is determined on the
page of .
Alarmed to
Normal Delay
This field is available for the DX-PIR presence detector only.
It determines the wait time before the BCM2 announces that the presence
detector is back to normal after it actually returns to normal.
Adjust the value in seconds.
Содержание PMC-1000
Страница 3: ...BCM2 Series Power Meter Xerus Firmware v3 4 0 User Guide...
Страница 23: ...Chapter 1 Installation and Initial Configuration 11 Panel Wiring Example...
Страница 54: ...Chapter 1 Installation and Initial Configuration 42 Branch Circuit Details...
Страница 76: ...Chapter 2 Connecting External Equipment Optional 64...
Страница 123: ...Chapter 3 Using the Web Interface 111...
Страница 558: ...Appendix D RADIUS Configuration Illustration 546 Note If your BCM2 uses PAP then select PAP...
Страница 559: ...Appendix D RADIUS Configuration Illustration 547 10 Select Standard to the left of the dialog and then click Add...
Страница 560: ...Appendix D RADIUS Configuration Illustration 548 11 Select Filter Id from the list of attributes and click Add...
Страница 563: ...Appendix D RADIUS Configuration Illustration 551 14 The new attribute is added Click OK...
Страница 564: ...Appendix D RADIUS Configuration Illustration 552 15 Click Next to continue...
Страница 594: ...Appendix E Additional BCM2 Information 582...
Страница 612: ......


