Chapter 3: Using the Web Interface
337
Note that default webcam names are determined by the
detection order. The one that is detected first is named
Webcam,
and the other that is detected later is named
Webcam 2.
3.
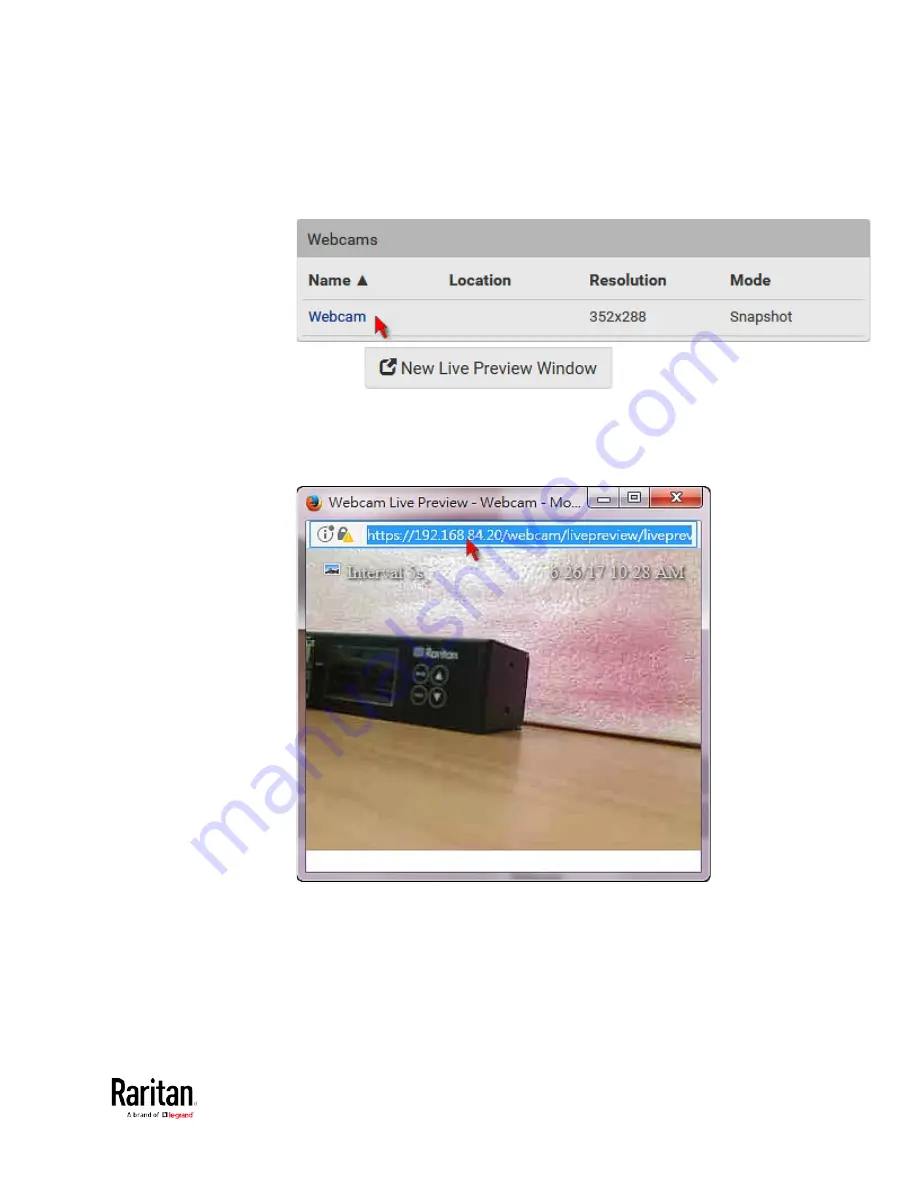
Click
in the Live Preview
section. The live snapshot or video in a standalone window opens.
See
Configuring Webcams and Viewing Live Images
(on page 333).
4.
Copy the URL from that live preview window.
a.
Select the URL shown on the top of the image.
b.
Right click to copy the URL, or press CTRL+ C.
5.
Send the URL link through an email or instant message application
to one or multiple persons.
6.
Leave the live preview window open until the recipient(s) opens the
snapshot or video via the link.
Содержание PMC-1000
Страница 3: ...BCM2 Series Power Meter Xerus Firmware v3 4 0 User Guide...
Страница 23: ...Chapter 1 Installation and Initial Configuration 11 Panel Wiring Example...
Страница 54: ...Chapter 1 Installation and Initial Configuration 42 Branch Circuit Details...
Страница 76: ...Chapter 2 Connecting External Equipment Optional 64...
Страница 123: ...Chapter 3 Using the Web Interface 111...
Страница 558: ...Appendix D RADIUS Configuration Illustration 546 Note If your BCM2 uses PAP then select PAP...
Страница 559: ...Appendix D RADIUS Configuration Illustration 547 10 Select Standard to the left of the dialog and then click Add...
Страница 560: ...Appendix D RADIUS Configuration Illustration 548 11 Select Filter Id from the list of attributes and click Add...
Страница 563: ...Appendix D RADIUS Configuration Illustration 551 14 The new attribute is added Click OK...
Страница 564: ...Appendix D RADIUS Configuration Illustration 552 15 Click Next to continue...
Страница 594: ...Appendix E Additional BCM2 Information 582...
Страница 612: ......


