Chapter 2: Connecting External Equipment (Optional)
74
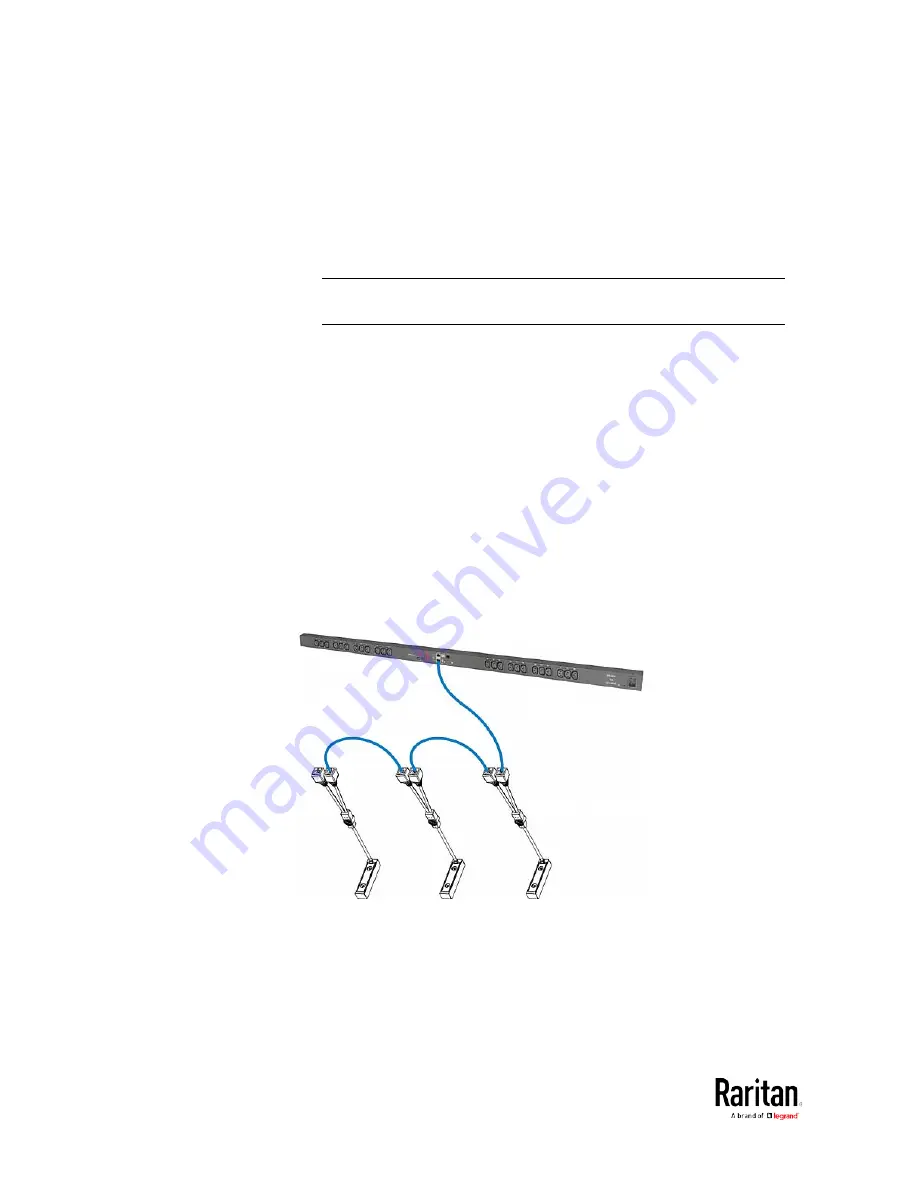
c.
Connect the other end of the cable to the RJ-45 connector
labeled "Input" on the secondary composite asset strip.
d.
Repeat the same steps to connect more composite asset strips.
See
Daisy-Chain Limitations of Composite Asset Strips
(on
page 75) for the maximum number of composite asset strips
supported per chain.
Note: Different types of composite asset strips can be mixed in a
chain as of release 3.3.0.
2.
Connect the composite asset strip(s) to the BCM2 device via a
standard network patch cable (CAT5e or higher).
a.
Connect one end of the cable to the RJ-45 port labeled "Input" on
the composite asset strip.
For a composite asset strip chain, connect the cable to the
"Input" port of the first asset strip.
b.
Connect the other end of the cable to the FEATURE port on the
BCM2 device.
3.
Affix an asset tag to the IT device. Then connect this asset tag to the
composite asset strip by plugging the tag connector into the tag port
on the composite asset strip. For details, see
Connecting Regular
Asset Strips to BCM2
(on page 68).
4.
(Optional) For a chain, it is highly recommended using the cable ties
to help hold the weight of all connecting cables.
5.
Repeat Step 3 to connect IT devices to the other composite asset
strips in the chain.
Содержание PMC-1000
Страница 3: ...BCM2 Series Power Meter Xerus Firmware v3 4 0 User Guide...
Страница 23: ...Chapter 1 Installation and Initial Configuration 11 Panel Wiring Example...
Страница 54: ...Chapter 1 Installation and Initial Configuration 42 Branch Circuit Details...
Страница 76: ...Chapter 2 Connecting External Equipment Optional 64...
Страница 123: ...Chapter 3 Using the Web Interface 111...
Страница 558: ...Appendix D RADIUS Configuration Illustration 546 Note If your BCM2 uses PAP then select PAP...
Страница 559: ...Appendix D RADIUS Configuration Illustration 547 10 Select Standard to the left of the dialog and then click Add...
Страница 560: ...Appendix D RADIUS Configuration Illustration 548 11 Select Filter Id from the list of attributes and click Add...
Страница 563: ...Appendix D RADIUS Configuration Illustration 551 14 The new attribute is added Click OK...
Страница 564: ...Appendix D RADIUS Configuration Illustration 552 15 Click Next to continue...
Страница 594: ...Appendix E Additional BCM2 Information 582...
Страница 612: ......


