Chapter 3: Using the Web Interface
322
Customizing Bulk Configuration Profiles
A bulk profile defines which settings are downloaded/saved from the
source device and which are not. The default is to apply the built-in bulk
profile, which downloads all settings from the source device except for
device-specific data.
If the built-in profile does not meet your needs, you can create your own
profile(s), and then apply the wanted profile before downloading/saving
any settings from the source device.
To create new bulk profile(s):
1.
Log in to the source BCM2 device, whose settings you want to
download.
2.
Choose Maintenance > Bulk Configuration.
3.
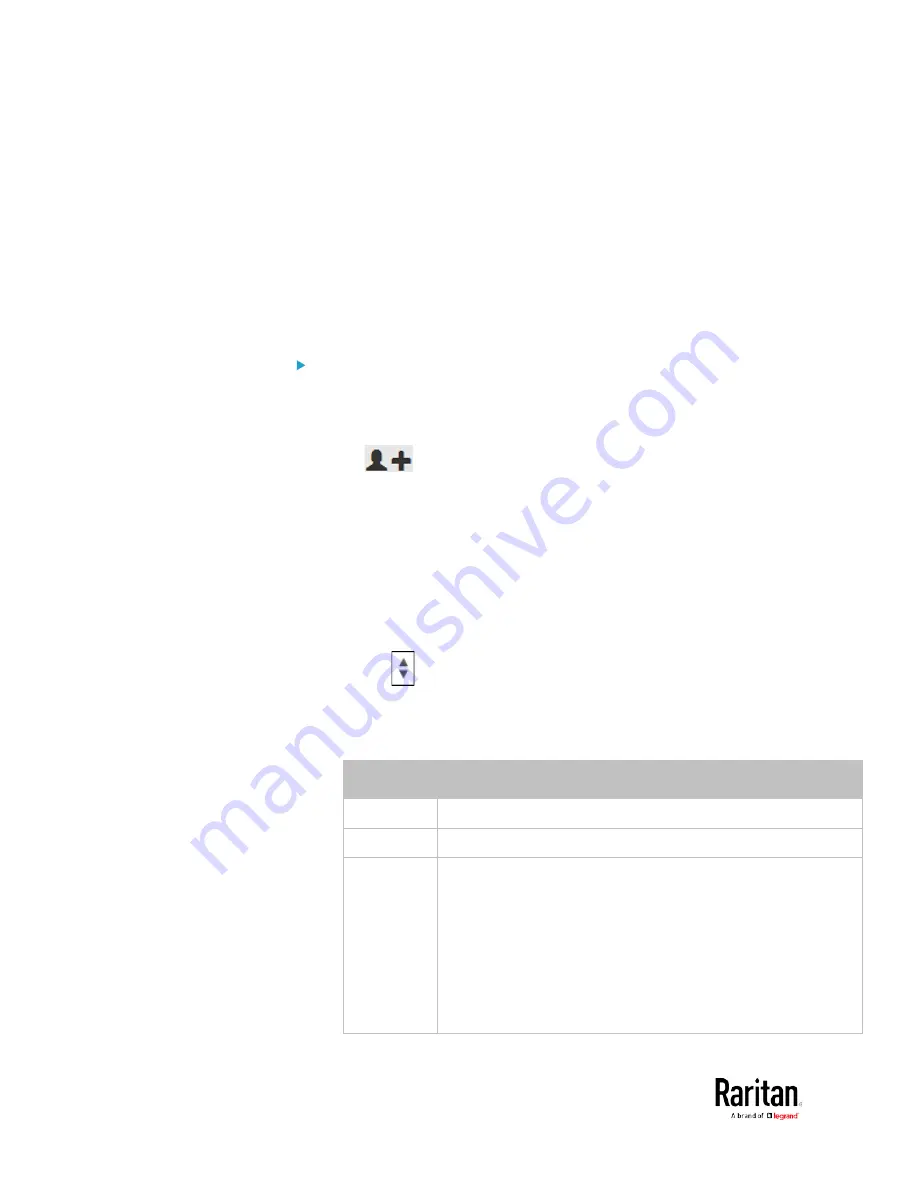
Click
in the Bulk Profiles section.
4.
In the Profile Name and Description fields, enter information for
identifying the new profile.
5.
To make this new profile the default one for future bulk
configuration operations, select the "Select as default profile"
checkbox.
After setting any profile as the default, the original default profile
will no longer functions as the default one.
6.
Now decide which settings are wanted and which are not.
a.
Click
of the setting which you want to configure.
b.
When the pop-up menu appears, select one of the options.
Note that the two options "Inherited" and "Built In" are mutually
exclusive.
Option
Description
Excluded
The setting will not be downloaded.
Included
The setting will be downloaded.
Inherited
The setting will follow its parent setting (that is, the
upper-level setting).
If you select "Excluded" for its upper-level setting, this
setting will be also excluded.
If you select "Included" for its upper-level setting, this
setting will be also included.
The option inherited from its parent setting will be enclosed in
parentheses.
Содержание PMC-1000
Страница 3: ...BCM2 Series Power Meter Xerus Firmware v3 4 0 User Guide...
Страница 23: ...Chapter 1 Installation and Initial Configuration 11 Panel Wiring Example...
Страница 54: ...Chapter 1 Installation and Initial Configuration 42 Branch Circuit Details...
Страница 76: ...Chapter 2 Connecting External Equipment Optional 64...
Страница 123: ...Chapter 3 Using the Web Interface 111...
Страница 558: ...Appendix D RADIUS Configuration Illustration 546 Note If your BCM2 uses PAP then select PAP...
Страница 559: ...Appendix D RADIUS Configuration Illustration 547 10 Select Standard to the left of the dialog and then click Add...
Страница 560: ...Appendix D RADIUS Configuration Illustration 548 11 Select Filter Id from the list of attributes and click Add...
Страница 563: ...Appendix D RADIUS Configuration Illustration 551 14 The new attribute is added Click OK...
Страница 564: ...Appendix D RADIUS Configuration Illustration 552 15 Click Next to continue...
Страница 594: ...Appendix E Additional BCM2 Information 582...
Страница 612: ......


