Chapter 3: Using the Web Interface
118
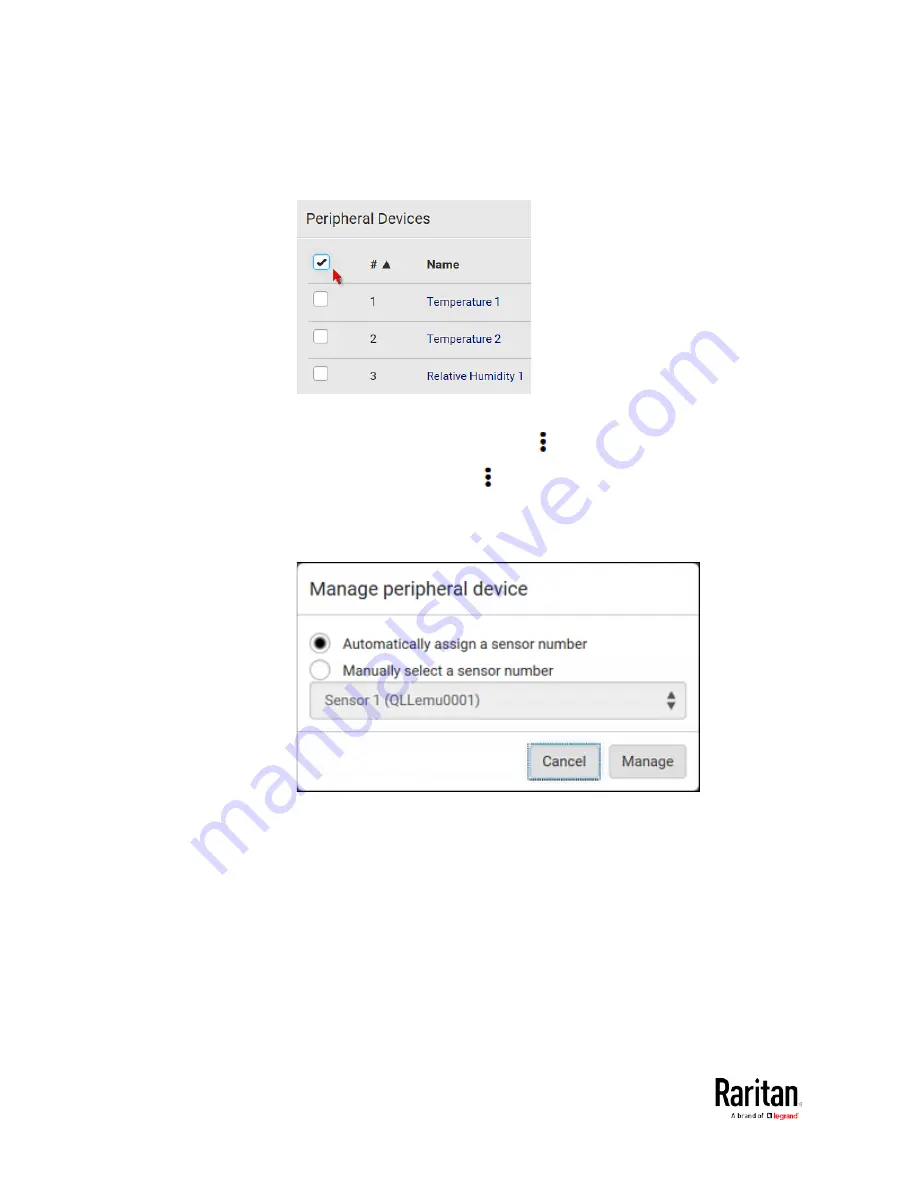
To select ALL sensors/actuators, select the topmost checkbox in
the header row.
Figure 1: Select all checkboxes
3.
To release selected ones, click
> Release.
To manage them, click
> Manage.
The management action triggers a "Manage peripheral device"
dialog. Simply click Manage if you are managing
multiple
sensors/actuators.
If you are managing only
one sensor/actuator, you can choose to
assign an ID number by selecting "Manually select a sensor
number." See
Managing One Sensor or Actuator
(on page 127).
4.
Now released sensors/actuators become "unmanaged."
Managed ones show one of the managed states.
Содержание PMC-1000
Страница 3: ...BCM2 Series Power Meter Xerus Firmware v3 4 0 User Guide...
Страница 23: ...Chapter 1 Installation and Initial Configuration 11 Panel Wiring Example...
Страница 54: ...Chapter 1 Installation and Initial Configuration 42 Branch Circuit Details...
Страница 76: ...Chapter 2 Connecting External Equipment Optional 64...
Страница 123: ...Chapter 3 Using the Web Interface 111...
Страница 558: ...Appendix D RADIUS Configuration Illustration 546 Note If your BCM2 uses PAP then select PAP...
Страница 559: ...Appendix D RADIUS Configuration Illustration 547 10 Select Standard to the left of the dialog and then click Add...
Страница 560: ...Appendix D RADIUS Configuration Illustration 548 11 Select Filter Id from the list of attributes and click Add...
Страница 563: ...Appendix D RADIUS Configuration Illustration 551 14 The new attribute is added Click OK...
Страница 564: ...Appendix D RADIUS Configuration Illustration 552 15 Click Next to continue...
Страница 594: ...Appendix E Additional BCM2 Information 582...
Страница 612: ......


