Chapter 3: Using the Web Interface
196
sysName - the name assigned to the system
sysLocation - the location of the system
4.
To configure SNMP notifications:
a.
Select the Enable SNMP Notifications checkbox.
b.
Select a notification type -- SNMPv2c Trap, SNMPv2c Inform,
SNMPv3 Trap, and SNMPv3 Inform.
c.
Specify the SNMP notification destinations and enter necessary
information. For details, refer to:
SNMPv2c Notifications
(on page 346)
SNMPv3 Notifications
(on page 347)
Note: Any changes made to the 'SNMP Notifications' section on the
SNMP page will update the settings of the System SNMP Notification
Action, and vice versa. See
Available Actions
(on page 250). To add
more than three SNMP destinations, you can create new SNMP
notification actions. See
Send an SNMP Notification
(on page 264).
5.
You must download the SNMP MIB for your BCM2 to use with your
SNMP manager.
a.
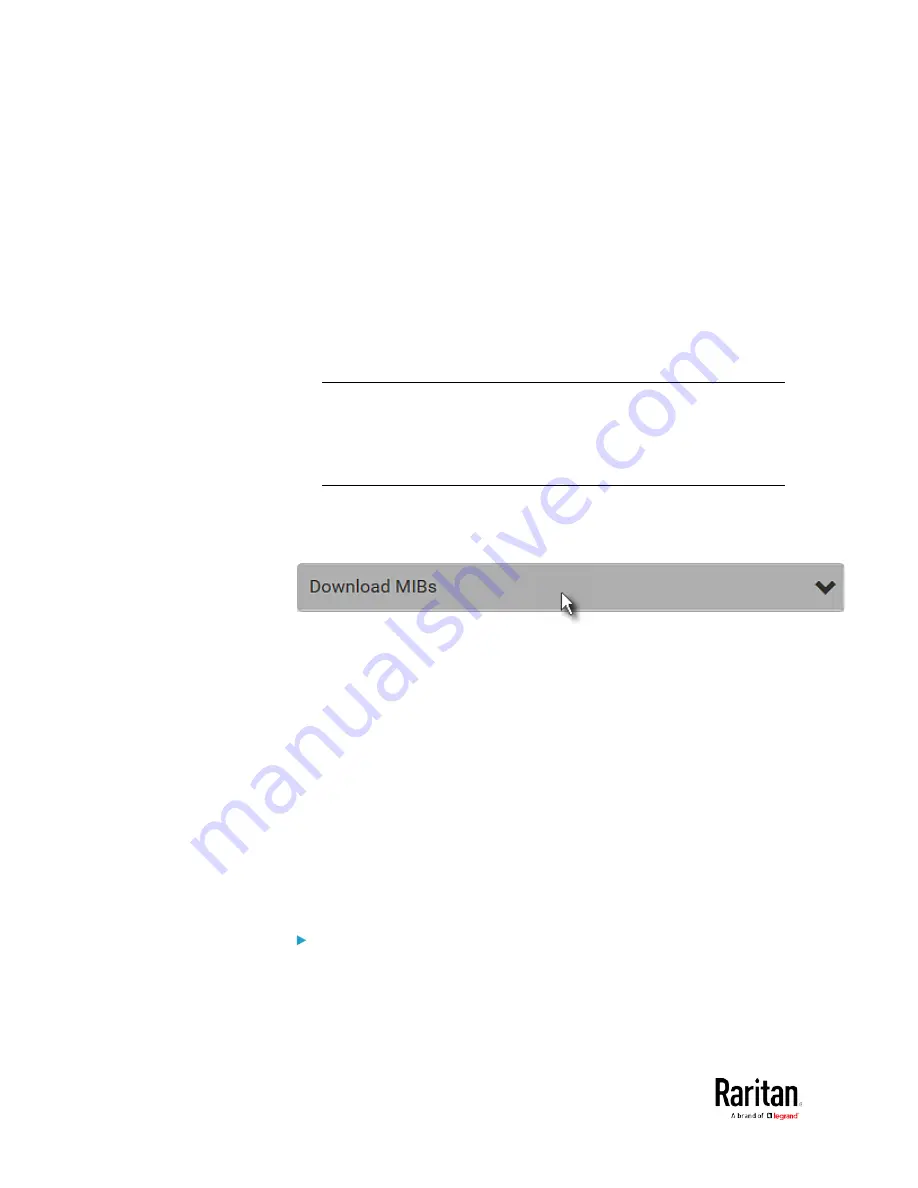
Click the Download MIBs title bar to show the download links.
b.
Click the -MIB download link. See
Downloading SNMP MIB
(on
page 350).
6.
Click Save.
Configuring SMTP Settings
The BCM2 can be configured to send alerts or event messages to a
specific administrator by email. See
Event Rules and Actions
(on page
230).
To send emails, you have to configure the SMTP settings and enter an IP
address for your SMTP server and a sender's email address.
If any email messages fail to be sent successfully, the failure event and
reason are available in the event log. See
Viewing or Clearing the Local
Event Log
(on page 313).
To set SMTP server settings:
1.
Choose Device Settings > Network Services > SMTP Server.
2.
Enter the information needed.
Содержание PMC-1000
Страница 3: ...BCM2 Series Power Meter Xerus Firmware v3 4 0 User Guide...
Страница 23: ...Chapter 1 Installation and Initial Configuration 11 Panel Wiring Example...
Страница 54: ...Chapter 1 Installation and Initial Configuration 42 Branch Circuit Details...
Страница 76: ...Chapter 2 Connecting External Equipment Optional 64...
Страница 123: ...Chapter 3 Using the Web Interface 111...
Страница 558: ...Appendix D RADIUS Configuration Illustration 546 Note If your BCM2 uses PAP then select PAP...
Страница 559: ...Appendix D RADIUS Configuration Illustration 547 10 Select Standard to the left of the dialog and then click Add...
Страница 560: ...Appendix D RADIUS Configuration Illustration 548 11 Select Filter Id from the list of attributes and click Add...
Страница 563: ...Appendix D RADIUS Configuration Illustration 551 14 The new attribute is added Click OK...
Страница 564: ...Appendix D RADIUS Configuration Illustration 552 15 Click Next to continue...
Страница 594: ...Appendix E Additional BCM2 Information 582...
Страница 612: ......


