Chapter 3: Using the Web Interface
312
Column
Description
User name
The login name of each connected user.
IP Address
The IP address of each user's host.
For the login via a local connection (serial RS-232 or
USB), <local> is displayed instead of an IP address.
Client Type
The interface through which the user is being
connected to the BCM2.
Web GUI: Refers to the web interface.
CLI: Refers to the command line interface (CLI).
The information in parentheses following "CLI"
indicates how this user is connected to the CLI.
- Serial: The local connection, such as the serial
RS-232 or USB connection.
- SSH: The SSH connection.
- Telnet: The Telnet connection.
Webcam Live Preview: Refers to the live webcam
image sessions. See below.
Idle Time
The length of time for which a user remains idle.
2.
To disconnect any user, click the corresponding
.
a.
Click Disconnect on the confirmation message.
b.
The disconnected user is forced to log out.
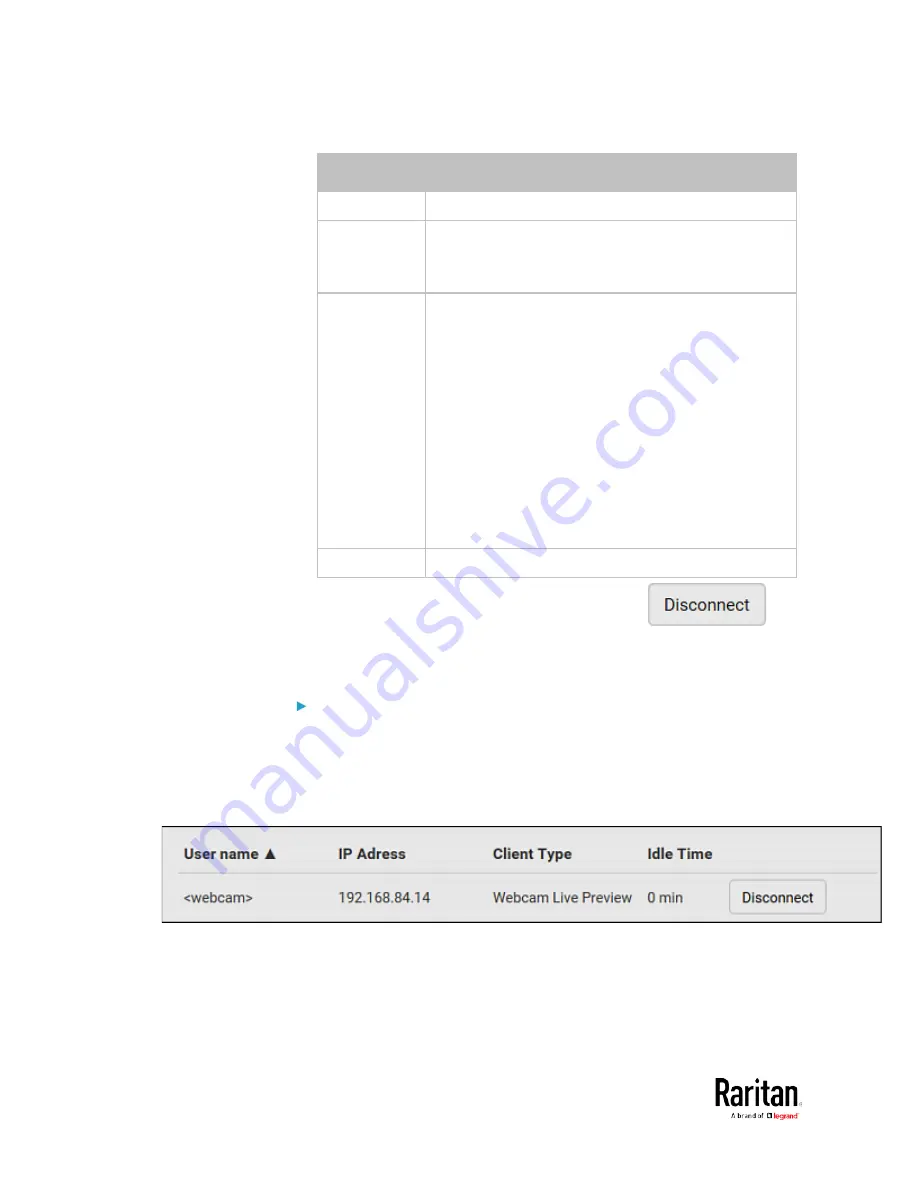
If there are live webcam sessions:
All Live Preview window sessions sharing the same URL, including one
Primary Standalone Live Preview window and multiple Secondary
Standalone Live Preview windows, are identified as one single
"<webcam>" user in the Connected Users list. You can disconnect a
"<webcam>" user to terminate all sessions sharing the same URL.
Содержание PMC-1000
Страница 3: ...BCM2 Series Power Meter Xerus Firmware v3 4 0 User Guide...
Страница 23: ...Chapter 1 Installation and Initial Configuration 11 Panel Wiring Example...
Страница 54: ...Chapter 1 Installation and Initial Configuration 42 Branch Circuit Details...
Страница 76: ...Chapter 2 Connecting External Equipment Optional 64...
Страница 123: ...Chapter 3 Using the Web Interface 111...
Страница 558: ...Appendix D RADIUS Configuration Illustration 546 Note If your BCM2 uses PAP then select PAP...
Страница 559: ...Appendix D RADIUS Configuration Illustration 547 10 Select Standard to the left of the dialog and then click Add...
Страница 560: ...Appendix D RADIUS Configuration Illustration 548 11 Select Filter Id from the list of attributes and click Add...
Страница 563: ...Appendix D RADIUS Configuration Illustration 551 14 The new attribute is added Click OK...
Страница 564: ...Appendix D RADIUS Configuration Illustration 552 15 Click Next to continue...
Страница 594: ...Appendix E Additional BCM2 Information 582...
Страница 612: ......


