Chapter 3: Using the Web Interface
129
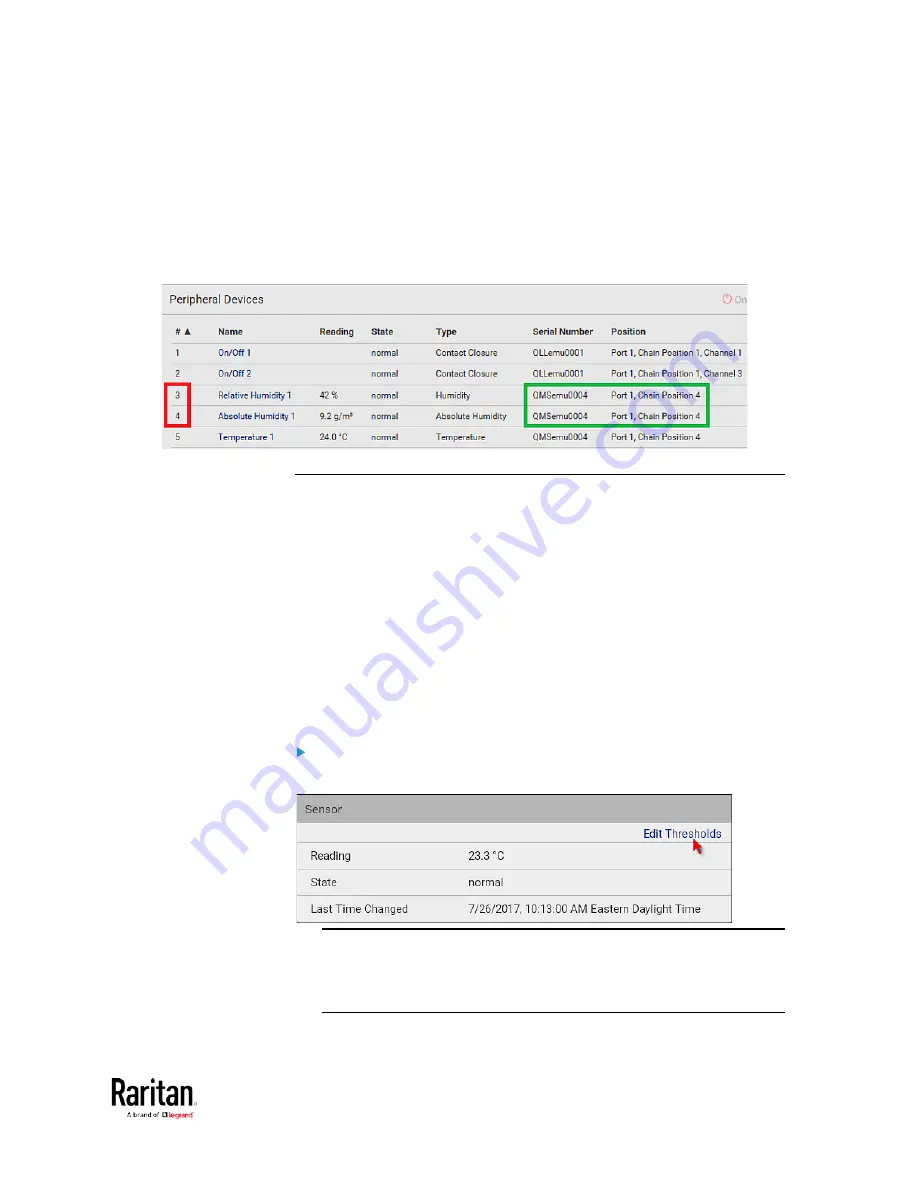
However, only relative humidity sensors are "automatically" managed if
the automatic management function is enabled. You must "manually"
manage absolute humidity sensors as needed.
Note that relative and absolute values of the same humidity sensor do
NOT share the same ID number though they share the same serial
number and position.
Individual Sensor/Actuator Pages
A sensor's or actuator's data/setup page is opened after clicking any
sensor or actuator name on the Peripheral Devices page. See
Peripherals
(on page 115).
Note that only a numeric sensor has threshold settings, while a state
sensor or actuator has no thresholds.
Threshold settings, if enabled, help you identify whether any numeric
sensor enters the warning or critical level. See
Yellow- or
Red-Highlighted Sensors
(see "
The Yellow- or Red-Highlighted
" on page 90, on page 121). In addition, you can have the BCM2
automatically generate alert notifications for any warning or critical
status. See
Event Rules and Actions
(on page 230).
To configure a numeric sensor's threshold settings:
1.
Click Edit Thresholds.
Tip: The date and time shown on the BCM2 web interface are
automatically converted to your computer's time zone. To avoid any
time confusion, you can apply the same time zone settings as those
of BCM2 to your computer.
Содержание PMC-1000
Страница 3: ...BCM2 Series Power Meter Xerus Firmware v3 4 0 User Guide...
Страница 23: ...Chapter 1 Installation and Initial Configuration 11 Panel Wiring Example...
Страница 54: ...Chapter 1 Installation and Initial Configuration 42 Branch Circuit Details...
Страница 76: ...Chapter 2 Connecting External Equipment Optional 64...
Страница 123: ...Chapter 3 Using the Web Interface 111...
Страница 558: ...Appendix D RADIUS Configuration Illustration 546 Note If your BCM2 uses PAP then select PAP...
Страница 559: ...Appendix D RADIUS Configuration Illustration 547 10 Select Standard to the left of the dialog and then click Add...
Страница 560: ...Appendix D RADIUS Configuration Illustration 548 11 Select Filter Id from the list of attributes and click Add...
Страница 563: ...Appendix D RADIUS Configuration Illustration 551 14 The new attribute is added Click OK...
Страница 564: ...Appendix D RADIUS Configuration Illustration 552 15 Click Next to continue...
Страница 594: ...Appendix E Additional BCM2 Information 582...
Страница 612: ......


