Understanding Phrase Files and Using V-Edit
Using Rhetorex V-Edit
Octel 50 Installation Guide
14-41
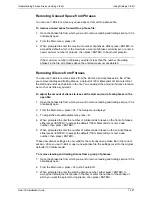
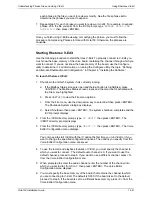
each phrase in the file you want to review or modify. See the file’s phrase list to
determine the phrases you want to expand.
7. Repeat step 5 for each phrase you want to review or modify. For example, to expand
phrase 25 in the file you split, from the \CVR prompt, type
EXPAND D2025.VOX
D2025.LIN
then press <ENTER>.
Once you finish using V-Edit reviewing or modifying the phrase, you must follow the
procedure Compressing Phrases for Use with Octel 50. Otherwise, the phrases are
unusable.
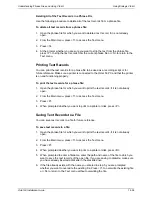
Starting Rhetorex V-Edit
Use the following procedure to start Rhetorex V-Edit. To properly connect to V-Edit, you
must know the base memory of the voice board containing the channel through which you
want to connect. If you do not know the base memory of the board, use the Configure
utility to determine it. For information on running the Configure utility, the topic, “Defining
an Alternate Rhetorex Board Configuration,” in Chapter 4, “Installing the Software.”
To launch Rhetorex V-Edit:
1. Shut down the Octel 50 system if it is currently running.
a. If the Mailbox Status screen is open and the Exit button is highlighted, press
<ENTER>. The Mailbox Status screen closes and the menu bar is activated with
the File menu highlighted.
b. Press <ALT+F> to view the File menu options.
c. From the File menu, use the down arrow key to select Exit then press <ENTER>.
The Shutdown System dialog box displays.
d. Select Shutdown then press <ENTER>. The system shutdown completes and the
\CVR prompt displays.
2. From the \CVR directory prompt, type
CD VEDIT
then press <ENTER>. The
\VEDIT directory prompt displays.
3. From the \CVR directory prompt, type
VEDIT /C
then press <ENTER>. The Voice
Editor Configuration menu displays.
You only need to start V-Edit with the /C option the first time you run V-Edit or if you
want to change the specified configuration options. The options you specify from the
Voice Editor Configuration menu are saved.
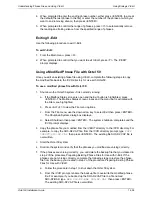
4. To use the record and playback features of V-Edit, you must specify the channel to
which you want to connect. The default audio channel is 0. If you want to use the
default channel, proceed to step 8. If you want to use a different channel, press <5>
from the Voice Editor Configuration menu.
5. When prompted to select the audio channel, enter the number of the channel into
which you want to dial, from 0 to 3, then press <ENTER>. The Voice Editor
Configuration menu displays.
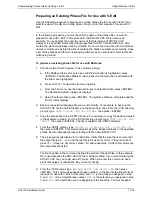
6. You must specify the base memory of the board that contains the channel to which
you are connecting to V-Edit. The default is D000. If the board is set to the default,
proceed to step 8. If the board is set to a different base memory, press <3> from the
Voice Editor Configuration menu.
Содержание Octel 50
Страница 2: ......
Страница 3: ...Octel 50 Installation Guide 585 313 134 Comcode 108503004 101 1840 000 Issue 1 June 1999 ...
Страница 8: ......
Страница 22: ...Determining System Needs Step 3 Consider Additional Hardware Needs OCTEL 50 INSTALLATION GUIDE 2 6 Notes ...
Страница 36: ...Installing the Hardware Step 10 Installing the Sentinel Octel 50 Installation Guide 3 14 Notes ...
Страница 52: ...Running the SMDI Utility Running SMDI as a Standalone Utility Octel 50 Installation Guide 5 4 Notes ...
Страница 180: ...Integrating with an Uninterruptible Power Supply Running UPS Integration Octel 50 Installation Guide 10 4 Notes ...


