Installation Overview
Using Quick Assist
Octel 50 Installation Guide
12-7
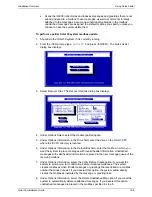
9. Under Report Information, select the Disk option if you want to create a report file.
When you select this option, the system creates a report with the specified filename in
the \CVR1 directory. Select Printer if you want to send the report to the printer
attached to the Octel 50 PC. Do not select the Printer option if there is not a printer
attached to the PC.
10. Under Report Information, enter the name of the report you want the system to
generate, if you do not want to accept the default QASSIST.RPT.
11. To begin the update, select Start. The Recover Status dialog box displays.
The system copies the files in the \CVR1 directory into a directory named \~REPAIR~.
Do not delete the files from the \~REPAIR~ directory until you are confident the
system has corrected any file damage.
The Searching Directory and Processing Mailbox fields display the directory and
mailbox currently being verified. The Errors and Warnings fields reflect the respective
number of errors and warnings the system encounters during verification.
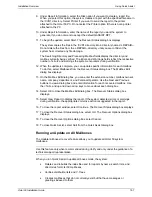
12. When the update is complete, you can update specific information for each mailbox.
To do this, select Mailboxes from the Recover Status dialog box. The Mailbox Edit
dialog box displays.
13. On the Mailbox Edit dialog box, you can enter the extension number, mailbox owner’s
name, company, department, and Personal Operator. Use the Next and Previous
buttons to view a dialog box and enter information for each recovered mailbox. Use
the <Tab> and up and down arrow keys to move about each dialog box.
14. Select OK to close the Mailbox Edit dialog box. The Recover Status dialog box
displays.
15. Select View Report to display the report. If the system detected errors or warnings
during verification, the appropriate corrective action is suggested in the report.
16. To close the report window, select Continue. The Recover Status dialog box displays.
17. To close the Recover Status dialog box, select OK. The Recover Options dialog box
displays.
18. To close the Recover Options dialog box, select Cancel.
19. To close Quick Assist, select Quit from the Quick Assist dialog box.
Running an Update on All Mailboxes
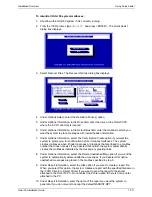
The Update (all boxes) recover feature allows you to update all Octel 50 system
mailboxes.
Use this feature only when recommended during Verify and only under the guidance of a
technical support representative.
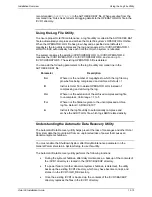
When you run Quick Assist in update all boxes mode, the system:
•
Deletes and rebuilds the index file used for reports by name, search lists, and
directories for Octel 50 mailboxes
•
Verifies distribution lists and V-Trees
•
Creates mailboxes that do not currently exist but that have messages or
greetings indexed to them
Содержание Octel 50
Страница 2: ......
Страница 3: ...Octel 50 Installation Guide 585 313 134 Comcode 108503004 101 1840 000 Issue 1 June 1999 ...
Страница 8: ......
Страница 22: ...Determining System Needs Step 3 Consider Additional Hardware Needs OCTEL 50 INSTALLATION GUIDE 2 6 Notes ...
Страница 36: ...Installing the Hardware Step 10 Installing the Sentinel Octel 50 Installation Guide 3 14 Notes ...
Страница 52: ...Running the SMDI Utility Running SMDI as a Standalone Utility Octel 50 Installation Guide 5 4 Notes ...
Страница 180: ...Integrating with an Uninterruptible Power Supply Running UPS Integration Octel 50 Installation Guide 10 4 Notes ...


