Installing the Hardware
Step 3: Configuring the Voice Boards
Octel 50 Installation Guide
3-4
the system writes an entry to the log file identifying the location of the nonsignatured
board.
The Octel 50 system supports Dialogic voice boards for new systems. Rhetorex boards
are supported for existing systems in which they are already installed.
Use caution when handling voice boards as they are electrostatic-sensitive. Ensure you
ground the PC, the work area, and the ground end of the antistatic wrist strap prior to
handling a board, and always use antistatic wrist straps and electrostatic-dissipative mats
while handling a board.
Configuring Dialogic Boards
Octel 50 supports the DIALOG/4 and D/42D-SX boards for new Octel 50 systems. In
addition, the Dialogic D/4xD board is supported for existing systems in which it is already
installed.
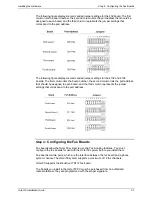
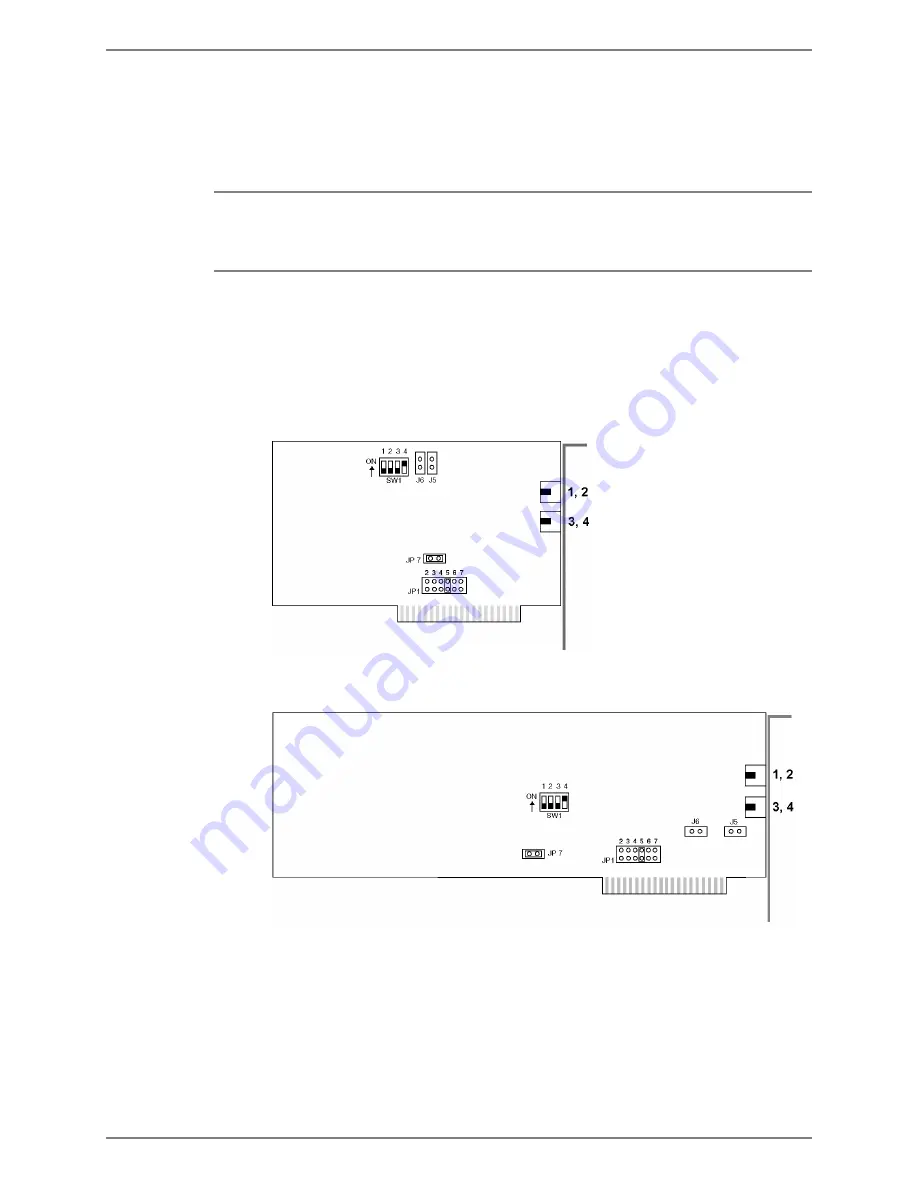
The following figure illustrates the DIALOG/4 board.
The following diagram illustrates the D/4xD board. The location of the relevant jumpers
and switches on the D/42D-SX board is approximately the same as on the D/4xD board.
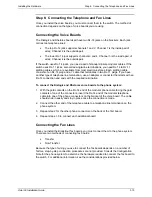
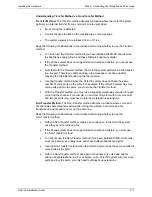
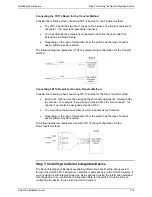
Dialogic boards are all configured the same way for Octel 50. Complete the following
steps, as required, to configure each Dialogic board:
•
Set the board’s base shared memory address
•
Modify the board’s base memory segment
•
Set the board’s hardware interrupt
•
Set the default line state
Содержание Octel 50
Страница 2: ......
Страница 3: ...Octel 50 Installation Guide 585 313 134 Comcode 108503004 101 1840 000 Issue 1 June 1999 ...
Страница 8: ......
Страница 22: ...Determining System Needs Step 3 Consider Additional Hardware Needs OCTEL 50 INSTALLATION GUIDE 2 6 Notes ...
Страница 36: ...Installing the Hardware Step 10 Installing the Sentinel Octel 50 Installation Guide 3 14 Notes ...
Страница 52: ...Running the SMDI Utility Running SMDI as a Standalone Utility Octel 50 Installation Guide 5 4 Notes ...
Страница 180: ...Integrating with an Uninterruptible Power Supply Running UPS Integration Octel 50 Installation Guide 10 4 Notes ...


