Contents
8
SI Installation and Upgrades
June 2004
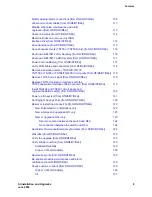
No connection between the switch and RFA
84
Administer No-License/Emergency Numbers [from G3V4]
85
Verify the upgrade [from G3V4]
85
Check customer options [from G3V4]
86
High or Critical Reliability
86
All
86
Restore busyouts [from G3V4]
86
Run acceptance tests [from G3V4]
87
Test single-carrier cabinet systems
87
Test multi-carrier cabinet systems
87
Test telephones and other equipment
88
Enable Scheduled Maintenance and Alarm Notification [from G3V4]
88
Register the switch for maintenance [from G3V4]
89
Restore announcements (TN750 or TN750B only) [from G3V4]
91
Rerecord announcements [from G3V4]
92
Save announcements and translation (TN750
or TN750B only) [from G3V4]
92
Return equipment [from G3V4]
93
Helpful links
93
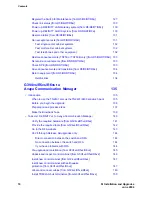
R5/R6/R7/R8si to Avaya Communication Manager
95
• Introduction
95
When to use the TN2401 versus the TN2401/2400 sandwich pack
95
About circuit-pack carriers
97
Before you begin the upgrade
97
Preparation and process steps
97
Make the Blowback Tape
100
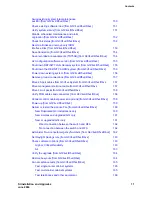
• Task List: R5/R6/R7/R8si to Avaya Communication Manager
101
Verify the required hardware [from R5/R6/R7/R8si]
102
Provide the required tools [from R5/R6/R7/R8si]
103
Go to the RFA website [from R5/R6/R7/R8si]
104
G3V4 through Release 9si upgrades only
105
Direct connection between the switch and RFA
105
No connection between the switch and RFA
105
If you have problems with RFA
106
Pre-upgrade administration [from R5/R6/R7/R8si]
106
Verify the software version [from R5/R6/R7/R8si]
107
Verify system status [from R5/R6/R7/R8si]
108

