Bring the System Online
Access the System
452
SI Installation and Upgrades
June 2004
Manually Power Up AUDIX System
1
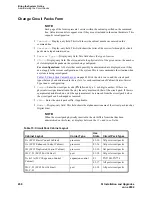
Using a pointed object such as a paper clip or a pen (do not use a pencil), press the
Boot/Shutdown button.
2
Hold the Boot/Shutdown button in until the display indicates the message,
BTEST
, steady on.
3
Release the Boot/Shutdown button. The DEFINITY AUDIX System takes approximately five
minutes to power up.
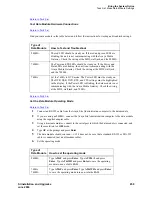
— The display has the following sequence of steady on messages:
•
OSINIT
•
OS
•
AINIT
•
ADX
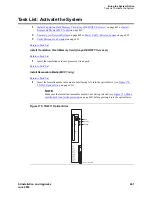
— The DEFINITY AUDIX System is now powered up. When the system is in the active
state, the display indicates
ADX
, and the red LED is off.
NOTE:
Upon the system powering up, the DEFINITY AUDIX System automatically reboots.
This sequence may show an
MD
or
MJ ADX
alarm in the display until the system has
powered up. When the system has completed its power up sequence, the DEFINITY
AUDIX System display reads:
ADX
.
Access the System
Return to Task List
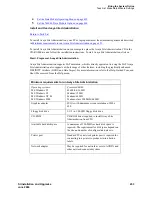
To access the system, you first install Avaya Site Administration software on the PC and then connect to
the Avaya Media Gateway. Select the correct procedures for this installation from the task lists.
Task List: Access the system
•
Install and Use Avaya Site Administration
on page 453
•
Connect Directly to the Avaya Media Gateway
on page 454
•
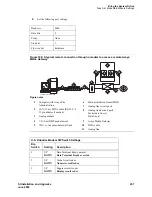
Connect Remotely to the Avaya Media Gateway Through a Data Module
on page 455
•
Connect Remotely to the Avaya Media Gateway Through a Modem
on page 456
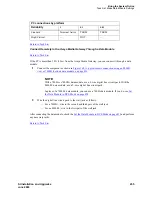
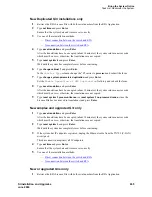
Task List: Make Data Module Settings
1
Set the Data Module to DCE Mode on page 458
if necessary
2
Add a Data Module to the Switch on page 458
3
Test Data Module Hardware Connections
on page 459


