8-73
8-73
8.2. Creating a New Workspace
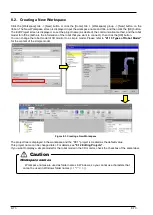
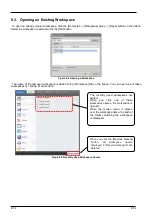
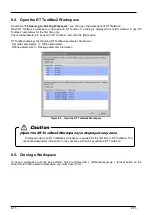
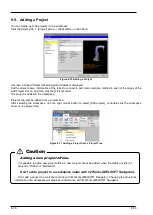
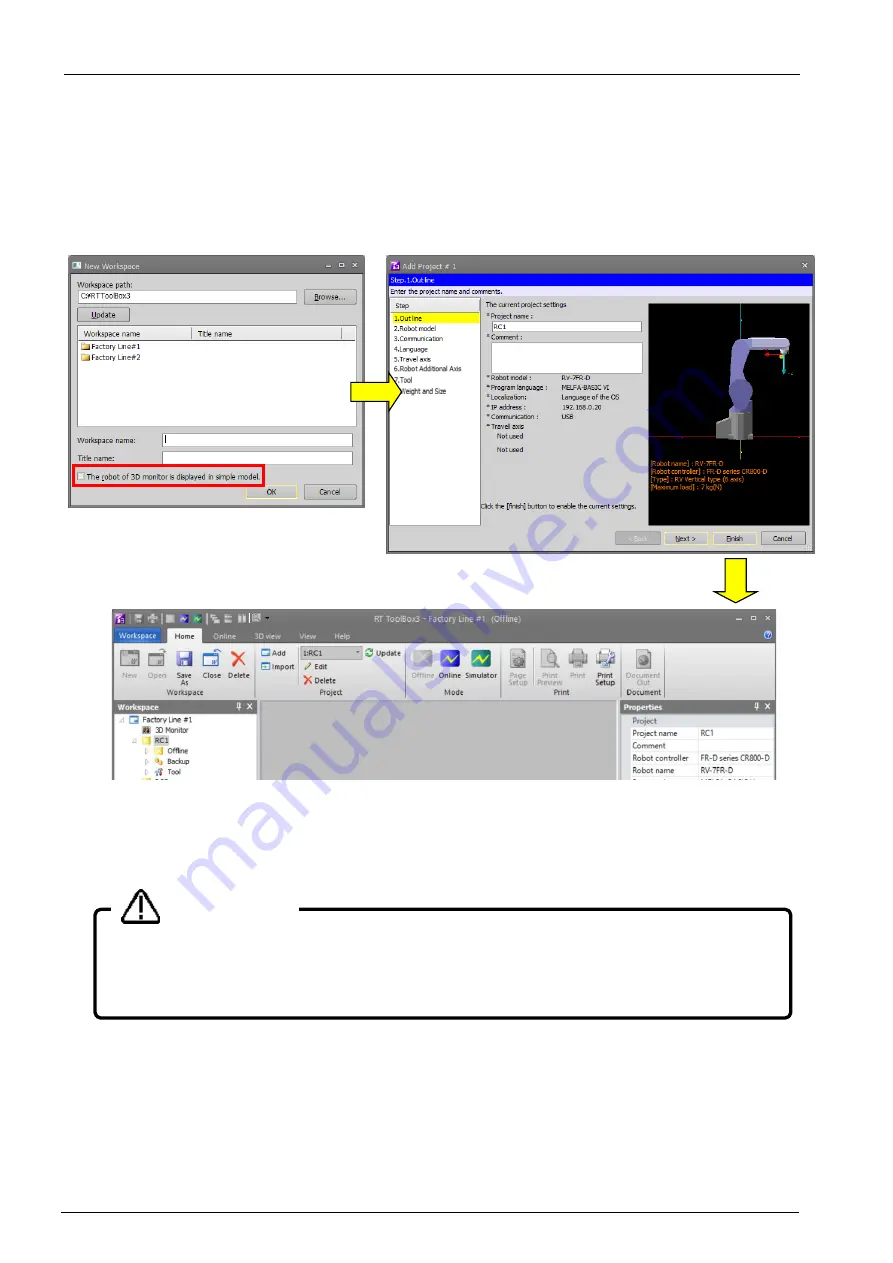
Click the [Workspace] tab -> [New] button or click the [Home] tab -> [Workspace] group -> [New] button on the
ribbon. The New Workspace screen is displayed. Input the workspace name and title, and then click the [OK] button.
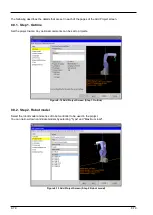
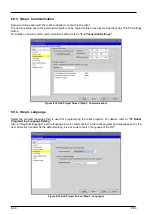
The Edit Project screen is displayed, so set the project name (as desired), the communication method, and the robot
model for offline (both are the information of the robot that you want to connect.), then click the [OK] button.
You can change the robot model of 3D monitor to a simple model. Please refer to
for the content of the simple model.
Figure 8-3 Creating a New Workspace
The project tree is displayed in the workspace and the "RC1" project is created as the default value.
This project name can be changed later. For details, see
If you want to display a simple model for the robot model in the 3D monitor, check the checkbox of the same label.
Workspace names
Workspace names are used as folder names in Windows, so you cannot use characters that
cannot be used in Windows folder names (\ /: *? “ < > | ).
Caution
Summary of Contents for 3F-14C-WINE
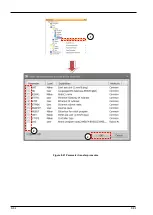
Page 84: ...8 84 8 84 Figure 8 21 Parameter transfer procedure 1 2 2 ...
Page 393: ...18 393 18 393 Figure 18 1 Starting the Oscillograph ...
Page 413: ...18 413 18 413 Figure 18 24 Output to Robot program Selection ...
Page 464: ...18 464 18 464 Figure 18 72 Starting the Tool automatic calculation ...
Page 545: ...21 545 21 545 Figure 21 55 Hide display of user mechanism ...
Page 624: ...24 624 24 624 Figure 24 4 Document output example ...

