15-326
15-326
15.1.1. Origin data input
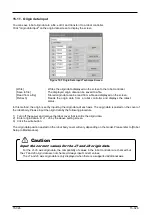
You can save robot origin data to a file, edit it, and transfer it to a robot controller.
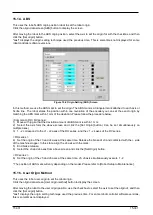
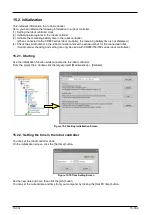
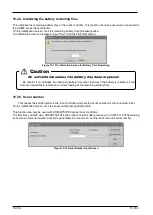
Click "origin data input" on the origin data screen to display the screen.
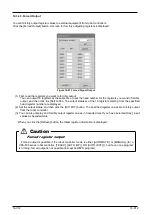
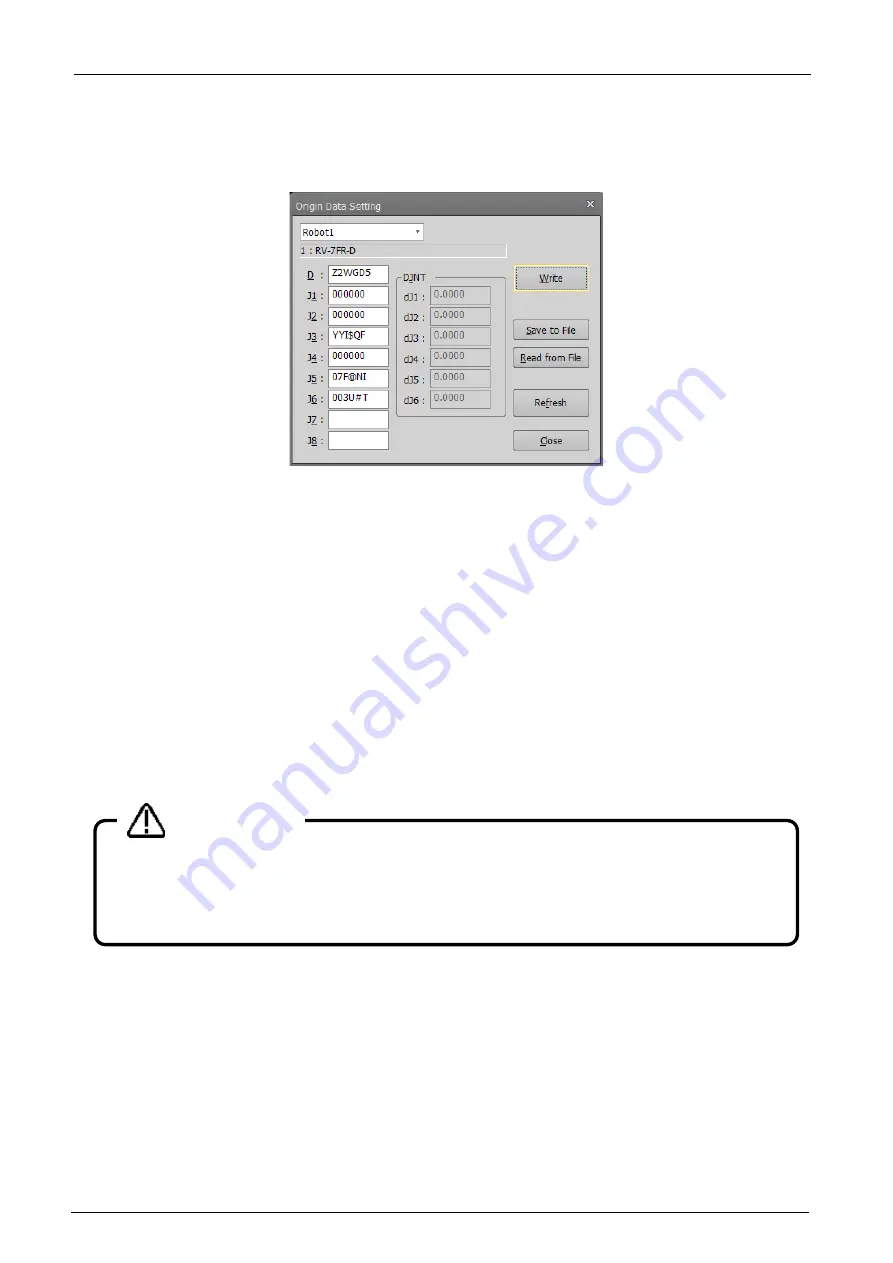
Figure 15-3 Origin Data Input Technique Screen
[Write]
: Writes the origin data displayed on the screen to the robot controller.
[Save to file]
: The displayed origin data can be saved to a file.
[Read from a file]
: Stored origin data can be read from a file and displayed on the screen.
[Refresh]
: Reads the origin data from a robot controller and displays the latest
status.
In this method, the origin is set by inputting the origin data of each axis. The origin data is pasted on the cover of
the robot body. Please input the origin data by the following procedure.
1) Turn off the power and remove the robot cover that records the origin data.
2) Enter origin data in D, J1 - J8 by the above setting screen.
3) Click the write button.
The origin data position pasted on the robot body cover will vary depending on the model. Please refer to [Robot
Setup to Maintenance].
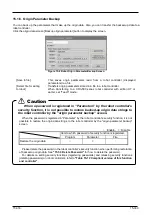
Input the correct values for the J7 and J8 origin data.
For the J1-J6 axis origin data, the compatibility of values in the robot controller are checked but
the J7 and J8 origin data are not checked. Always input correct values.
The J7 and J8 axis origin data is only displayed when there is a supported additional axis.
Caution
Summary of Contents for 3F-14C-WINE
Page 84: ...8 84 8 84 Figure 8 21 Parameter transfer procedure 1 2 2 ...
Page 393: ...18 393 18 393 Figure 18 1 Starting the Oscillograph ...
Page 413: ...18 413 18 413 Figure 18 24 Output to Robot program Selection ...
Page 464: ...18 464 18 464 Figure 18 72 Starting the Tool automatic calculation ...
Page 545: ...21 545 21 545 Figure 21 55 Hide display of user mechanism ...
Page 624: ...24 624 24 624 Figure 24 4 Document output example ...

