11-147
11-147
11.7.4. Edit assist functions
This explains the edit assist functions, which help in command editing.
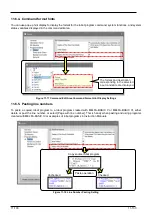
Auxiliary editing functions such as copy, cut, find, replace, and jump are used from the [Edit] and [Tool] tabs on the
ribbon.
11.7.4.1. Copy
Copies a character string in the command being edited. You can also copy multiple lines.
Select the character string to copy, and then click the [Edit] tab -> [Command line] group -> [Copy] button on the
ribbon.
You can use the paste function, explained below, to paste this copied character string to another location in the
program.
For details on position data copying, see
"11.7.4.4 Copying position variables"
.
11.7.4.2. Cut
Cuts a character string from the command being edited. You can also cut multiple lines.
Select the character string to cut, and then click the [Edit] tab -> [Command line] group -> [Cut] button on the ribbon.
You can use the paste function, explained below, to paste this cut character string to another location in the program.
11.7.4.3. Paste
Pastes the copied or cut character string to the specified location.
Place the cursor at the position to paste the character string, and then click the [Edit] tab -> [Command line] group ->
[Paste] button on the ribbon. The copied or cut character string is inserted at the specified location.
For details on position data pasting, see
"11.7.4.5 Pasting Position Variables"
.
11.7.4.4. Copying position variables
Copies the position variable. You can also copy multiple position variables.
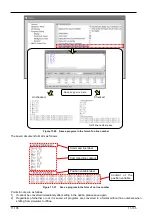
Select the position variable to copy, and then click the [Edit] tab -> [Position variable] group -> [Copy] button on the
ribbon.
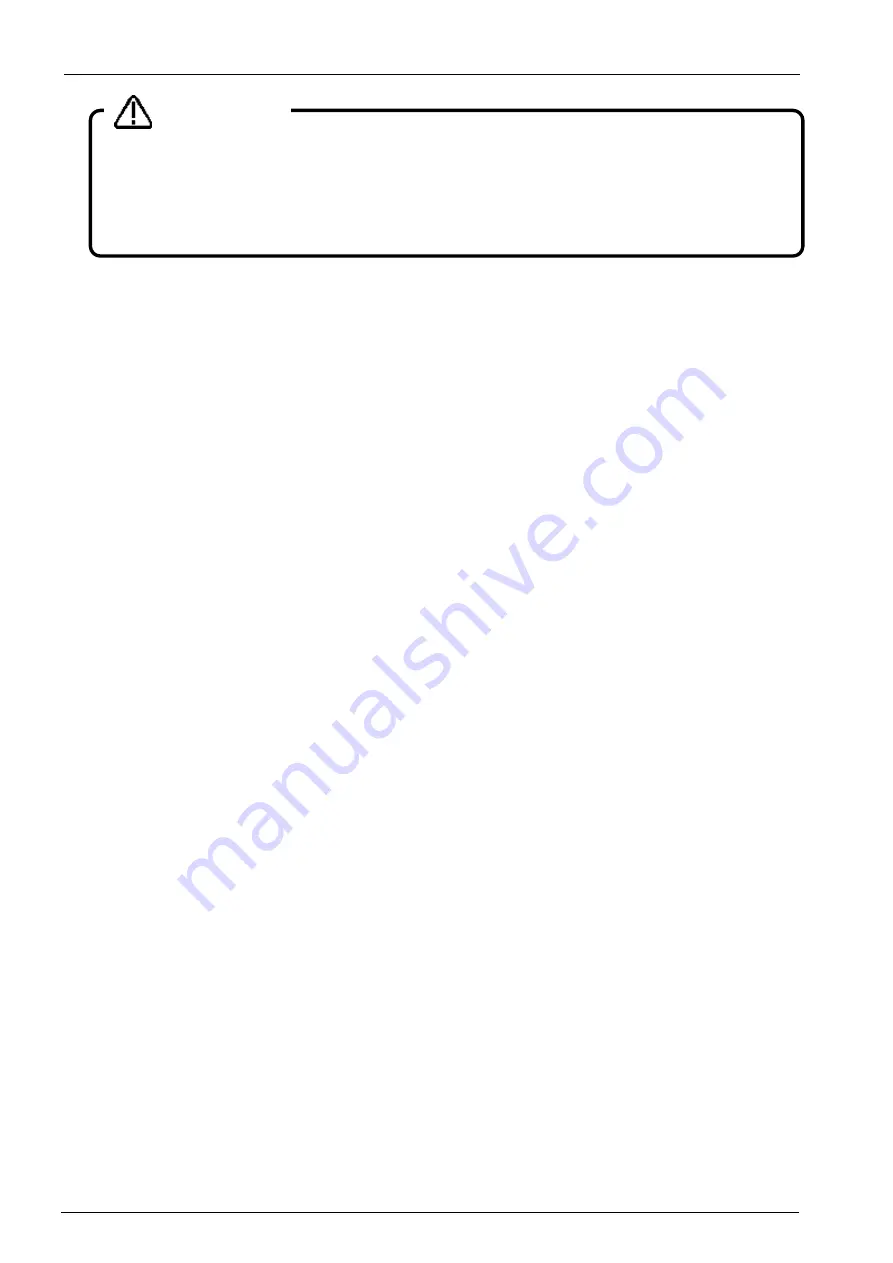
To delete a position array variable, delete the command statement.
"Dim" declaration.
With this software, even if a position variable is deleted, if a program with a "Dim" declaration is
written to a robot controller, the position array variables declared with the "Dim" are left at 0 for all
their components.
Caution
Summary of Contents for 3F-14C-WINE
Page 84: ...8 84 8 84 Figure 8 21 Parameter transfer procedure 1 2 2 ...
Page 393: ...18 393 18 393 Figure 18 1 Starting the Oscillograph ...
Page 413: ...18 413 18 413 Figure 18 24 Output to Robot program Selection ...
Page 464: ...18 464 18 464 Figure 18 72 Starting the Tool automatic calculation ...
Page 545: ...21 545 21 545 Figure 21 55 Hide display of user mechanism ...
Page 624: ...24 624 24 624 Figure 24 4 Document output example ...

