23-613
23-613
23. I/O Simulator
23.1. Summary
The I/O simulator simulates the signal communication between robots. This function can also interact with GX
Simulator2, 3 devices. (For details of GX Simulator2, 3, refer to GX WORKS2, 3’s manual.)
23.2. Simulator settings
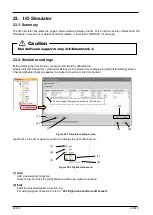
Before starting the I/O simulator, create an I/O simulator definition file.
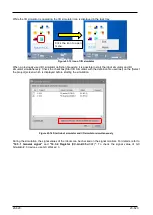
Double-click [I/O Simulator] -> [Simulator Setting] on the project tree to display the [Simulator Setting] screen.
Checking [Enable] checkbox applies the signal connection to the I/O simulator.
Figure 23-1 Simulator setting screen
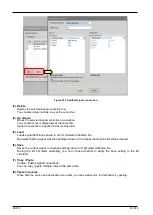
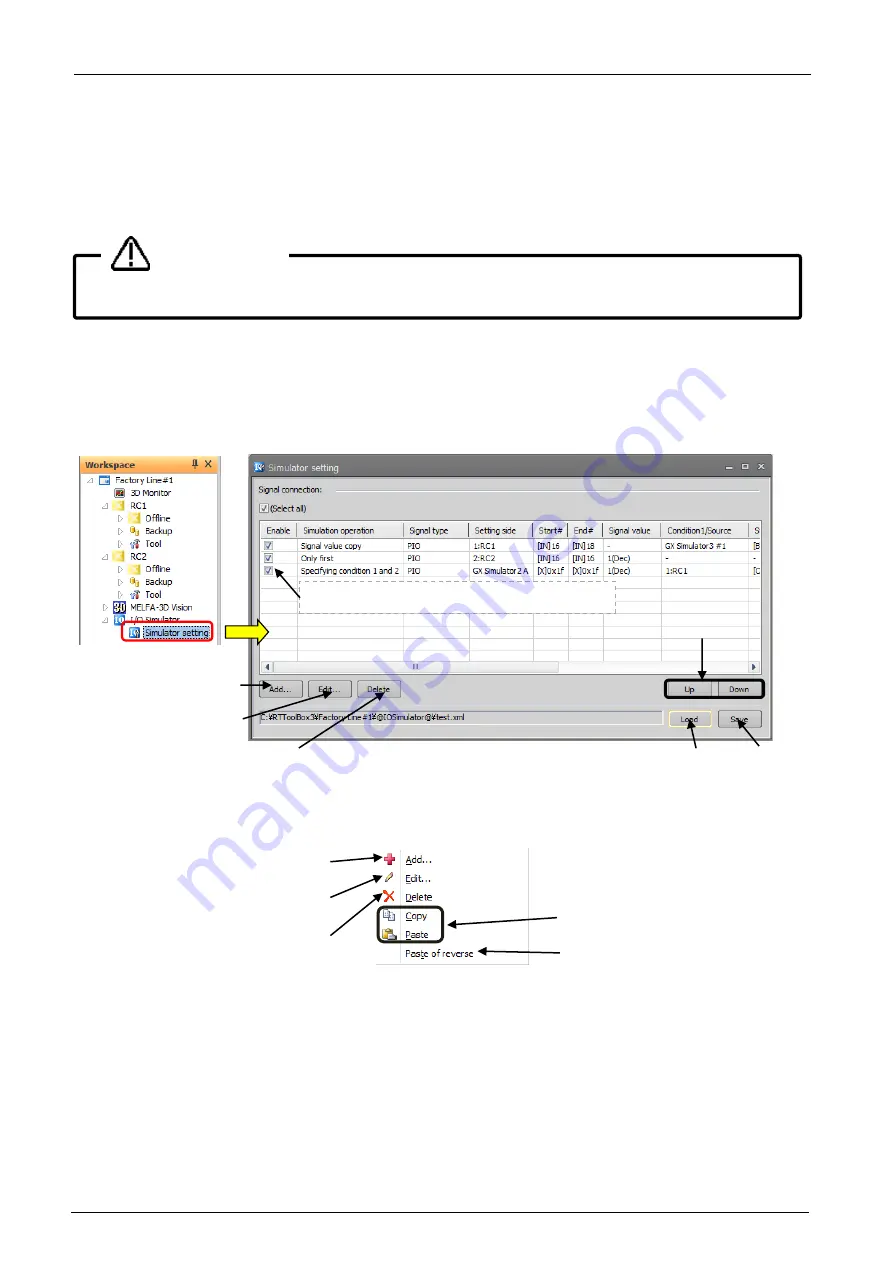
Right-click on the list of signal connection to display the right button menu.
Figure 23-2 Right button menu.
(1) Add
Add a new signal connection.
Select a row and click the [Add] button to add a new signal connection.
(2) Edit
Edits the selected signal connection row.
For editing signal connections, refer to
Signal connection edit screen”.
(2)
(4)
(1)
Check to apply the signal connection to I/O simulator.
(3)
This Software supports only GX Simulator2, 3.
Caution
(1)
(2)
(3)
(7)
(8)
(6)
(5)
Summary of Contents for 3F-14C-WINE
Page 84: ...8 84 8 84 Figure 8 21 Parameter transfer procedure 1 2 2 ...
Page 393: ...18 393 18 393 Figure 18 1 Starting the Oscillograph ...
Page 413: ...18 413 18 413 Figure 18 24 Output to Robot program Selection ...
Page 464: ...18 464 18 464 Figure 18 72 Starting the Tool automatic calculation ...
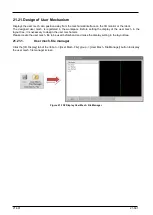
Page 545: ...21 545 21 545 Figure 21 55 Hide display of user mechanism ...
Page 624: ...24 624 24 624 Figure 24 4 Document output example ...


