2-41
2-41
2. Changes from RT ToolBox2
In RT ToolBox3, the following content has been changed from RT ToolBox2.
2.1. Changes to Save Format in Workspaces and Compatibility
The save format for the layout settings for workspaces differ in RT ToolBox2 and RT ToolBox3.
When a workspace saved in RT ToolBox2 is opened in RT ToolBox3, the layout that was last opened in the 3D
monitor of the entire workspace, the robot layout, etc. are automatically converted to the saving format of RT
ToolBox 3, and a layout file is created. In addition, if you want to display the layout created by RT Toolbox 2, you
need to convert it to the saving format of RT ToolBox 3 using the layout conversion function.
Workspaces created in RT ToolBox3 can also be opened in RT ToolBox2. However, note that layouts set in RT
ToolBox3 cannot be displayed.
2.2. Operations Using the Ribbon
Instead of the tool bar and menus that were used in RT ToolBox2, in RT ToolBox3, a ribbon interface is made
available that allows the user to quickly find the required commands.
For an explanation on the ribbon, refer to
.
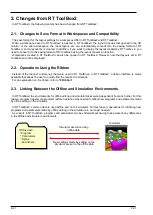
2.3. Linking Between the Offline and Simulation Environments.
In RT ToolBox2, the environments for offline editing and simulator tasks were independent from each other. For this
reason, program transfer or parameter restore operation was needed to reflect new programs and parameters made
by offline editing in the simulator.
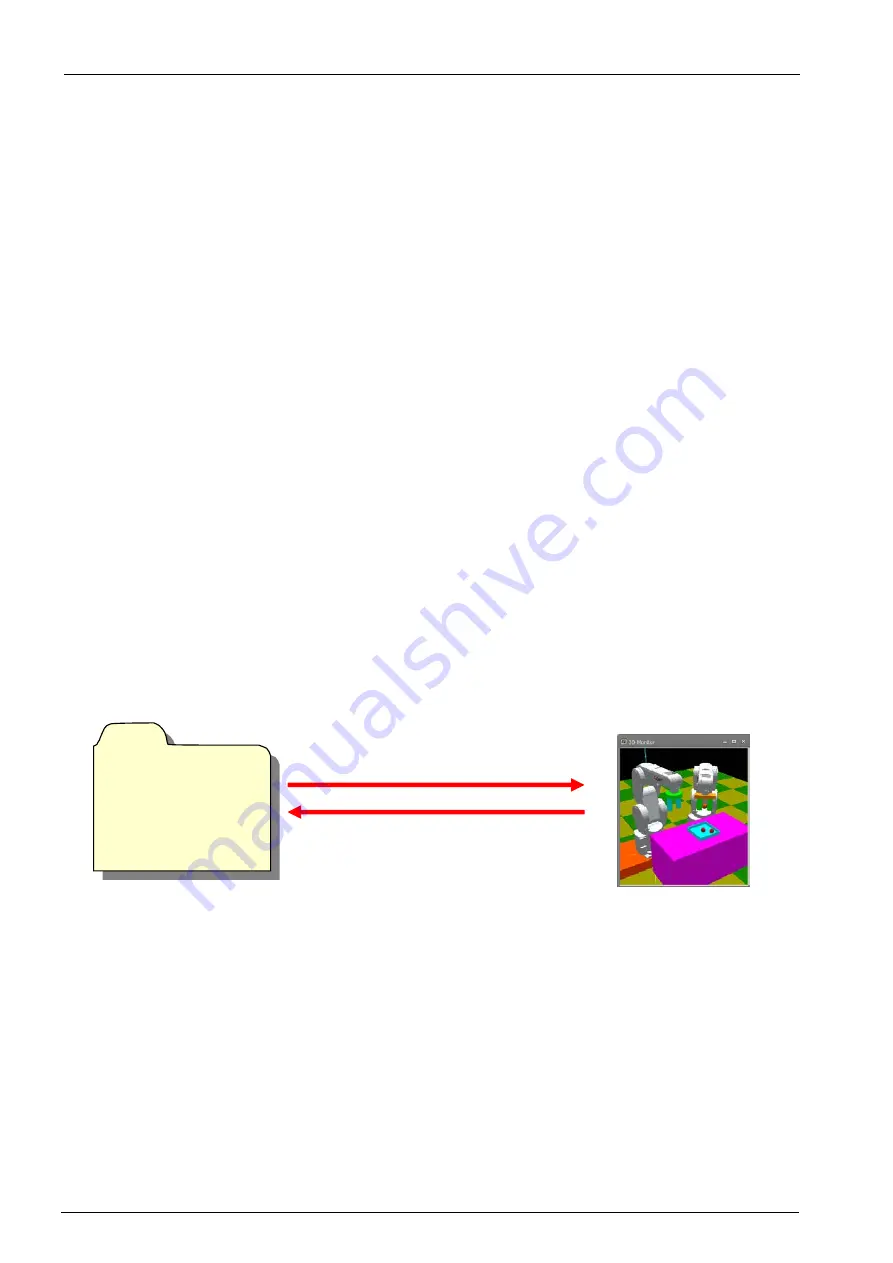
In RT ToolBox3, common data is used offline and on the simulator. For this reason, operations for reflecting new
programs and parameters made by offline editing in the simulator are no longer needed.
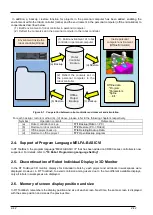
As a result, in RT ToolBox3, programs and parameters can be edited without having to be aware of any differences
in the offline and simulator environments.
Simulator execution using
offline data
Simulator
Offline data
*Program
* Parameters
* Spline
....and others
New settings made by editing on the
simulator are set to the offline data
Summary of Contents for 3F-14C-WINE
Page 84: ...8 84 8 84 Figure 8 21 Parameter transfer procedure 1 2 2 ...
Page 393: ...18 393 18 393 Figure 18 1 Starting the Oscillograph ...
Page 413: ...18 413 18 413 Figure 18 24 Output to Robot program Selection ...
Page 464: ...18 464 18 464 Figure 18 72 Starting the Tool automatic calculation ...
Page 545: ...21 545 21 545 Figure 21 55 Hide display of user mechanism ...
Page 624: ...24 624 24 624 Figure 24 4 Document output example ...


