21-557
21-557
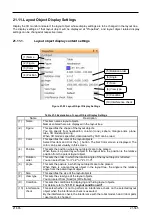
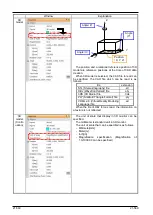
When [True] is set, the following items are displayed.
(2) I/O type:
Specify the I/O type.
You can select from [input signal], [output signal], [Register (CC-Link) input] and
[Register (CC-Link) output].
(3) Start signal #:
Specify the I/O start No.
No. 0 onwards can be specified for I/O signals.
No. 6000 onwards can be specified for register (CC-Link) I/O signals.
(4) Bit size:
Specify the number of bits (or number of registers) from the I/O start No.
1 to 32 can be specified for I/O signals. 1 and 2 can be specified for register
(CC-Link) I/O.
(5) Signal value:
Specify the numerical value for comparing with the I/O state.
For I/O signals, specify a value expressed in binary for the bit size using an
unsigned decimal.
For register (CC-Link) I/O, specify a value expressed in binary for one I/O (16-bit
width) or 2 I/O (32-bit width) using a signed decimal.
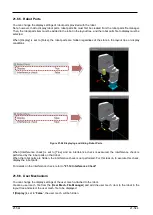
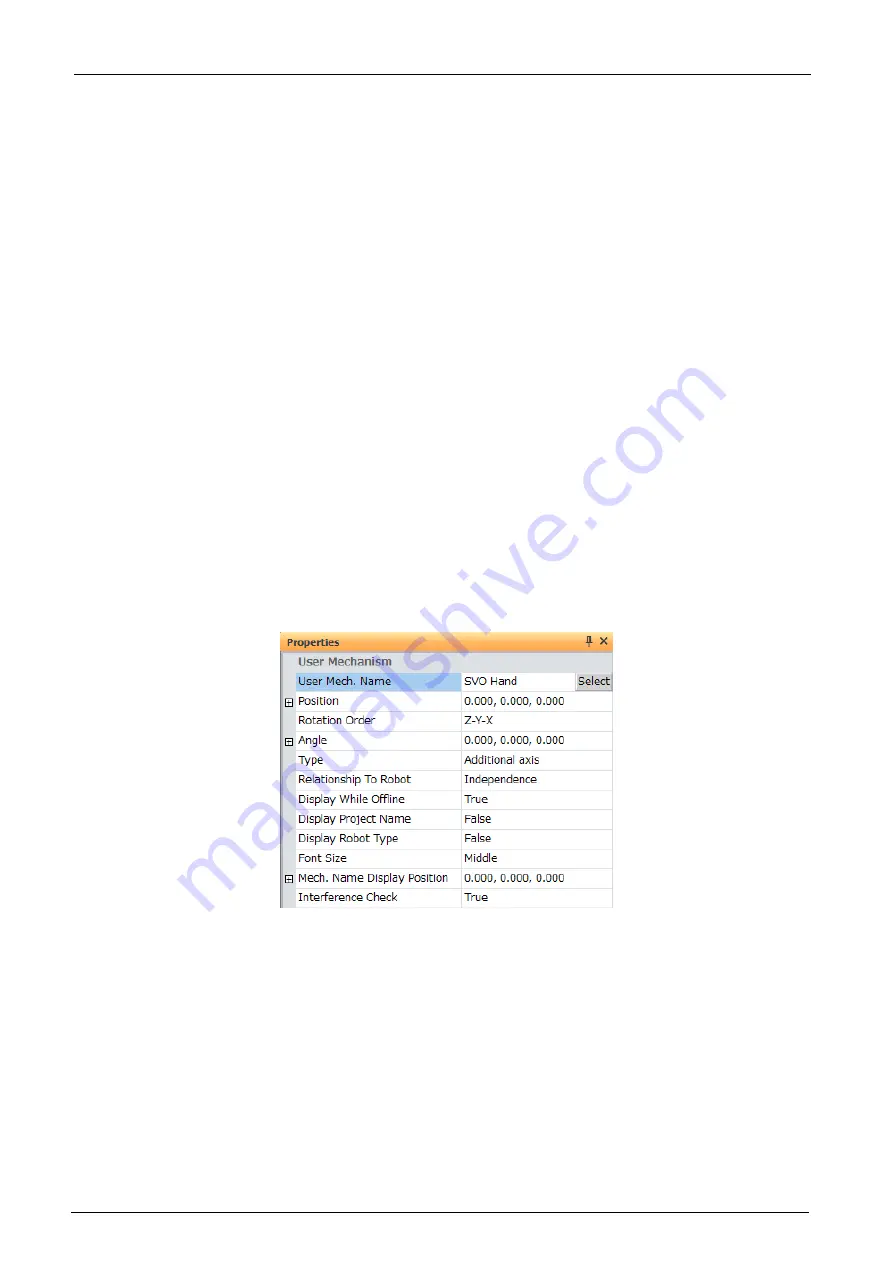
21.9. User Mech. Display Settings
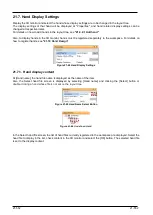
Display the 3D monitor and select the user mech. whose display settings are to be changed in the layout tree.
The display settings of that user mech. will be displayed at “Properties”, and user mech. related display settings
can be changed at respective items.
For details on how to add a user mech. , refer to “
”.
Also, in order to display the user mech. on the 3D monitor, you need to register the user mech. in the workspace
separately, refer to “
21.21 Design of User Mechanism
”.
Figure 21-75 User Mech. Display Settings
Summary of Contents for 3F-14C-WINE
Page 84: ...8 84 8 84 Figure 8 21 Parameter transfer procedure 1 2 2 ...
Page 393: ...18 393 18 393 Figure 18 1 Starting the Oscillograph ...
Page 413: ...18 413 18 413 Figure 18 24 Output to Robot program Selection ...
Page 464: ...18 464 18 464 Figure 18 72 Starting the Tool automatic calculation ...
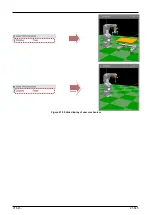
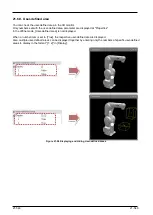
Page 545: ...21 545 21 545 Figure 21 55 Hide display of user mechanism ...
Page 624: ...24 624 24 624 Figure 24 4 Document output example ...


