16-2
Chapter 16
ProDriveNext / EzSQ
16.2 “ProDriveNext”
• Want to manage parameters by PC.
• Want to perform an automatic operation using the
program operation function.
• Want to check the monitor data graphically at the
time of error.
16.2.1
Connecting PC and inverter
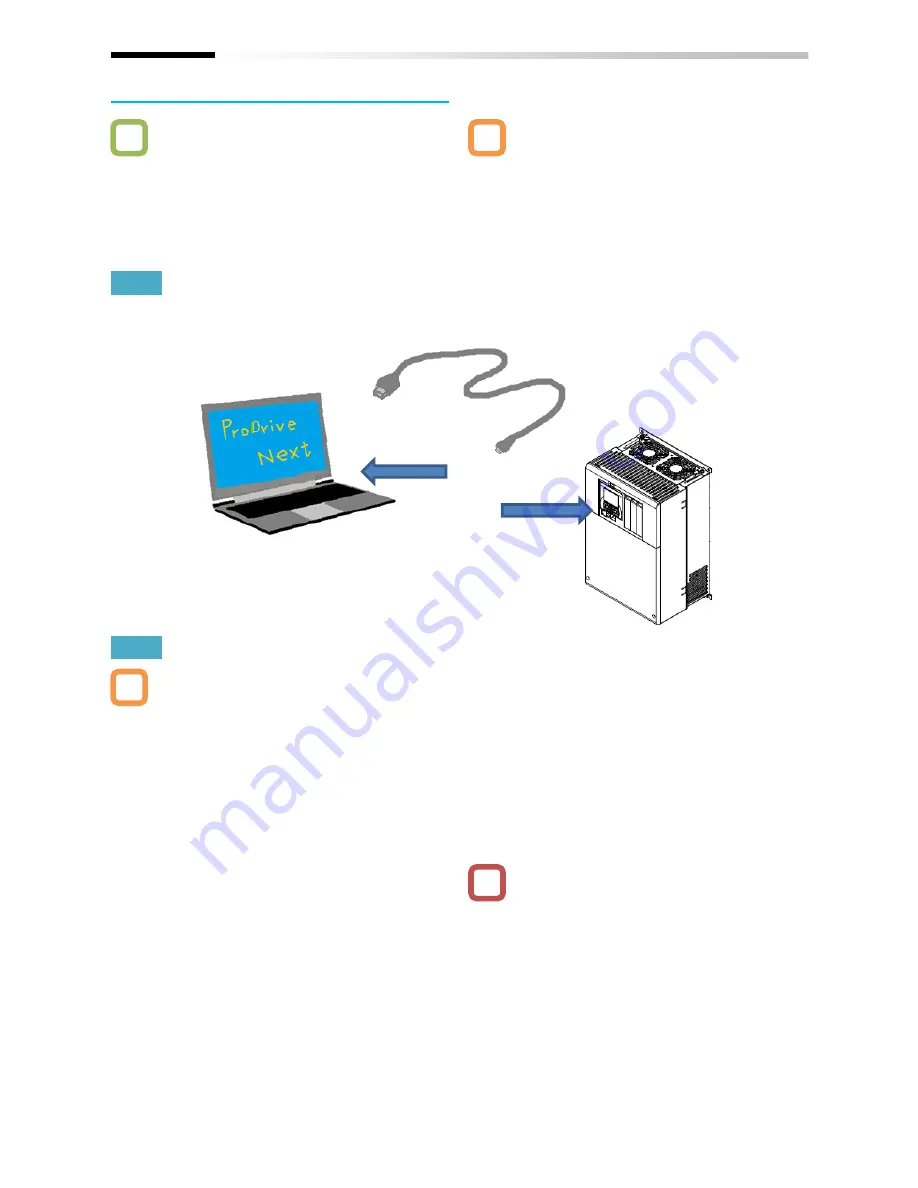
• Install Hitachi’s “ProDriveNext” to your PC.
• Connect the inverter and the PC using a USB able.
16.2.2
What you can do with “ProDriveNext”
Parameter setting function
• You can configure various parameter settings such
as setting parameters individually and searching
parameters changed from the factory setting.
• Parameters can be stored and read as CSV file
format.
Monitor function
• You can set arbitrary parameters and conduct
monitoring accordingly.
• Monitor data can be stored and read out in the CSV
file format.
Trace function
• This function enables you to set parameters and
triggers in order to show data graphically at
occurrence of a trigger.
• Traced data can be stored and read as CSV file
format.
• With the PC tool “ProDriveNext”, the following
functions are usable: wizard function for supporting
an operation setting; function for writing a parameter
to and reading out a parameter from a file; function
for creating a program and downloading to
inverters; function for tracing an error when it
occurs; etc.
• For installation procedure, see the instruction
manual of “ProDriveNext”.
Functions for program operation (EzSQ)
• You can download the program to the inverter to
customize the inverter for you.
• With its BASIC-like entry-type or selection-type
programming function, EzSQ enables you to freely
designate input/output and operation stop of the
inverter.
• Programs can be stored and read out in the CSV file
format.
• For more details, see the instruction manuals of
“ProDriveNext” and EzSQ.
• “ProDriveNext” must be used under the following
conditions:
[CF-02] Communication station number selection is
set to “1”;
[CF-11] Resiste
r data selection is set to “00:(A,V)”;
and
[CF-
50] USB station number selection is set to “1”.
Q
A
A
!
USB
Micro B
USB
A terminal
A Windows PC to
which “ProDriveNext”
has been installed.
SJ-P1
Summary of Contents for SJ Series
Page 39: ...5 4 Chapter 5 Included Items Memo ...
Page 55: ...6 16 Chapter 6 Installation Memo ...
Page 91: ...7 36 Chapter 7 Wire Connection and Optional Devices Memo ...
Page 135: ...9 40 Chapter 9 Operating Instructions Memo ...
Page 145: ...10 10 Chapter 10 Test Run Memo ...
Page 159: ...12 2 6 Chapter 12 Inverter Functions Memo ...
Page 169: ...12 3 10 Chapter 12 Inverter Functions Memo ...
Page 195: ...12 5 8 Chapter 12 Inverter Functions Memo ...
Page 217: ...12 8 12 Chapter 12 Inverter Function Memo ...
Page 287: ...12 10 32 Chapter 12 Inverter Functions Memo ...
Page 303: ...12 11 16 Chapter 12 Inverter Functions Memo ...
Page 349: ...12 15 8 Chapter 12 Inverter Function Memo ...
Page 395: ...12 17 34 Chapter 12 Inverter Functions Memo ...
Page 397: ...12 18 2 Chapter 12 Inverter Functions Memo ...
Page 415: ...12 19 18 Chapter 12 Inverter Function Memo ...
Page 581: ...15 10 Chapter 15 Optional Cassettes Memo ...
Page 591: ...16 10 Chapter 16 ProDriveNext EzSQ Memo ...
Page 642: ...18 49 Chapter 18 Tips FAQ Troubleshooting Memo ...
Page 650: ...19 8 Chapter 19 Maintenance and Inspection Memo ...
Page 781: ...Appendix 1 70 Appendix 1 List of Parameters Memo ...


